Introduction
It was one of those evenings when I wanted something sweet but didn’t feel like turning on the oven or waiting forever. Honestly, I was just about to settle for a store-bought dessert when a quick glance at the cookie jar sparked a little idea. Oreo cookies—crumbly, chocolatey, and perfect for an impromptu treat. I started mixing a few pantry staples, half skeptical if this no-bake cheesecake would even set right, but hey, it was only five minutes of effort. To my surprise, that creamy, dreamy texture came together effortlessly, and the whole family was asking for seconds before the night was over.
What makes the Creamy No-Bake Oreo Cheesecake Delight special isn’t just how simple it is, but that it somehow hits that perfect spot between rich indulgence and light, fluffy satisfaction. No fuss, no oven drama, just pure, smooth delight with that unmistakable Oreo crunch. It’s become a late-night favorite for me, especially when I crave something cozy, sweet, and quick. And the best part? You don’t need to be a dessert pro to nail it.
It’s a little guilty pleasure that feels just right, whether you’re winding down after a long day or surprising guests with an effortless dessert. The way the cream cheese and crushed Oreos meld together feels like a tiny celebration in every bite. Honestly, this recipe stuck around because it’s one of those rare desserts that’s as comforting as it is impressive, without any stress attached.
Why You’ll Love This Recipe
- Quick & Easy: Ready in just 5 minutes—perfect for busy nights or last-minute cravings.
- Simple Ingredients: Uses everyday pantry items and classic Oreos, no fancy shopping required.
- Perfect for Any Occasion: Whether it’s a casual family dessert, a potluck showstopper, or a cozy solo treat.
- Crowd-Pleaser: Kids and adults alike can’t resist the creamy texture paired with Oreo crunch.
- Unbelievably Delicious: The combination of smooth, rich cream cheese and chocolate cookie bits creates a comforting flavor that feels indulgent but balanced.
This isn’t just another no-bake cheesecake—what sets this apart is the way the Oreos are folded into the creamy filling, giving you every bite a little surprise crunch. The magic is in using just the right balance of cream cheese, whipped cream, and crushed cookies to get that silky yet substantial mouthfeel. You might even find yourself making it a couple of times a week like I did because it’s that dependable and satisfying.
What Ingredients You Will Need
This recipe uses simple, wholesome ingredients to deliver bold flavor and satisfying texture without the fuss. Most are pantry staples, with Oreos bringing that iconic chocolate-vanilla combo into the mix.
- Oreos: About 24 cookies, crushed (classic or double-stuff for extra creaminess). I like Nabisco brand for consistent texture.
- Cream cheese: 8 ounces (227 grams), softened to room temperature for smooth blending.
- Heavy whipping cream: 1 cup (240 ml), cold, whipped to soft peaks to keep the cheesecake light.
- Powdered sugar: ½ cup (60 grams), for gentle sweetness that dissolves easily.
- Vanilla extract: 1 teaspoon, adds subtle depth and rounds out the flavors.
- Butter: 4 tablespoons (56 grams), melted, for the crust’s rich texture.
- Optional: A pinch of salt to balance the sweetness, or a splash of coffee for an extra twist.
If you want a gluten-free version, you can swap Oreos with gluten-free chocolate sandwich cookies, and almond flour works well as an alternative crust base. For a lighter twist, Greek yogurt can replace half the cream cheese, but the texture will be slightly tangier.
Equipment Needed
- Mixing bowls (one large and one medium-sized)
- Electric mixer or hand whisk (an electric mixer helps whip the cream perfectly)
- Food processor or plastic bag and rolling pin for crushing Oreos
- Measuring cups and spoons for accuracy
- 8-inch (20 cm) springform pan or a serving dish of similar size
If you don’t have a springform pan, a regular pie dish or even small individual jars work just fine. I’ve used a standard glass bowl for serving, and it still sets beautifully. The electric mixer makes whipping cream a breeze, but in a pinch, a vigorous hand whisking does the job—just takes a little more arm work! When crushing Oreos, I prefer a food processor for quick, even crumbs, but a zip-top bag and rolling pin definitely get the job done.
Preparation Method
- Prepare the crust: Crush 16 Oreos into fine crumbs using a food processor or by placing them in a sealed bag and rolling with a pin. Mix crumbs with melted butter until well combined. Press the mixture evenly into the bottom of your springform pan or serving dish. Refrigerate while preparing the filling. (About 10 minutes prep)
- Whip the cream: In a chilled bowl, beat 1 cup of heavy whipping cream with an electric mixer until soft peaks form. This usually takes 2-3 minutes. Be careful not to overwhip, or it will become grainy.
- Mix cream cheese and sugar: In a separate large bowl, beat the softened cream cheese with powdered sugar and vanilla extract until smooth and creamy. This should take about 2 minutes. Make sure no lumps remain.
- Combine cream and cream cheese: Gently fold the whipped cream into the cream cheese mixture using a spatula. Fold carefully to keep the mixture light and airy.
- Add crushed Oreos: Chop the remaining 8 Oreos into small chunks and gently fold them into the filling. You want to keep some texture, so no need to crush them fine.
- Assemble: Pour the filling over the chilled crust and smooth the top with a spatula. Refrigerate for at least 4 hours or overnight to set. (If you’re impatient like me, 3 hours often works—but the flavor and texture develop best with longer chilling.)
- Serve: Before serving, garnish with extra crushed Oreos or whipped cream if desired.
Pro tip: If your cream cheese wasn’t fully softened, it might make the filling a bit lumpy—just keep beating it longer before folding in the whipped cream. Also, don’t skip chilling; it’s what gives this cheesecake its signature creamy firmness without baking.
Cooking Tips & Techniques
Getting the perfect creamy no-bake Oreo cheesecake is all about balancing texture and temperature. Start with room temperature cream cheese—that’s non-negotiable for smooth blending. Cold cream whips up better, so keep it in the fridge until right before whipping. I once tried this with warm cream, and it never held the peaks properly.
When folding whipped cream into the cream cheese, be gentle. Think of it like folding in egg whites—fold enough to combine but avoid stirring vigorously, or you’ll lose that airy fluffiness. I usually fold in three gentle strokes to keep it light.
Crushing Oreos evenly makes a huge difference. Fine crumbs for the crust, chunkier bits in the filling—that contrast is what makes each bite interesting. Don’t over-crush the filling Oreos or you’ll lose that delightful crunch.
Timing-wise, prepping the crust and filling back-to-back keeps things simple, and having the dessert chill overnight really helps the flavors meld. I sometimes prepare it in the morning for an evening treat, and it never disappoints. If you’re short on time, a few hours in the fridge still does the trick.
Variations & Adaptations
- Chocolate Lovers: Add ¼ cup (25 grams) of cocoa powder to the cream cheese mixture for an extra chocolate punch.
- Mint Oreo Twist: Use mint-flavored Oreos and add a few drops of peppermint extract to the filling for a refreshing flavor variation.
- Fruit Infusion: Top the cheesecake with fresh raspberries or strawberries before serving for a fruity contrast to the sweet creaminess.
- Dairy-Free Option: Swap cream cheese with a vegan cream cheese alternative and use coconut cream instead of heavy whipping cream for a plant-based version.
- Individual Servings: Layer crust and filling in small mason jars or dessert cups for easy portion control and a cute presentation.
Personally, I once tried stirring in a handful of mini chocolate chips for a little surprise crunch, and it was a hit at a casual gathering. Play around with fun add-ins like chopped nuts or a drizzle of caramel for your own spin!
Serving & Storage Suggestions
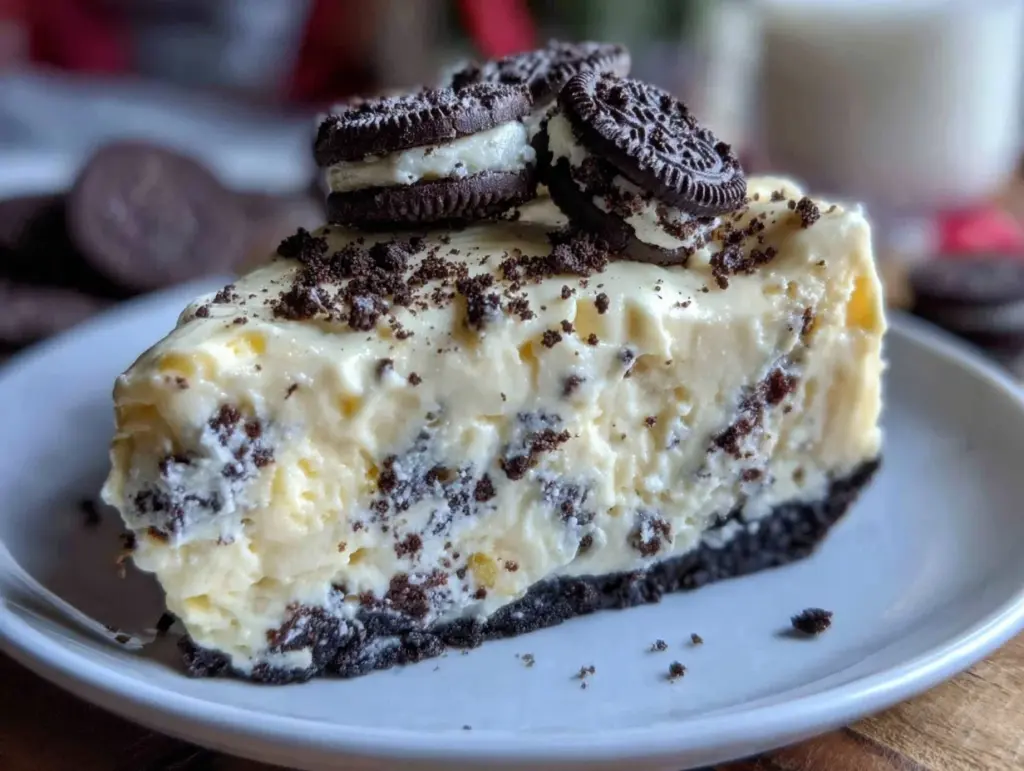
This Creamy No-Bake Oreo Cheesecake Delight is best served chilled straight from the fridge. The cool temperature really brings out that creamy texture and lets the Oreo flavor shine. I like to slice it into generous wedges and serve on simple white plates so the dark cookie crust contrasts beautifully.
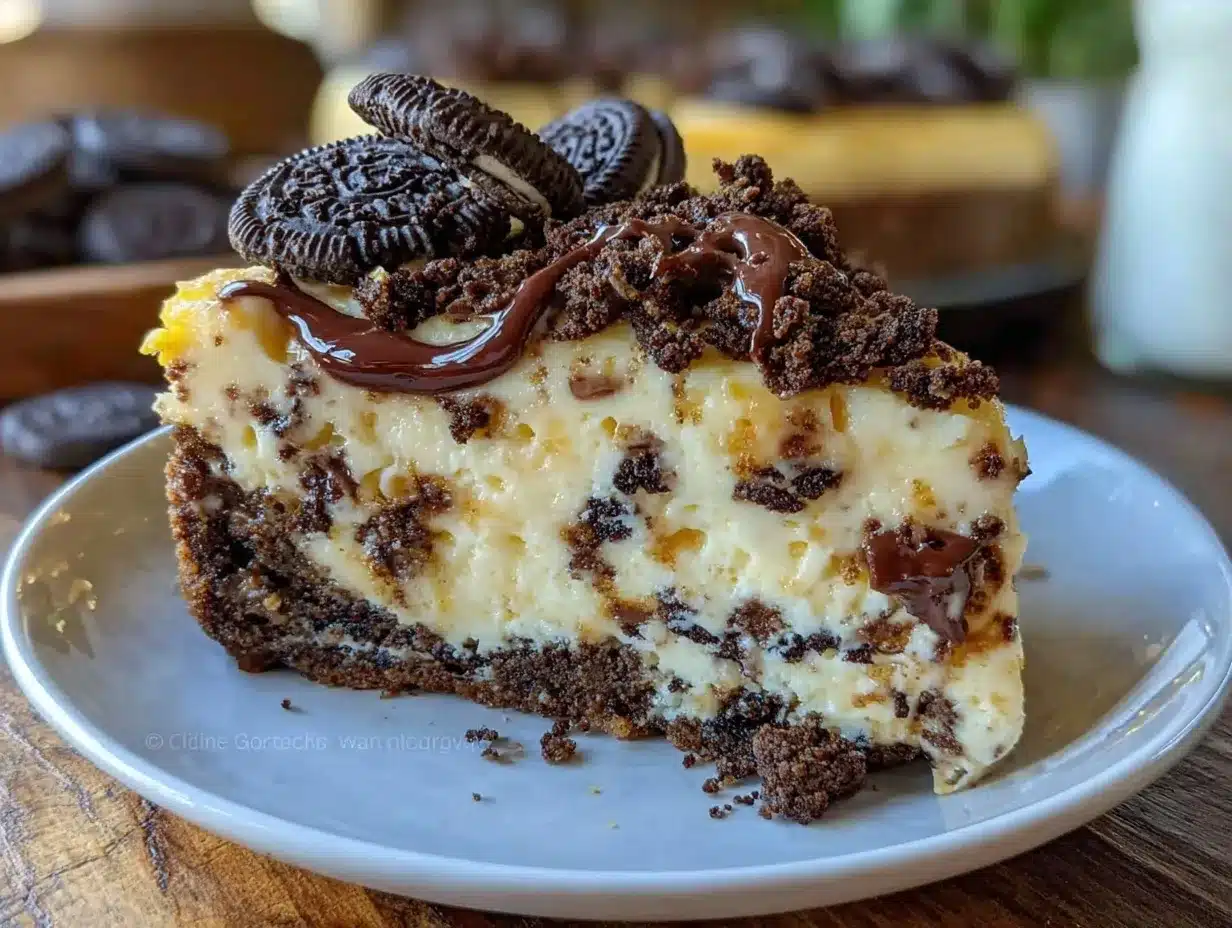
Pair it with a cup of strong coffee or a cold glass of milk—both work wonders to balance the richness. For a party, adding a dollop of whipped cream on top with a sprinkle of crushed Oreos makes it look extra special.
Store leftovers covered tightly with plastic wrap or in an airtight container in the refrigerator. It stays fresh for up to 4 days. If you want to keep it longer, you can freeze it for up to a month—just thaw overnight in the fridge before serving. The flavors actually deepen a bit after a day or two, so it’s worth making ahead.
Nutritional Information & Benefits
Per serving (assuming 8 servings), this dessert roughly contains:
| Calories | 320 kcal |
|---|---|
| Fat | 24 g |
| Carbohydrates | 25 g |
| Protein | 4 g |
| Sugar | 18 g |
The key ingredients like cream cheese provide a good amount of calcium and protein, while the heavy cream adds richness and vitamin A. Oreos, while indulgent, also contribute a little fiber from the cocoa. If you’re watching carbs or gluten, swapping with gluten-free cookies or reducing sugar slightly can make this dessert friendlier to various dietary needs.
From a wellness perspective, I appreciate that this recipe doesn’t require artificial thickeners or stabilizers—just real, straightforward ingredients. It feels like a treat you can enjoy without the complicated extras.
Conclusion
The Creamy No-Bake Oreo Cheesecake Delight is one of those rare recipes that’s effortlessly impressive and incredibly satisfying. It’s a dessert that feels special without demanding hours or complicated steps. Whether you’re a longtime Oreo fan or just looking for a quick, delicious sweet to impress guests or indulge yourself, this recipe delivers every time.
Feel free to tweak it, make it your own, or keep it classic—the core is always that perfect balance of creamy, crunchy, and sweet. Honestly, it’s become my go-to when I need a little comfort without fuss, and I hope it becomes yours too. Don’t hesitate to share your own twists or questions—I’d love to hear how you make this delightful cheesecake your own.
Remember, sometimes the best desserts come from the simplest ideas.
FAQs
Can I make this cheesecake without a springform pan?
Yes! You can use a regular pie dish, a glass baking dish, or even individual jars. Just press the crust firmly at the bottom and chill as usual.
How long does the no-bake Oreo cheesecake need to chill?
At least 4 hours is ideal, but overnight chilling yields the best texture and flavor. If short on time, 3 hours can work.
Can I prepare this dessert ahead of time for a party?
Absolutely! It keeps well in the fridge for up to 4 days and can be frozen for up to a month. Just thaw overnight before serving.
What can I substitute for heavy whipping cream?
You can use coconut cream for a dairy-free version or chilled whipping cream alternatives, but the texture might be slightly different.
Is it possible to make this cheesecake gluten-free?
Yes, just swap the Oreos for a gluten-free chocolate sandwich cookie brand, and you’re good to go.
Pin This Recipe!
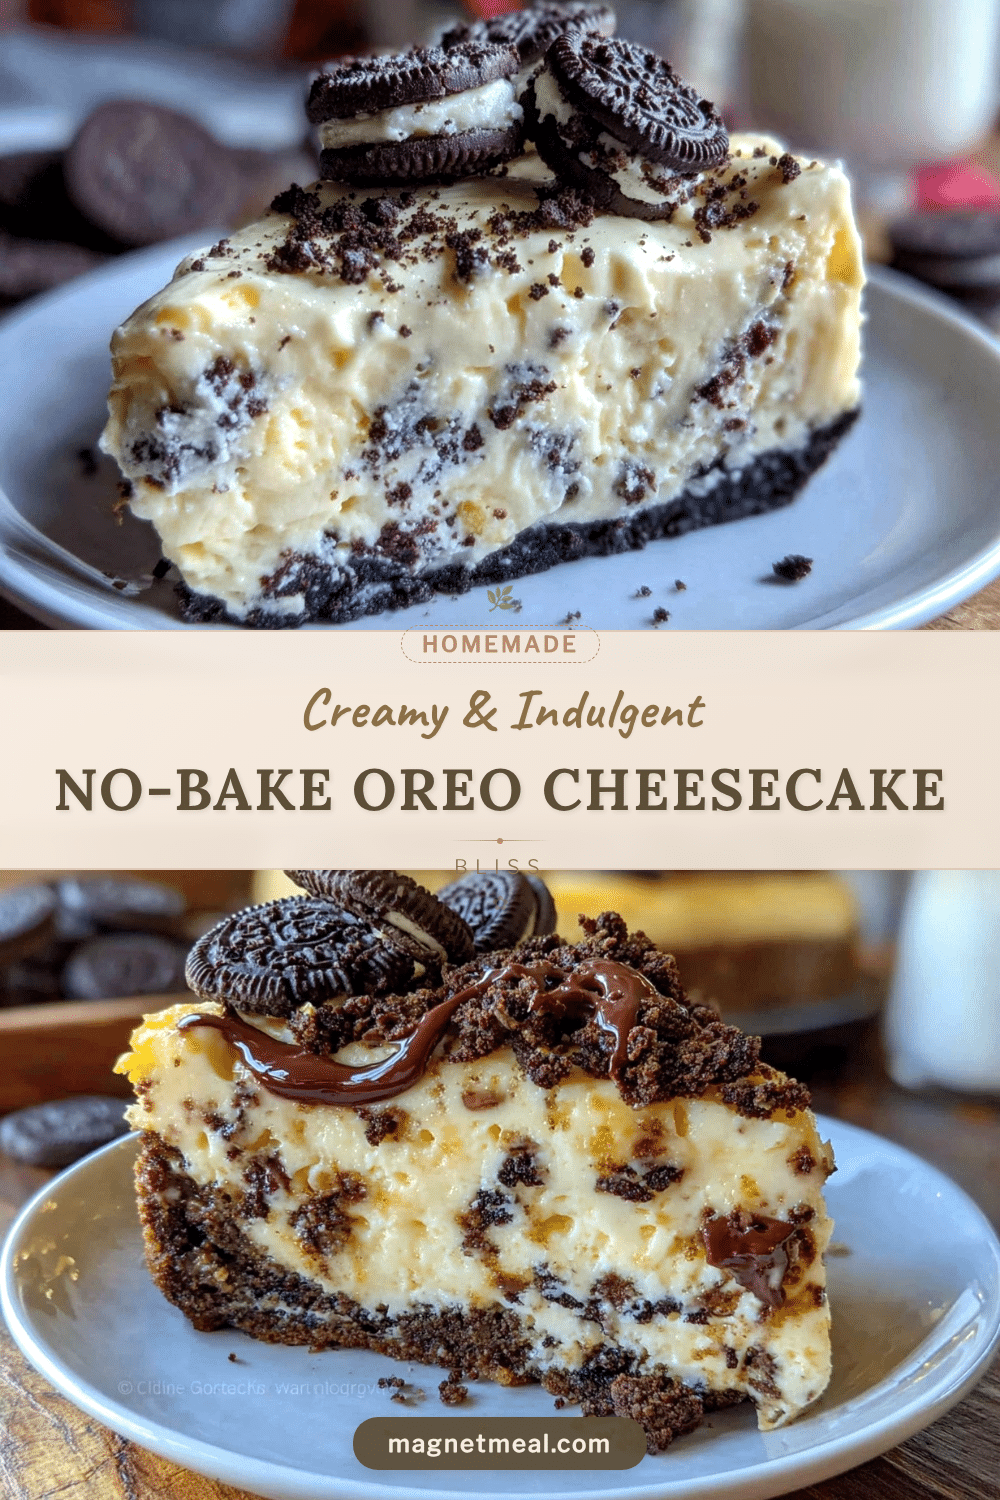
Creamy No-Bake Oreo Cheesecake Delight
A quick and easy no-bake cheesecake featuring a creamy filling with crushed Oreos, perfect for a rich yet light dessert that sets in the fridge without any oven time.
- Prep Time: 15 minutes
- Cook Time: 0 minutes
- Total Time: 4 hours 15 minutes
- Yield: 8 servings 1x
- Category: Dessert
- Cuisine: American
Ingredients
- 24 Oreos, crushed (classic or double-stuff)
- 8 ounces (227 grams) cream cheese, softened to room temperature
- 1 cup (240 ml) heavy whipping cream, cold, whipped to soft peaks
- ½ cup (60 grams) powdered sugar
- 1 teaspoon vanilla extract
- 4 tablespoons (56 grams) butter, melted
- Optional: pinch of salt
- Optional: splash of coffee
Instructions
- Crush 16 Oreos into fine crumbs using a food processor or by placing them in a sealed bag and rolling with a pin.
- Mix Oreo crumbs with melted butter until well combined.
- Press the mixture evenly into the bottom of an 8-inch springform pan or serving dish.
- Refrigerate the crust while preparing the filling.
- In a chilled bowl, beat 1 cup of heavy whipping cream with an electric mixer until soft peaks form (2-3 minutes).
- In a separate large bowl, beat the softened cream cheese with powdered sugar and vanilla extract until smooth and creamy (about 2 minutes).
- Gently fold the whipped cream into the cream cheese mixture using a spatula, keeping the mixture light and airy.
- Chop the remaining 8 Oreos into small chunks and gently fold them into the filling.
- Pour the filling over the chilled crust and smooth the top with a spatula.
- Refrigerate for at least 4 hours or overnight to set (3 hours minimum if short on time).
- Before serving, garnish with extra crushed Oreos or whipped cream if desired.
Notes
Use room temperature cream cheese for smooth blending. Whip cold cream to soft peaks and fold gently to keep the mixture airy. Chill at least 4 hours for best texture; overnight is ideal. For gluten-free, substitute Oreos with gluten-free chocolate sandwich cookies and use almond flour for crust. Optional add-ins include cocoa powder, peppermint extract, or fresh fruit toppings.
Nutrition
- Serving Size: 1 slice (1/8 of chee
- Calories: 320
- Sugar: 18
- Fat: 24
- Carbohydrates: 25
- Protein: 4
Keywords: no-bake cheesecake, Oreo cheesecake, quick dessert, easy cheesecake, no oven dessert, creamy cheesecake, Oreo dessert


