Introduction
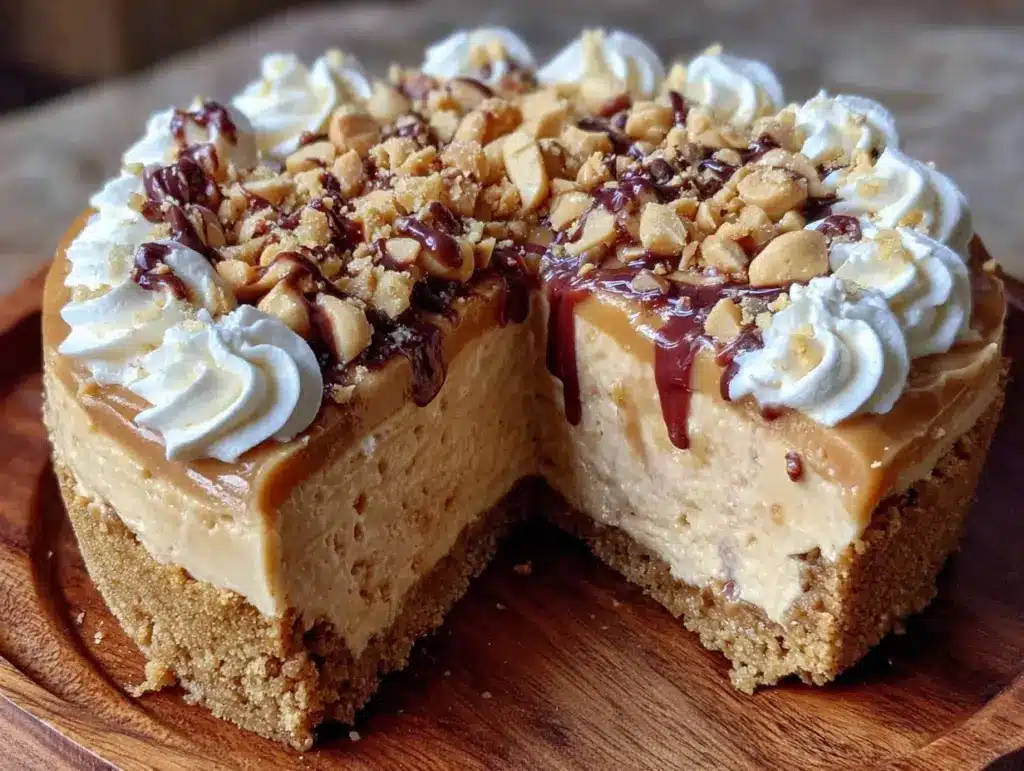
It was one of those evenings when I just wanted something sweet but didn’t have the energy to turn on the oven—honestly, who does after a long day? I had a jar of peanut butter sitting on the counter and a half-empty cream cheese block in the fridge, and on a whim, I threw together what I now call my creamy no-bake peanut butter pie recipe. At first, I was skeptical—no-bake desserts always seemed a bit too simple to really satisfy. But as I took that first spoonful, the smooth, rich peanut butter filling paired with the buttery crust surprised me. It was like comfort food and elegance had a quiet, effortless meeting. Since then, I’ve made this pie more times than I care to admit—sometimes for an unplanned guest, sometimes just because I needed a little sweet reset. It’s funny how a no-bake dessert can feel so indulgent without the fuss or heat of an oven.
This pie stuck with me not because it’s fancy but because it’s real. It’s that kind of dessert that you can whip up with a few pantry staples, and somehow, it makes the day better. No complicated steps, no long waits, just pure, creamy peanut butter magic—and that’s why it’s become my go-to dessert whenever I want something impressive but easy.
Why You’ll Love This Recipe
After testing countless peanut butter desserts, this creamy no-bake peanut butter pie recipe stands out for several reasons:
- Quick & Easy: Ready in under 30 minutes with no oven required, making it perfect for busy weeknights or last-minute gatherings.
- Simple Ingredients: No need to hunt for exotic items — just pantry staples like peanut butter, cream cheese, and a pre-made crust.
- Perfect for Any Occasion: Whether it’s a casual family dinner or a surprise party dessert, this pie fits right in.
- Crowd-Pleaser: Kids and adults alike can’t get enough of the creamy, nutty filling balanced by a crisp crust.
- Unbelievably Delicious: The texture is silky and airy with just the right amount of sweetness — it’s comfort food without feeling heavy.
What makes this recipe different? It’s the way the filling is whipped to a fluffy consistency—thanks to folding in whipped cream—which gives it that light, melt-in-your-mouth feel. Plus, blending smooth peanut butter with cream cheese creates a tangy richness that you don’t find in many peanut butter pies. Honestly, it’s not just another version; it’s the one I keep coming back to because it nails that perfect balance of creamy, sweet, and slightly salty. If you’re anything like me, once you try it, you’ll understand why it’s become a quiet favorite in my kitchen.
What Ingredients You Will Need
This recipe uses simple, wholesome ingredients to deliver bold flavor and satisfying texture without the fuss. Most of these are pantry staples, so you probably have them already!
- For the crust:
- 1 ½ cups graham cracker crumbs (about 12 full sheets) — I prefer using Nabisco for the right crunch
- 6 tablespoons unsalted butter, melted (adds richness and binds the crust)
- 2 tablespoons granulated sugar (balances the buttery flavor)
- For the filling:
- 1 cup creamy peanut butter (smooth texture is key for a silky filling)
- 8 ounces cream cheese, softened (room temperature for easy mixing)
- 1 cup powdered sugar (for that perfect sweetness without graininess)
- 1 teaspoon pure vanilla extract (trust me, it brings everything together)
- 1 cup heavy whipping cream, cold (to be whipped for lightness)
- Optional garnish:
- Chopped roasted peanuts (adds crunch and visual appeal)
- Chocolate shavings or drizzle (for a chocolate-peanut butter combo)
If you want a gluten-free option, swap the graham cracker crumbs with almond flour or gluten-free cookie crumbs. For dairy-free, you can try coconut cream and plant-based cream cheese alternatives, though the texture will shift a bit. I’ve found that using fresh, cold cream whipping cream really makes a difference in the filling’s fluffiness. And if you’re a peanut butter purist, natural peanut butter works well too, just give it a good stir before measuring.
Equipment Needed
- 9-inch (23 cm) pie pan — glass or metal works fine, but glass helps you see the crust thickness.
- Mixing bowls — one large for the filling, one medium for the crust.
- Electric mixer or stand mixer — whipping the cream by hand is possible but a bit laborious.
- Rubber spatula — perfect for folding whipped cream gently into the peanut butter mixture without deflating it.
- Measuring cups and spoons — for accuracy, especially with sugar and butter.
- Food processor or plastic bag and rolling pin — to crush graham crackers if you don’t buy pre-crumbled.
If you don’t have an electric mixer, a sturdy whisk and some elbow grease can get the job done, but the texture may not be as airy. I personally use a handheld mixer for ease and less cleanup. For budget-friendly options, a basic pie pan and a manual whisk work just fine. Keeping your cream cold until just before whipping will help it fluff up better, so I recommend chilling your bowl in the fridge if you’re whipping by hand.
Preparation Method
- Make the crust: In a medium bowl, combine 1 ½ cups graham cracker crumbs, 6 tablespoons melted butter, and 2 tablespoons sugar. Stir until all crumbs are evenly coated and resemble wet sand. Press the mixture firmly into the bottom and about 1-inch up the sides of your 9-inch pie pan. Use the back of a spoon or a flat-bottomed glass to compact the crust well. Chill in the fridge while you prepare the filling (about 15 minutes).
- Whip the cream: In a large mixing bowl, pour 1 cup of cold heavy whipping cream. Using an electric mixer, whip on medium-high speed until soft peaks form—this should take about 3-4 minutes. Soft peaks mean the cream holds shape but curls gently when you lift the whisk.
- Prepare the peanut butter filling: In another bowl, beat 8 ounces of softened cream cheese with 1 cup creamy peanut butter until smooth and well combined. Add 1 cup powdered sugar and 1 teaspoon vanilla extract, then mix again until silky. Don’t rush this step; a smooth base means no lumps in your pie.
- Fold in the whipped cream: Gently fold the whipped cream into the peanut butter mixture in three additions using a rubber spatula. This keeps the filling light and airy. The mixture should look fluffy and creamy with no streaks of cream or peanut butter visible.
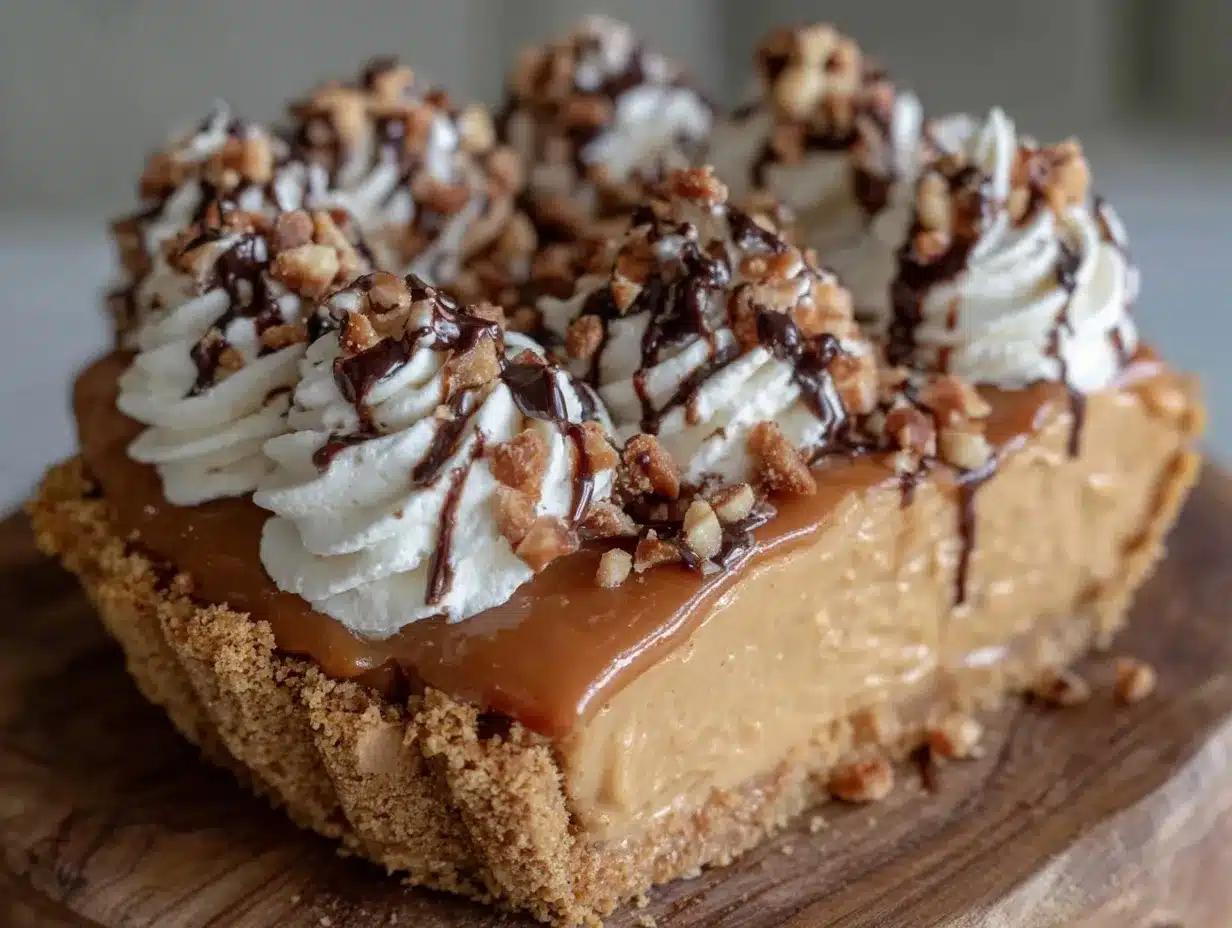
- Assemble and chill: Pour the filling into the chilled crust, smoothing the top with the spatula. Cover loosely with plastic wrap and refrigerate for at least 4 hours, preferably overnight, so the pie sets perfectly. Before serving, garnish with chopped peanuts or a drizzle of chocolate if desired.
If the crust feels crumbly, don’t panic—just press it down a bit more firmly. When whipping cream, watch closely; over-whipping turns it grainy and buttery. The filling’s lightness depends on folding, so be gentle but thorough to keep that cloud-like texture. I usually make this pie the night before, which lets the flavors marry well and avoids any last-minute kitchen chaos.
Cooking Tips & Techniques
One trick I learned the hard way is to always soften the cream cheese well ahead of time—cold cream cheese lumps can ruin the smooth texture. I usually leave it out for about 30 minutes or zap it in short bursts in the microwave (watching carefully!).
When whipping cream, chill your mixing bowl and beaters for an extra boost in volume. It’s the little things like this that make the difference between a dense and a fluffy filling. Also, folding is an art: fold gently to keep air but mix enough to combine evenly. If you rush or stir aggressively, you’ll lose that signature creaminess.
Another tip—if you want a sturdier pie that slices cleanly, add a tablespoon of instant gelatin dissolved in a teaspoon of water to the filling before folding in the whipped cream. I don’t always do it, but it helps during warm months or longer storage.
Finally, avoid making the crust too thick; a thin, even crust gives the best texture contrast without overpowering the filling. Press firmly but don’t overdo it, or the crust can become hard as a brick. Multitasking tip: while the crust chills, whip the cream and prepare the filling to keep things moving smoothly.
Variations & Adaptations
- Chocolate Peanut Butter Pie: Fold in ½ cup melted semi-sweet chocolate into the peanut butter filling before folding in the whipped cream. Top with chocolate curls.
- Low-Sugar Version: Use powdered erythritol or another sugar substitute instead of powdered sugar. Check peanut butter labels for no added sugar.
- Vegan Adaptation: Use vegan cream cheese and coconut cream whipped until fluffy. Substitute graham crackers with gluten-free vegan cookies.
- Crunchy Twist: Fold in ½ cup chopped roasted peanuts into the filling for texture contrast.
- Seasonal Flavors: Swirl in pumpkin puree and pumpkin pie spice for a fall-inspired version.
I once tried adding a touch of cayenne pepper for a spicy-sweet kick—it was surprisingly good, especially topped with a sprinkle of sea salt. This pie is forgiving, so feel free to tweak the sweetness or peanut butter ratio to suit your taste buds.
Serving & Storage Suggestions
Serve this pie chilled straight from the fridge for the best texture and flavor. It pairs wonderfully with a cup of strong coffee or even a light dessert wine if you’re feeling fancy. For presentation, sprinkle chopped peanuts or a drizzle of melted chocolate on top to add a little wow factor.
Store leftovers covered tightly in the refrigerator for up to 3 days. The pie holds well and the flavors deepen with time. If you want to freeze it, wrap the whole pie in plastic wrap and then foil—it freezes beautifully for up to 1 month. When ready to eat, thaw overnight in the fridge and give it a gentle stir before serving, as the filling might separate slightly.
Reheating isn’t recommended since it’s a no-bake, cream-based pie, but letting it sit out at room temperature for 10 minutes before slicing can soften it just right. The creaminess really blooms when it’s not too cold, so don’t serve it straight from the freezer unless you like a firmer bite.
Nutritional Information & Benefits
One generous slice (about 1/8 of the pie) contains approximately:
| Calories | 350 kcal |
|---|---|
| Fat | 28 g (mostly from peanut butter and cream) |
| Protein | 8 g |
| Carbohydrates | 18 g (includes 12 g sugar) |
This pie provides a good dose of protein and healthy fats from peanut butter, plus calcium from cream cheese and cream. It’s not a low-calorie treat, but it’s satisfying enough to quell a sweet craving without overdoing it. For those watching gluten intake, swap the crust for gluten-free options. Be mindful of peanut allergies—this recipe is not suitable for those with nut sensitivities.
From my experience, this pie feels like a treat that’s indulgent yet balanced enough to enjoy without guilt, especially when you control the sugar level or experiment with substitutions.
Conclusion
This creamy no-bake peanut butter pie recipe has become something I reach for when I want a dessert that’s both effortless and delicious. It’s perfect for those moments when you want to impress without the stress, or just treat yourself to something comforting and smooth. What I love most is how adaptable it is—you can play with it to suit your taste or dietary needs, and it still comes out a winner every time.
So if you’re looking for a dessert that feels fancy but is actually super simple, give this one a try. I’d love to hear how you make it your own or what twists you add. After all, the best recipes are the ones we personalize and share.
Here’s to sweet moments made easy and delicious!
FAQs
Can I use crunchy peanut butter instead of creamy?
Yes, you can, but the filling won’t be as smooth. If you like a bit of texture, crunchy peanut butter adds a nice twist.
How long does the pie need to chill before serving?
At least 4 hours in the refrigerator, but overnight is best for the filling to set properly.
Can I prepare this pie ahead of time for a party?
Absolutely! It’s great made a day ahead and stored in the fridge. Just add garnishes before serving.
What can I substitute for the graham cracker crust?
Almond flour mixed with butter is a tasty gluten-free alternative, or crushed digestive biscuits work well too.
Is this pie suitable for freezing?
Yes, wrap it tightly and freeze for up to one month. Thaw overnight in the fridge before serving.
Pin This Recipe!
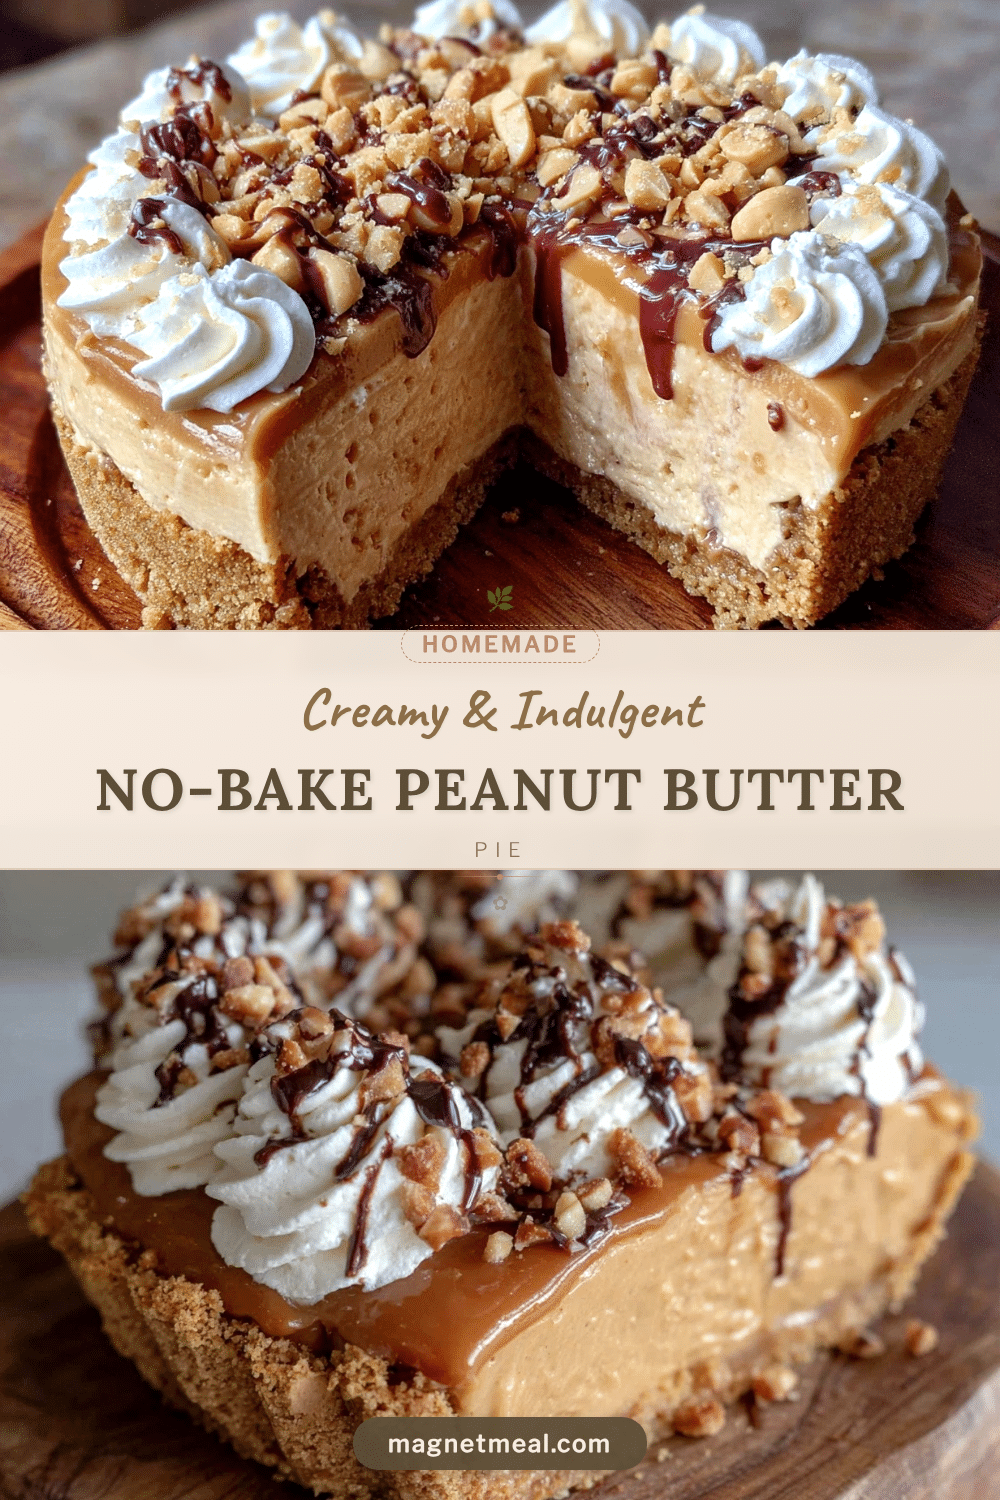
Creamy No-Bake Peanut Butter Pie
A quick and easy no-bake dessert featuring a silky peanut butter and cream cheese filling with a buttery graham cracker crust. Perfect for impressing guests without using an oven.
- Prep Time: 15 minutes
- Cook Time: 0 minutes
- Total Time: 4 hours 15 minutes
- Yield: 8 servings 1x
- Category: Dessert
- Cuisine: American
Ingredients
- 1 ½ cups graham cracker crumbs (about 12 full sheets)
- 6 tablespoons unsalted butter, melted
- 2 tablespoons granulated sugar
- 1 cup creamy peanut butter
- 8 ounces cream cheese, softened
- 1 cup powdered sugar
- 1 teaspoon pure vanilla extract
- 1 cup heavy whipping cream, cold
- Optional garnish: chopped roasted peanuts
- Optional garnish: chocolate shavings or drizzle
Instructions
- Make the crust: In a medium bowl, combine graham cracker crumbs, melted butter, and sugar. Stir until crumbs are evenly coated and resemble wet sand. Press firmly into the bottom and about 1-inch up the sides of a 9-inch pie pan. Chill in the fridge for about 15 minutes.
- Whip the cream: In a large mixing bowl, whip cold heavy whipping cream with an electric mixer on medium-high speed until soft peaks form, about 3-4 minutes.
- Prepare the peanut butter filling: Beat softened cream cheese with creamy peanut butter until smooth. Add powdered sugar and vanilla extract, mixing until silky.
- Fold in the whipped cream: Gently fold whipped cream into the peanut butter mixture in three additions using a rubber spatula until fluffy and creamy with no streaks.
- Assemble and chill: Pour filling into chilled crust, smooth the top, cover loosely with plastic wrap, and refrigerate for at least 4 hours or overnight. Garnish with chopped peanuts or chocolate if desired before serving.
Notes
Soften cream cheese well before mixing to avoid lumps. Keep cream cold before whipping for best volume. Fold whipped cream gently to maintain fluffiness. For a sturdier pie, add 1 tablespoon instant gelatin dissolved in 1 teaspoon water before folding in whipped cream. Chill crust before adding filling. Store leftovers covered in fridge up to 3 days or freeze up to 1 month.
Nutrition
- Serving Size: 1 slice (1/8 of pie)
- Calories: 350
- Sugar: 12
- Fat: 28
- Carbohydrates: 18
- Protein: 8
Keywords: no-bake, peanut butter pie, easy dessert, creamy pie, quick dessert, no oven dessert, peanut butter, cream cheese, graham cracker crust


