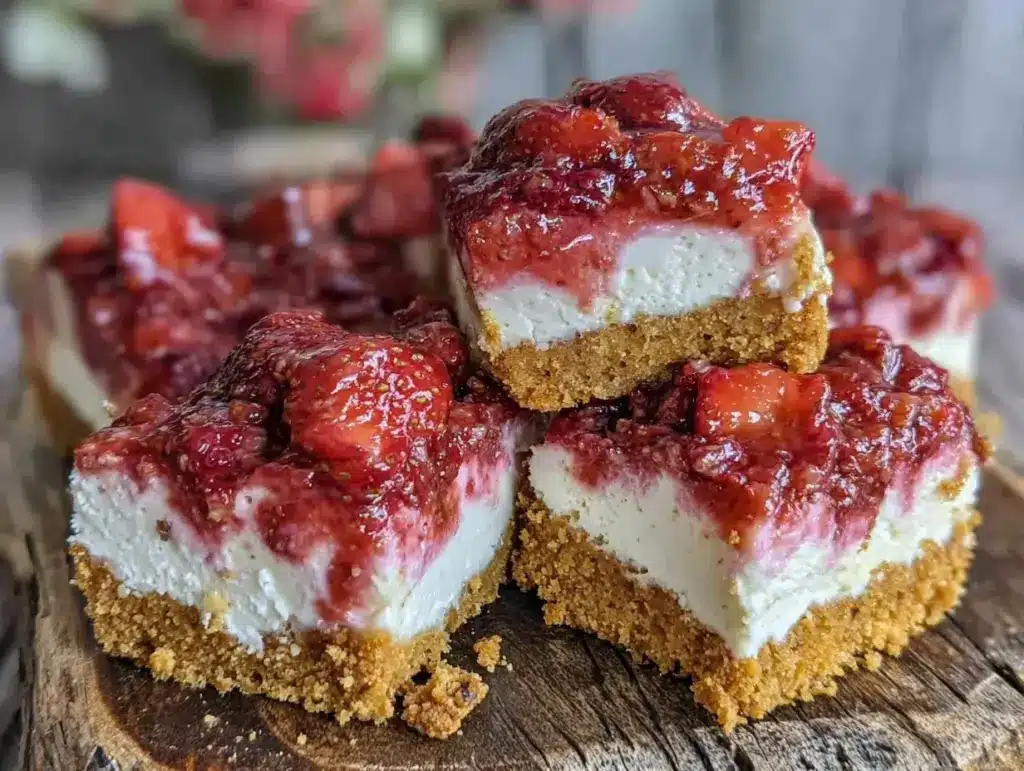
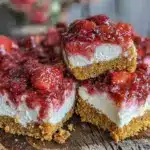
There was this one Sunday afternoon when I realized I had promised dessert but somehow forgot to thaw the frozen pie I’d planned to serve. Honestly, the kitchen felt like a mess and the clock was ticking. I rummaged through the fridge and pantry hoping to piece together something quick and satisfying. That’s when the idea for these Easy No-Bake Strawberry Cheesecake Bars struck me—simple, creamy, and no oven required. The strawberries were fresh and juicy, the cream cheese was already softening on the counter, and the whole thing came together in under 20 minutes.
What surprised me the most was how everyone ended up loving these bars more than any fussy baked dessert I’d made before. They were cool, refreshing, and just the right amount of sweet—perfect for that warm spring day when you want something light but still indulgent. Since then, I’ve found myself making this recipe over and over, especially when guests drop by unexpectedly or when I need a quick pick-me-up that feels like a special treat.
It’s funny how a forgotten dessert can turn into a favorite recipe, but I think that’s the charm of these strawberry cheesecake bars—their creamy texture and fresh fruit topping make them feel both homemade and a little bit fancy without any of the fuss. If you’re looking for a dessert that’s effortless but delivers that classic cheesecake satisfaction, this recipe just might stick with you too.
Why You’ll Love This Recipe
- Quick & Easy: Comes together in about 20 minutes, perfect for busy weeknights or when you need a last-minute dessert.
- Simple Ingredients: Uses pantry staples and fresh strawberries—no complicated or hard-to-find items required.
- Great for Any Occasion: Whether it’s a casual family dinner, a picnic, or a summer potluck, these bars fit right in.
- Crowd-Pleaser: Kids and adults alike rave about the creamy filling and sweet strawberry topping.
- Unbelievably Delicious: The texture is silky smooth with a buttery crust, offering that perfect bite every time.
- What Makes This Different: Instead of a traditional baked cheesecake, this no-bake version keeps things light and fresh. The crust is crunchy but not too hard, and blending the cream cheese with a touch of lemon juice gives it a subtle zing that balances the sweetness beautifully.
- Emotional Connection: It’s the kind of dessert that makes you pause and savor, a little creamy escape after a hectic day. It’s reliable, comforting, and honestly, a bit addictive.
What Ingredients You Will Need
This recipe uses simple, wholesome ingredients to deliver bold flavor and satisfying texture without the fuss. Most are pantry staples, and the fresh strawberries add a seasonal touch that’s hard to beat.
- For the crust:
- 1 ½ cups graham cracker crumbs (about 10 full sheets, finely crushed)
- 6 tablespoons unsalted butter, melted (I like using Land O’Lakes for smooth melting)
- 2 tablespoons granulated sugar
- For the cheesecake filling:
- 16 ounces (450 g) cream cheese, softened (full-fat for best creaminess)
- ¾ cup powdered sugar, sifted
- 1 teaspoon vanilla extract
- 1 tablespoon fresh lemon juice (adds brightness and cuts richness)
- 1 cup heavy whipping cream, cold (helps achieve that fluffy texture)
- For the topping:
- 1 ½ cups fresh strawberries, hulled and sliced (or frozen if out of season, just thaw first)
- 2 tablespoons granulated sugar (optional, depending on strawberry sweetness)
- 1 teaspoon lemon zest (for an extra zing)
Ingredient Tips: Look for firm, ripe strawberries to avoid watery topping. If you want a dairy-free version, swap cream cheese with a plant-based alternative and use coconut cream instead of heavy cream. For a gluten-free crust, almond flour mixed with melted butter makes a nice substitute.
Equipment Needed
- 8×8-inch (20×20 cm) square baking pan or dish — glass or metal both work well.
- Mixing bowls — ideally two: one for crust and one for filling.
- Electric mixer or stand mixer — helps whip the cream to fluffy perfection, but a hand whisk can work if you have patience.
- Spatula — for smooth spreading of the filling.
- Food processor or plastic bag and rolling pin — to crush graham crackers into fine crumbs easily.
- Measuring cups and spoons — precision matters for balanced sweetness and texture.
If you don’t have a food processor, putting the graham crackers in a sealed bag and smashing them with a rolling pin or heavy pan works just fine. For those on a budget, hand mixers are often cheaper and still do the job well. Just be sure to chill your heavy cream beforehand to get the best whipping results.
Preparation Method

- Prepare the crust: In a medium bowl, mix graham cracker crumbs, melted butter, and sugar until combined. The mixture should feel like wet sand. Press it firmly into the bottom of your 8×8-inch pan, creating an even layer. Use the back of a spoon or a flat-bottomed glass for the best compactness. Chill in the fridge for at least 10 minutes while you prepare the filling.
- Make the cheesecake filling: In a large bowl, beat the softened cream cheese with an electric mixer at medium speed until smooth and creamy (about 2-3 minutes). Add powdered sugar, vanilla extract, and lemon juice, and mix until fully combined. In a separate bowl, whip the cold heavy cream until stiff peaks form (this usually takes around 3-4 minutes). Gently fold the whipped cream into the cream cheese mixture, being careful not to overmix—you want to keep that fluffy texture.
- Assemble the bars: Spread the cheesecake filling evenly over the chilled crust, smoothing the top with a spatula. Return the pan to the fridge to set for at least 2 hours, or overnight if you have the time. This helps the filling firm up for clean slicing.
- Prepare the topping: Toss the sliced strawberries with sugar and lemon zest in a small bowl. Let sit for about 10 minutes so the strawberries release their juices, creating a natural glaze. Spoon the strawberries gently over the set cheesecake layer just before serving.
- Slice and serve: Use a sharp knife warmed under hot water and wiped dry to cut clean bars. This prevents the filling from sticking and keeps the edges neat. Serve chilled for a creamy, refreshing treat.
Note: If your filling feels too soft, a little extra chilling time helps—cheesecake is patient but rewarding. Watch for watery strawberry juices; drain excess liquid if needed to avoid soggy bars.
Cooking Tips & Techniques
Whipping the cream separately and folding it gently into the cream cheese is key to light, airy cheesecake bars instead of dense, heavy ones. Take your time softening the cream cheese; lumps can be a pain to smooth out later. I learned the hard way that cold cream cheese ruins the texture.
Pressing the crust firmly is another tip I picked up after a few crumbly disasters. The crust should hold together when sliced rather than falling apart on the plate. When slicing, warming your knife under hot water really makes a difference in getting clean edges without smudges.
Lastly, don’t rush the chilling step—it’s tempting to dig in immediately, but the bars are much easier to handle and taste better when fully set. Multitasking by prepping the topping while the filling chills saves time and keeps things moving smoothly.
Variations & Adaptations
- Berry Mix-Up: Swap strawberries for a blend of fresh blueberries, raspberries, and blackberries for a colorful twist.
- Chocolate Swirl: Add a swirl of melted dark chocolate or Nutella into the cheesecake filling before setting for a decadent surprise.
- Vegan Version: Use dairy-free cream cheese and coconut cream whipped to stiff peaks. Replace graham crackers with gluten-free cookies to keep it allergen-friendly.
- Crunchier Crust: Mix in chopped nuts like pecans or almonds with the crust for extra texture and nutty flavor.
- Personally, I once added a teaspoon of rose water to the filling—subtle but lovely, especially with the strawberry topping. It’s perfect if you want something a little different without complicating the recipe.
Serving & Storage Suggestions
These strawberry cheesecake bars are best served chilled straight from the fridge. The creamy texture and fresh topping taste most refreshing that way. If you want a little extra flair, garnish with a sprig of mint or a dusting of powdered sugar before serving.
Pair these bars with a cup of black coffee or an herbal tea for a cozy afternoon treat. For a party, they complement light salads or grilled chicken beautifully, balancing savory with sweet.
Store leftovers covered tightly in the refrigerator for up to 4 days. They can also be frozen for up to a month; just thaw overnight in the fridge before enjoying. Keep the strawberry topping separate when freezing to avoid sogginess—add it fresh after thawing.
Over time, the flavors meld and the crust softens slightly, making the bars even more luscious. Just watch for moisture buildup and drain excess liquid if needed during storage.
Nutritional Information & Benefits
Each serving of these cheesecake bars offers a satisfying balance of fats, carbs, and a bit of protein from the cream cheese and heavy cream. Fresh strawberries add a boost of vitamin C and antioxidants, making this dessert a slightly healthier indulgence compared to heavier baked cheesecakes.
They’re naturally gluten-free if you use gluten-free graham crackers or substitutes, and you can easily make them lower in sugar by adjusting the sweeteners. Just keep in mind the creamy richness comes mainly from full-fat dairy, which adds to the calorie count but also the satisfying texture and flavor.
From my experience, this recipe strikes a nice balance between treating yourself and keeping things relatively wholesome, especially when fresh fruit is involved. It’s a dessert you can feel good about sharing.
Conclusion
These Easy No-Bake Strawberry Cheesecake Bars are a dessert that stays with you—not because they’re complicated, but because they’re reliably delicious and creamy in all the right ways. Whether you’re pressed for time or just craving something sweet and fresh, they fit the bill without fuss.
Feel free to tweak the toppings or crust to suit your taste—this recipe welcomes your personal touch. I keep coming back to it because it’s straightforward, forgiving, and honestly, just plain comforting. It’s the kind of recipe that turns a simple moment into something a little special.
If you try it out, I’d love to hear how you made it your own. Sharing those little twists is what keeps the kitchen fun and lively. Here’s to creamy treats and sweet moments ahead!
FAQs
Can I use frozen strawberries for the topping?
Yes, but be sure to thaw and drain them well to avoid excess moisture that can make the bars soggy.
How long do these cheesecake bars last in the fridge?
They keep well for up to 4 days when stored in an airtight container.
Is it possible to make these bars ahead of time?
Absolutely! They actually taste better after chilling overnight, which helps the flavors meld and the filling set firmly.
Can I use a different crust instead of graham crackers?
Yes, crushed digestive biscuits, vanilla wafers, or gluten-free cookies all work great as a base.
How do I prevent the filling from being too soft?
Make sure your cream cheese is fully softened and whip the cream to stiff peaks before folding it in. Also, chilling the assembled bars for at least 2 hours helps firm things up nicely.
Pin This Recipe!
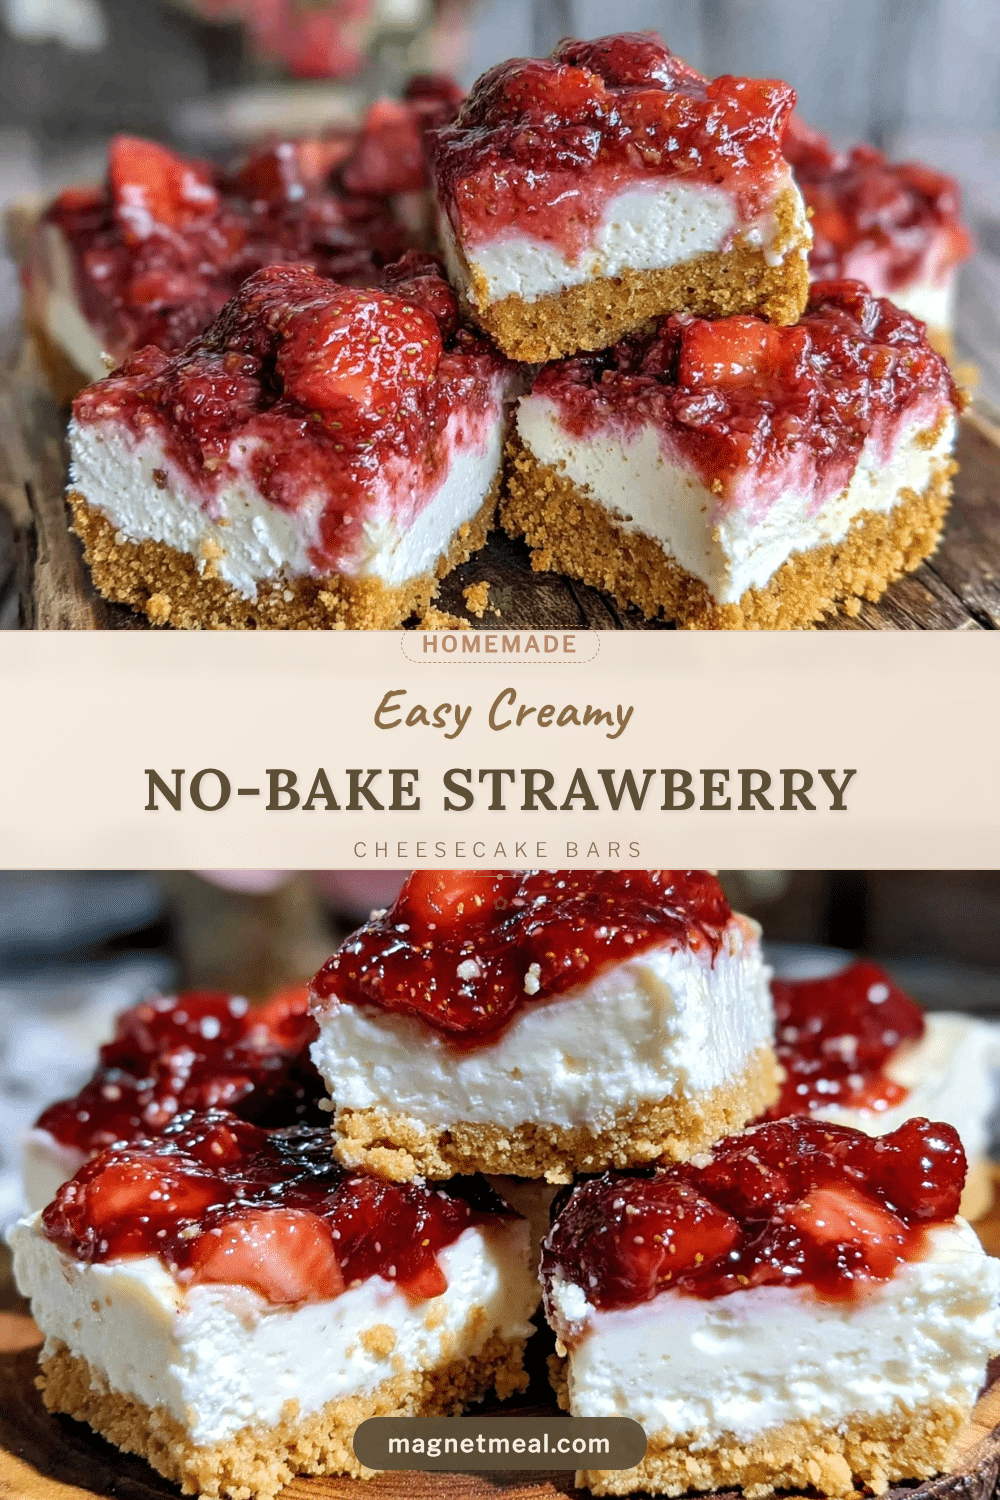
Easy No-Bake Strawberry Cheesecake Bars
A simple, creamy no-bake dessert featuring a buttery graham cracker crust, fluffy cream cheese filling, and fresh strawberry topping. Perfect for quick, refreshing treats without using an oven.
- Prep Time: 15 minutes
- Cook Time: 0 minutes
- Total Time: 2 hours 15 minutes
- Yield: 9 servings 1x
- Category: Dessert
- Cuisine: American
Ingredients
- 1 ½ cups graham cracker crumbs (about 10 full sheets, finely crushed)
- 6 tablespoons unsalted butter, melted
- 2 tablespoons granulated sugar
- 16 ounces (450 g) cream cheese, softened (full-fat)
- ¾ cup powdered sugar, sifted
- 1 teaspoon vanilla extract
- 1 tablespoon fresh lemon juice
- 1 cup heavy whipping cream, cold
- 1 ½ cups fresh strawberries, hulled and sliced
- 2 tablespoons granulated sugar (optional)
- 1 teaspoon lemon zest
Instructions
- Prepare the crust: In a medium bowl, mix graham cracker crumbs, melted butter, and sugar until combined. Press firmly into the bottom of an 8×8-inch pan to create an even layer. Chill in the fridge for at least 10 minutes.
- Make the cheesecake filling: Beat softened cream cheese with an electric mixer until smooth. Add powdered sugar, vanilla extract, and lemon juice; mix until combined. Whip cold heavy cream until stiff peaks form, then gently fold into the cream cheese mixture.
- Assemble the bars: Spread the cheesecake filling evenly over the chilled crust. Refrigerate for at least 2 hours or overnight to set.
- Prepare the topping: Toss sliced strawberries with sugar and lemon zest. Let sit for 10 minutes to release juices, then spoon over the set cheesecake layer just before serving.
- Slice and serve: Use a sharp knife warmed under hot water and dried to cut clean bars. Serve chilled.
Notes
Chill the assembled bars for at least 2 hours or overnight for best results. Use a warm knife to slice clean bars. If using frozen strawberries, thaw and drain well to avoid soggy bars. For dairy-free or gluten-free versions, substitute cream cheese and crust accordingly.
Nutrition
- Serving Size: 1 bar (if cut into 9
- Calories: 320
- Sugar: 16
- Sodium: 210
- Fat: 24
- Saturated Fat: 14
- Carbohydrates: 22
- Fiber: 1
- Protein: 5
Keywords: no-bake cheesecake, strawberry cheesecake bars, easy dessert, quick dessert, creamy dessert, no oven dessert, summer dessert


