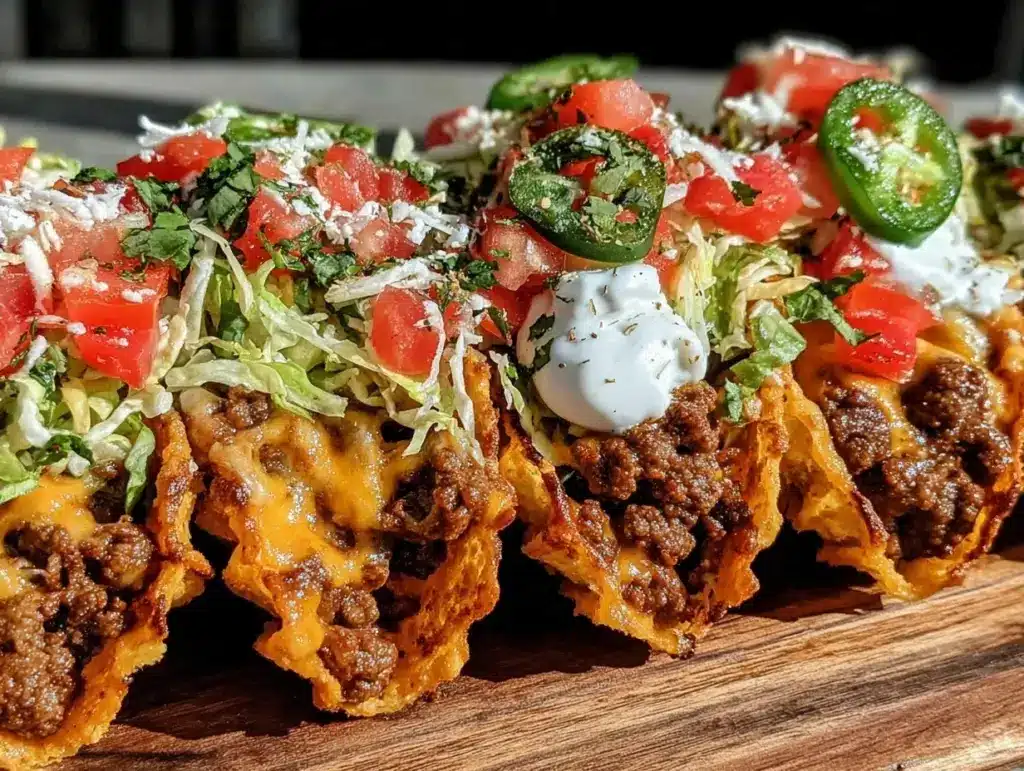
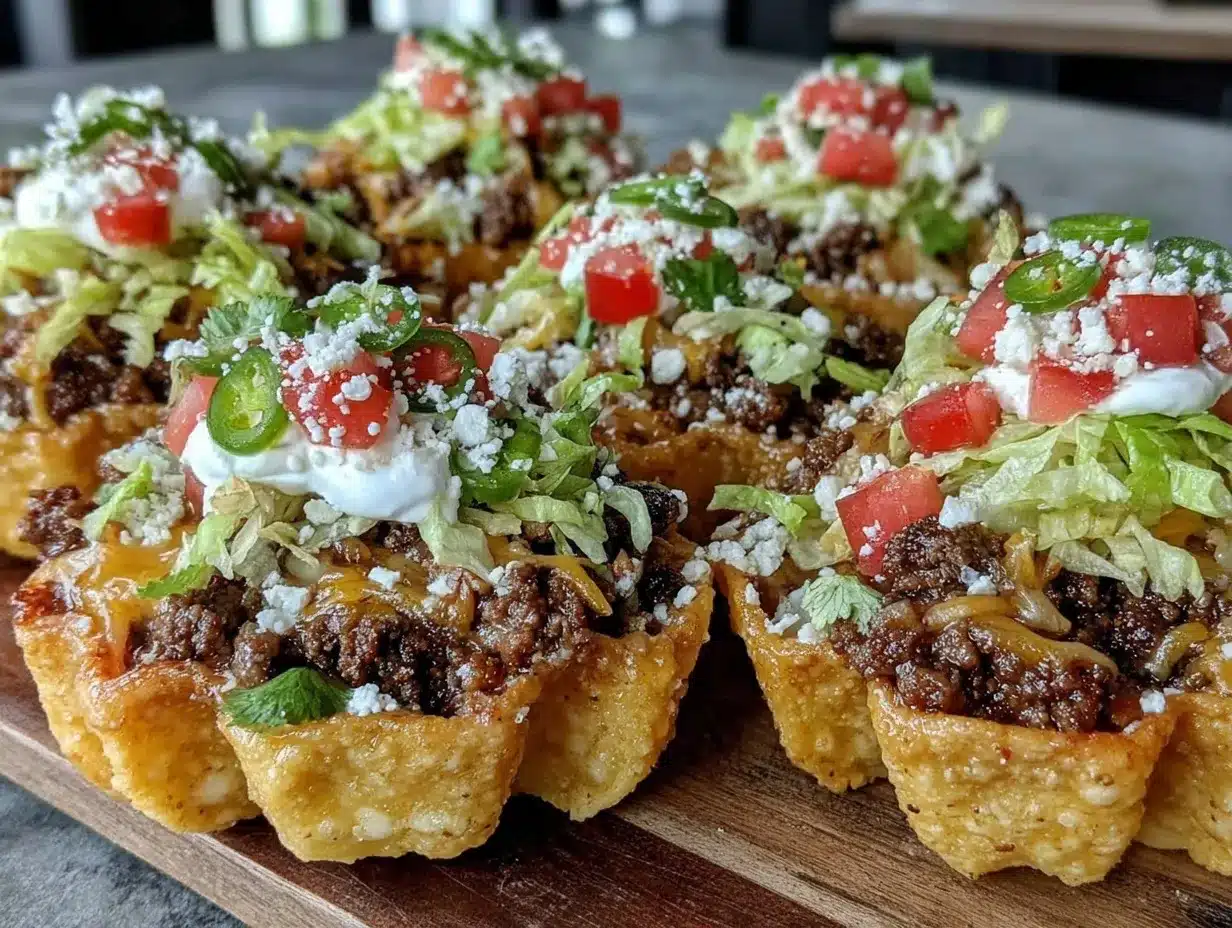
“Hey, can you grab some chips and taco meat for the game day?” That text came through when I was knee-deep in prepping a dinner that night. Honestly, I was barely keeping it together after a long day—but instead of stressing, I threw together a walking taco bar with all the fresh fixings. It was kind of accidental, really. I’d forgotten to make a proper dinner plan, but the pantry had taco essentials, and the fridge wasn’t empty either. The flavors just clicked, and before I knew it, everyone was hovering around the counter, piling their own little taco bowls. No forks, no plates, just crunchy chips loaded with seasoned beef, beans, cheese, and a rainbow of toppings.
What surprised me most was how this quick setup felt more like a party than a rushed meal. The fresh fixings—cool, crisp lettuce, juicy tomatoes, a dollop of creamy guac—balanced out the warm, savory meat perfectly. It wasn’t just dinner; it was an experience. I even caught my picky nephew sneaking back for seconds, which honestly sealed the deal for me. From then on, a flavorful walking taco bar became my go-to for casual get-togethers and those nights when I just want a fuss-free, fun meal that doesn’t skimp on taste.
There’s something quietly satisfying about everyone customizing their own little taco pile, the crunch of chips mixing with the burst of salsa and the zing of lime. It’s a meal that feels personal and festive without any pressure. And I promise you, once you’ve tried this setup, you’ll find yourself reaching for it again just like I do on busy evenings or casual party nights. It’s the kind of recipe that sticks—not because it’s fancy, but because it’s honest, flavorful, and downright fun.
Why You’ll Love This Recipe
Trust me, I’ve put this flavorful walking taco bar through its paces. It’s been tested over countless casual dinners and party nights with friends and family, and it’s always a hit. Here’s why it stands out:
- Quick & Easy: You can get everything ready in under 30 minutes—perfect when you need a fast meal that still feels special.
- Simple Ingredients: No need for a trip to a specialty store; most of the ingredients are pantry staples or easy to find fresh items.
- Perfect for Parties: Whether it’s a laid-back weekend gathering or a spontaneous hangout, this taco bar lets everyone build their own masterpiece.
- Crowd-Pleaser: Kids, adults, taco lovers, and even those who say they don’t like tacos end up loving this. The variety of fixings means there’s something for everyone.
- Unbelievably Delicious: The combination of seasoned meat, crisp veggies, and melty cheese on crunchy chips hits that comfort-food sweet spot every time.
This isn’t just another taco bar. The secret is in the seasoning blend I use for the meat—balanced with smoky, spicy, and slightly tangy notes—that I fine-tuned after many trial runs. Plus, the fresh fixings are always vibrant and thoughtfully prepared, giving the whole thing a bright, lively feel. Honestly, it’s the kind of meal that makes you close your eyes after the first bite and say, “Yep, that’s good.” It’s comfort food with a twist, easy but satisfying, and it’s become my favorite way to entertain without breaking a sweat.
What Ingredients You Will Need
This flavorful walking taco bar uses simple, wholesome ingredients to deliver bold flavor and satisfying texture without the fuss. Most of these are pantry staples, and you can mix and match the fixings depending on what you have on hand.
- For the Taco Meat:
- 1 pound (450g) ground beef or ground turkey (lean, for less grease)
- 1 small onion, finely chopped (adds sweetness and depth)
- 2 cloves garlic, minced (for that classic punch)
- 2 tablespoons taco seasoning mix (homemade or store-bought—I like McCormick for consistent flavor)
- 1/2 cup (120ml) beef broth or water (to keep it juicy)
- Salt and pepper to taste
- For the Walking Taco Base:
- 4 large bags of individual-sized corn chip bags (e.g., Fritos or your favorite brand)
- 1 cup (165g) canned black beans, drained and rinsed (adds protein and texture)
- The Fresh Fixings:
- 1 cup shredded lettuce (crisp iceberg or romaine works best)
- 1 large tomato, diced (fresh and juicy)
- 1/2 cup shredded cheddar cheese (or a Mexican blend)
- 1/2 cup sour cream or Greek yogurt (for creaminess)
- 1/2 cup fresh salsa or pico de gallo (adds brightness)
- 1 ripe avocado, diced or mashed into guacamole (optional, but highly recommended)
- 1/4 cup chopped fresh cilantro (for that herbaceous lift)
- 1-2 jalapeños, sliced thin (for heat—completely optional)
- Fresh lime wedges (to squeeze on top, brings everything alive)
- Optional Extras:
- Pickled jalapeños or onions (adds tang)
- Hot sauce varieties (to suit every spice level)
- Olives, sliced (for a salty twist)
If you want a gluten-free option, just make sure the chips are certified gluten-free (Fritos usually are). You can swap the beef with ground chicken or plant-based crumbles if you want to try different protein options. For a creamy twist, try mixing cottage cheese into the sour cream or using a dairy-free yogurt alternative if needed.
Equipment Needed
- Large nonstick skillet or frying pan (for browning the meat evenly)
- Wooden spoon or spatula (to break up the meat and stir the seasoning)
- Cutting board and sharp knife (for prepping fresh veggies and toppings)
- Mixing bowls (to hold and serve the various toppings separately)
- Serving spoons and small tongs (for easy self-service at the taco bar)
- Optional: Slow cooker (if you want to keep the meat warm during a party)
Personally, I like using a heavy-bottom skillet because it distributes heat well and prevents the meat from sticking. If you don’t have a nonstick pan, just be sure to stir frequently and keep the heat moderate. For chopping, a sharp chef’s knife makes all the difference—you’ll get clean cuts on the fresh ingredients, which really helps presentation when people build their tacos.
Preparation Method
- Prepare the Taco Meat: Heat a large skillet over medium heat. Add the chopped onion and sauté for about 3 minutes until translucent. Toss in the minced garlic and cook for 30 seconds until fragrant. Add the ground beef (or turkey) and break it up with your spoon. Cook for about 6-8 minutes, stirring occasionally, until browned and no pink remains.
- Season and Simmer: Sprinkle the taco seasoning over the meat, then pour in the beef broth or water. Stir well to combine. Reduce the heat to low and let it simmer for 5-7 minutes, stirring occasionally, until the liquid reduces slightly and the meat is flavorful and juicy. Taste and adjust salt and pepper as needed. If the mixture looks dry, add a splash more broth.
- Prepare Fresh Fixings: While the meat is simmering, rinse and chop your lettuce, dice the tomato, shred the cheese, slice jalapeños, and chop cilantro. Scoop out the avocado and mash it gently with a fork to make guacamole or dice into chunks. Set all toppings in separate bowls for easy access.
- Set Up the Walking Taco Bar: Arrange the bags of corn chips upright on your serving table or countertop. Place the seasoned taco meat, beans, and all fresh fixings in bowls around the chips. Don’t forget the lime wedges and any extra sauces or pickled items you want to add.
- Serving: Guests simply open a chip bag, add a scoop of meat, beans, and then pile on their preferred toppings. Encourage squeezing lime over the top for that fresh zing. The chips act as both container and crunch, making it easy to eat while mingling or watching the game.
Pro Tip: If you notice the meat cooling too fast during a party, warming it gently in a slow cooker or on the stovetop over low heat works wonders. Also, I like to keep a little extra salsa on hand so people can add more if they want that juicy pop.
Cooking Tips & Techniques
Getting the right texture and flavor balance in your taco meat is key. Here are some tips I’ve picked up:
- Don’t overcook the meat: Brown it just until it loses its pink color. Overcooking can dry it out, especially with lean turkey.
- Use broth or water: Adding a bit of liquid when seasoning helps distribute flavors evenly and keeps the meat juicy.
- Season gradually: Start with less taco seasoning, then taste and add more if needed. Sometimes store-bought mixes can be salty.
- Prep toppings ahead: Chop veggies and make guacamole an hour or two before so flavors meld. Just keep avocado covered tightly with plastic wrap to avoid browning.
- Keep fixings fresh: Store lettuce and tomatoes separately and add just before serving to avoid sogginess.
- Multitasking: While the meat simmers, prep toppings and set up the serving area to save time and stay organized.
Once, I forgot to drain the beans and ended up with a watery taco topping mess—lesson learned! Rinse and drain canned beans well to keep everything crisp and flavorful. Also, when slicing jalapeños, tossing on some gloves saves your fingers from burning later.
Variations & Adaptations
This taco bar is a blank canvas, so feel free to mix things up:
- Vegetarian Version: Swap the ground meat for seasoned lentils, crumbled tofu, or plant-based beef alternatives. Black beans and corn are great protein boosters here.
- Seasonal Twist: In summer, add grilled corn kernels or fresh mango salsa for a sweet contrast. Winter calls for warming toppings like roasted peppers or caramelized onions.
- Low-Carb Option: Use pork rinds or lettuce cups instead of chips for a keto-friendly walking taco experience.
- Spice Level: Adjust the heat by adding more jalapeños or swapping in chipotle powder for smoky heat. For the less adventurous, mild salsa and no peppers work just fine.
- Personal Favorite: I once added a drizzle of chipotle mayo over the top, and it added a creamy, spicy kick that had everyone asking what the secret sauce was.
If you’re curious about other easy, flavor-packed meals, you might enjoy my spicy peanut noodles with chicken—another quick recipe that’s full of punch. Or if you want something with a comforting twist, the classic tuna melt on sourdough is a cozy crowd-pleaser.
Serving & Storage Suggestions
Serve the walking taco bar fresh and warm for the best crunch and flavor. Guests will love the hands-on, casual vibe it brings to your gathering. A few tips to keep in mind:
- Temperature: Keep the taco meat warm in a slow cooker or covered skillet during parties.
- Presentation: Arrange toppings in colorful bowls and label them if you have picky eaters or dietary restrictions.
- Complementary Drinks: Sparkling water with lime, iced tea, or even a margarita pairs perfectly with the bold flavors.
- Storage: Leftover taco meat can be refrigerated in an airtight container for up to 3 days. Keep fresh toppings separate and add just before serving again.
- Reheating: Warm the meat gently on the stovetop or microwave in short bursts to avoid drying out. Add a splash of broth if needed.
- Flavor Development: The meat actually tastes better the next day as the spices meld, so don’t be shy about making extra.
Nutritional Information & Benefits
This walking taco bar recipe offers a balanced meal with protein, fiber, and fresh veggies. Here’s a rough estimate per serving (about one loaded chip bag):
| Nutrient | Amount |
|---|---|
| Calories | 450-500 kcal |
| Protein | 25-30 grams |
| Carbohydrates | 35-40 grams |
| Fat | 20 grams |
| Fiber | 6-8 grams |
Key ingredients like black beans and avocado add heart-healthy fats and fiber, while lean ground meat provides satisfying protein. Using fresh veggies boosts vitamin intake, and the lime wedges add a natural dose of vitamin C. For those with gluten sensitivities, this recipe can be adjusted easily by choosing gluten-free chips. Just be mindful of any dairy allergies in the sour cream or cheese and swap accordingly (dairy-free alternatives work great).
Conclusion
Making a flavorful walking taco bar is more than just a meal—it’s a fun, interactive way to bring people together without a lot of hassle. Whether you’re feeding family on a busy weeknight or hosting a casual party, this recipe fits the bill. The fresh fixings and well-seasoned meat make every bite a little celebration of flavor and texture.
I love this recipe because it’s flexible and forgiving, letting you customize every bite to your liking. Plus, it’s become one of those meals I reach for when I want something familiar yet exciting, quick but satisfying. And honestly, the smiles it brings around the table are pretty unbeatable.
If you try this flavorful walking taco bar, I’d love to hear how you make it your own. Share your tweaks and favorites in the comments so we can swap ideas and keep the taco love going strong!
FAQs About the Flavorful Walking Taco Bar
Can I make the taco meat ahead of time?
Absolutely! The meat keeps well in the fridge for up to 3 days. Just reheat gently before serving to keep it juicy.
What if I don’t have individual chip bags?
You can serve the chips in bowls or large bags, but individual bags make it easier and less messy for guests to eat on the go.
Can I use ground chicken or turkey instead of beef?
Yes, ground turkey or chicken works great. Just be careful not to overcook as they can dry out more quickly than beef.
How do I keep the fresh toppings from getting soggy?
Keep them chilled and add them right before serving. Separate wetter toppings like salsa from leafy greens to avoid sogginess.
Any tips for making this recipe vegetarian?
Swap the meat with seasoned lentils, beans, or plant-based ground crumbles. Add extra fresh veggies and perhaps some grilled mushrooms for umami.
Pin This Recipe!
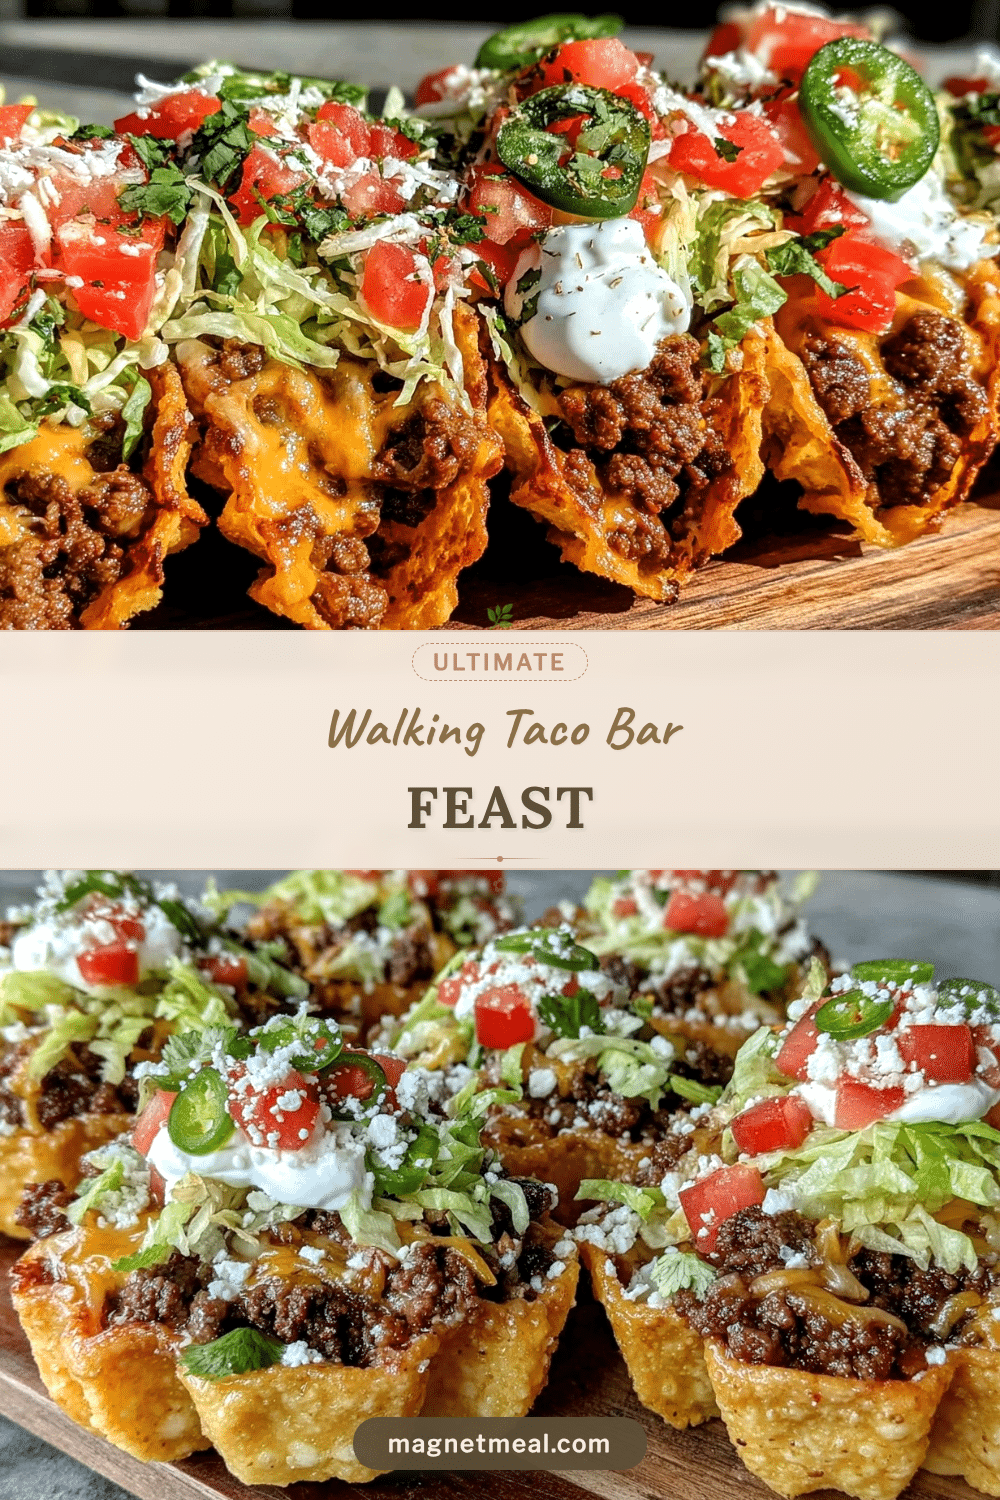
Flavorful Walking Taco Bar

A quick and easy walking taco bar recipe perfect for casual get-togethers and parties, featuring seasoned meat, crunchy chips, and fresh vibrant toppings.
- Prep Time: 15 minutes
- Cook Time: 15 minutes
- Total Time: 30 minutes
- Yield: 4 servings 1x
- Category: Main Course
- Cuisine: Mexican
Ingredients
- 1 pound ground beef or ground turkey (lean)
- 1 small onion, finely chopped
- 2 cloves garlic, minced
- 2 tablespoons taco seasoning mix
- 1/2 cup beef broth or water
- Salt and pepper to taste
- 4 large bags of individual-sized corn chip bags (e.g., Fritos)
- 1 cup canned black beans, drained and rinsed
- 1 cup shredded lettuce (iceberg or romaine)
- 1 large tomato, diced
- 1/2 cup shredded cheddar cheese or Mexican blend
- 1/2 cup sour cream or Greek yogurt
- 1/2 cup fresh salsa or pico de gallo
- 1 ripe avocado, diced or mashed into guacamole (optional)
- 1/4 cup chopped fresh cilantro
- 1–2 jalapeños, sliced thin (optional)
- Fresh lime wedges
- Optional extras: pickled jalapeños or onions, hot sauce varieties, sliced olives
Instructions
- Heat a large skillet over medium heat. Add chopped onion and sauté for about 3 minutes until translucent.
- Add minced garlic and cook for 30 seconds until fragrant.
- Add ground beef or turkey and break it up with a spoon. Cook for 6-8 minutes until browned and no pink remains.
- Sprinkle taco seasoning over the meat, pour in beef broth or water, stir well to combine.
- Reduce heat to low and simmer for 5-7 minutes, stirring occasionally until liquid reduces slightly and meat is juicy. Adjust salt and pepper to taste.
- While meat simmers, rinse and chop lettuce, dice tomato, shred cheese, slice jalapeños, chop cilantro, and prepare avocado guacamole or chunks. Set toppings in separate bowls.
- Arrange individual chip bags upright on serving table. Place seasoned meat, beans, and fresh fixings in bowls around the chips along with lime wedges and optional sauces.
- Guests open a chip bag, add a scoop of meat, beans, and preferred toppings. Squeeze lime over the top before eating.
Notes
Keep taco meat warm in a slow cooker or covered skillet during parties. Rinse and drain beans well to avoid watery toppings. Chop toppings ahead and keep avocado covered to prevent browning. Adjust seasoning gradually to avoid saltiness. Use gloves when slicing jalapeños to protect skin.
Nutrition
- Serving Size: One loaded individua
- Calories: 475
- Fat: 20
- Carbohydrates: 37
- Fiber: 7
- Protein: 27
Keywords: walking taco, taco bar, party food, easy dinner, game day recipe, taco meat, fresh toppings


