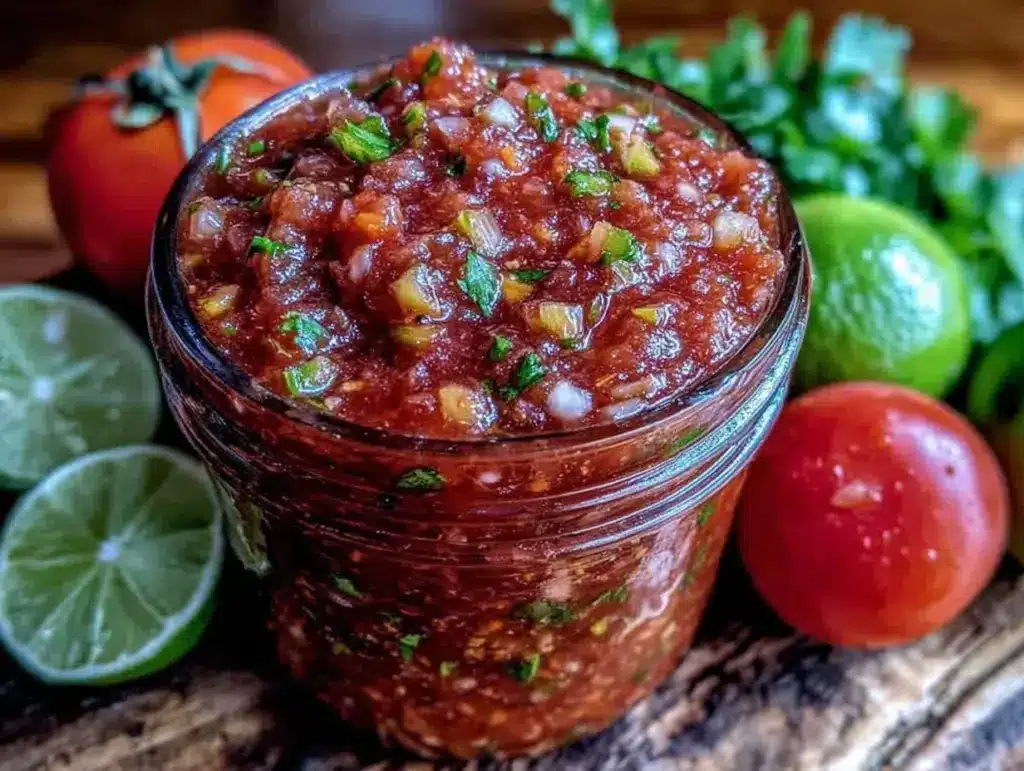
“Hey, did you bring the salsa?” My sister’s text popped up just as I was chopping the last tomato in my cluttered kitchen. It wasn’t the kind of salsa you grab at the store – this was the fresh homemade salsa for canning I’d been fiddling with all summer. Honestly, I started making it on a whim after an unexpected bumper crop from my backyard garden. I wasn’t sure if the chunky texture and zesty punch would hold up in jars, but one batch turned into three, and suddenly every family gathering had this salsa front and center.
It all began late one afternoon with a pile of sun-ripened tomatoes, a few jalapeños that snuck past my mild heat tolerance, and a craving for something fresh but bold. The smell of garlic sizzling in the pan and the sharp tang of lime juice filled my kitchen, mixing with the earthy scent of fresh cilantro. I remember thinking, “Can this simple mix really keep its magic after canning?” The answer came after the first taste post-canning – yes, it absolutely can. Now, whenever I open a jar in the dead of winter, it’s like a little summer party breaking out in my mouth.
Making fresh homemade salsa for canning isn’t just about preserving a flavor; it’s about capturing a moment, a season, a memory in every spoonful. And that’s exactly why this recipe stuck around in my kitchen – it’s chunky, zesty, and honestly, just a little bit addictive. If you’ve ever wondered how to bottle that bright, garden-fresh taste and bring it home for months to come, this recipe is your ticket.
Why You’ll Love This Recipe
After testing countless salsa recipes (and yes, some very messy kitchen experiments), this fresh homemade salsa for canning stands out as a true winner. Here’s why it’s become a staple in my household and might just become yours:
- Quick & Easy: You can have this salsa prepared and ready to jar in about 45 minutes, which is perfect for a weekend canning session.
- Simple Ingredients: No need to hunt down exotic spices or specialty produce. Most ingredients are pantry staples or fresh garden picks.
- Perfect for Gifting & Parties: Whether it’s a holiday gift or a backyard BBQ, this chunky salsa gets rave reviews every time.
- Crowd-Pleaser: The balance of zesty heat and chunky texture appeals to salsa newbies and aficionados alike.
- Unbelievably Delicious: The combination of fresh tomatoes, sharp onions, and a hint of lime creates a flavor profile that’s bright and satisfying.
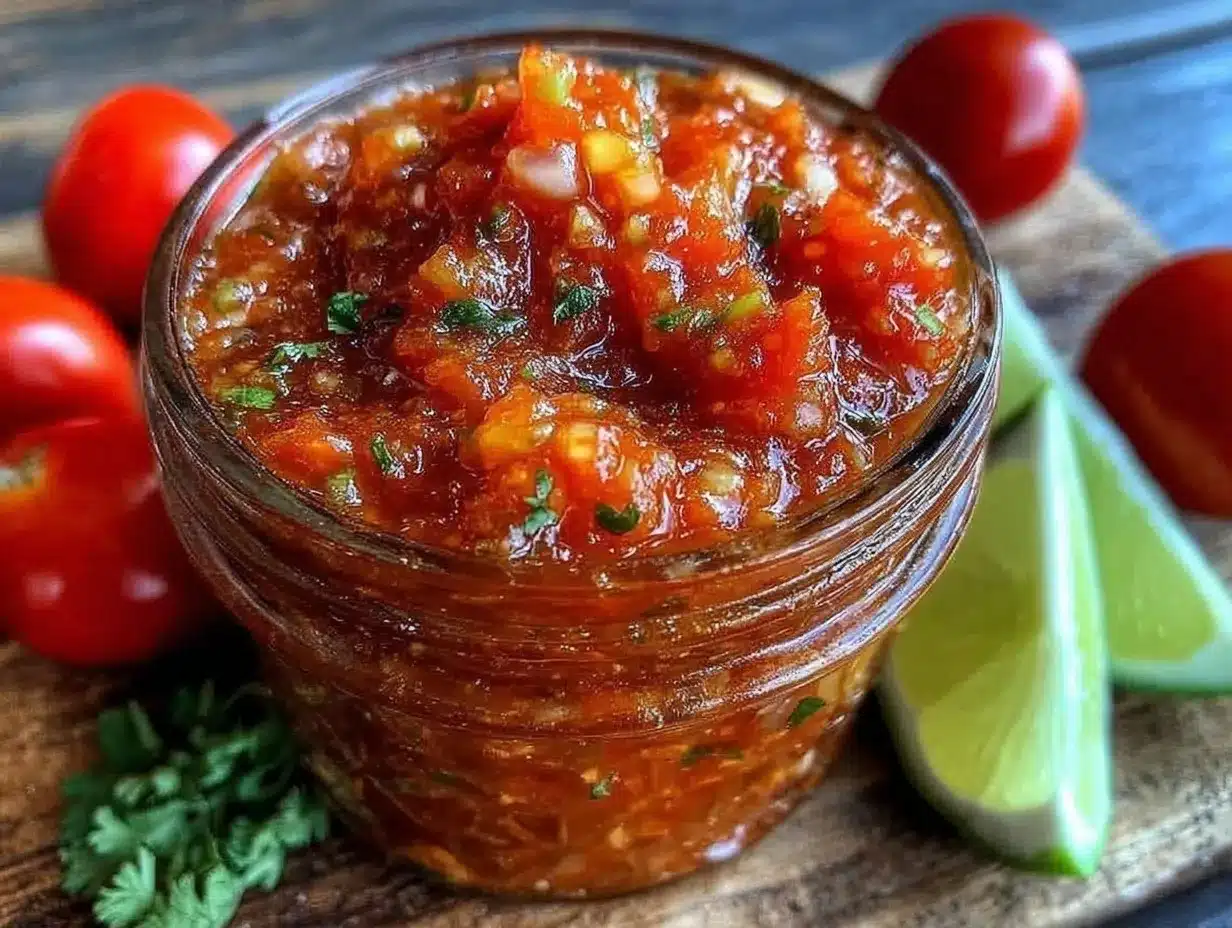
What sets this recipe apart is the careful balance between chunky texture and zesty flavor, designed specifically to hold up well during the canning process. Unlike other salsas that turn watery or dull, mine keeps that fresh-tasting snap you crave. The secret? A touch of vinegar and a pinch of patience during simmering. It’s not just salsa; it’s a little jar of summer sunshine you can open any time.
What Ingredients You Will Need
This fresh homemade salsa for canning uses straightforward, wholesome ingredients that work together to create a bold, zesty, and chunky flavor. Most of these items are staples, and substitutions are easy if you want to tweak the heat or texture.
- Fresh Roma tomatoes (about 10 medium, diced) – firm and ripe for the best texture
- White onions (1 large, finely chopped) – adds crunch and sharpness
- Jalapeño peppers (2 medium, seeded for less heat or left whole for spice)
- Garlic cloves (4 large, minced) – the backbone of flavor
- Fresh cilantro (1/2 cup, chopped) – for that bright, herbal kick
- Fresh lime juice (from 2 limes) – the zesty acid that lifts the salsa
- Apple cider vinegar (1/4 cup) – key for canning safety and flavor balance
- Sea salt (2 teaspoons) – enhances all the flavors
- Ground cumin (1 teaspoon) – subtle warmth without overpowering
- Black pepper (1/2 teaspoon) – freshly cracked works best
- Optional: A pinch of smoked paprika for a subtle smoky note
For canning, you’ll also need clean, sterilized jars and lids. I’ve found that using dependable brands like Ball for jars and lids helps avoid any tricky sealing problems.
If you’re looking to adjust heat, swap jalapeños for milder poblano peppers or add a serrano pepper for extra kick. For a gluten-free version, this recipe is naturally safe as it contains no wheat or gluten-containing ingredients.
Equipment Needed
Getting your kitchen ready for salsa canning doesn’t require fancy gadgets, but a few essentials help make the process smooth and safe.
- Large stainless steel pot: A must for simmering the salsa evenly without sticking. I’ve used a 6-quart pot that works perfectly.
- Cutting board and sharp knife: For chopping those tomatoes and peppers with ease.
- Mixing bowls: To keep ingredients organized and ready to combine.
- Jar lifter and funnel: Makes transferring salsa into jars less messy and safer, especially when handling hot liquids.
- Water bath canner or large stockpot: For processing your jars to seal them properly.
- Measuring cups and spoons: Accuracy matters for acidity and seasoning balance.
If you don’t have a water bath canner, no worries — a large deep pot with a rack works fine. Just make sure jars are covered by at least an inch of water. Also, a food processor can be handy if you prefer a less chunky texture, but I love the hand-chopped feel of this salsa.
Preparation Method
- Prep your ingredients: Start by washing all your produce thoroughly. Dice the Roma tomatoes into roughly 1/2-inch chunks, finely chop the white onion, and mince the garlic cloves. Seed and finely chop jalapeños unless you want extra heat!
- Combine veggies in pot: In your large stainless steel pot, toss together the diced tomatoes, onions, jalapeños, garlic, and chopped cilantro. Stir gently to mix.
- Add seasonings and liquids: Pour in fresh lime juice, apple cider vinegar, sea salt, ground cumin, black pepper, and smoked paprika if using. Stir to combine everything evenly.
- Simmer the salsa: Place the pot over medium heat and bring the mixture to a gentle boil. Then reduce to a simmer and cook uncovered for 15-20 minutes, stirring occasionally. You want the salsa to thicken slightly but still look chunky and fresh.
- Prepare jars: While salsa simmers, sterilize your canning jars and lids by boiling them in water for 10 minutes. Keep jars warm until ready to fill to avoid cracking from hot salsa.
- Fill the jars: Using a funnel and ladle, carefully spoon the hot salsa into each jar, leaving about 1/2 inch of headspace at the top. Wipe rims clean to ensure a proper seal.
- Seal and process: Place lids on jars and screw on bands fingertip-tight. Process jars in a boiling water bath for 15 minutes (adjust time for altitude if needed). Remove jars carefully and let cool undisturbed for 12-24 hours.
- Check seals: After cooling, press on the center of each lid. If it doesn’t pop back, the jar is sealed properly. Store sealed jars in a cool, dark place.
Pro tip: If your salsa tastes a bit too tangy after canning, let the flavors mellow for a week or so. The chunks soften but keep their texture, making it perfect for snacking, topping tacos, or stirring into a hearty chili.
Cooking Tips & Techniques
When it comes to fresh homemade salsa for canning, a few kitchen tricks really make a difference:
- Don’t overcook: Keep the simmer short enough to maintain chunky texture. I’ve learned that 15-20 minutes is the sweet spot; longer and it turns mushy.
- Use firm tomatoes: Roma tomatoes are my go-to because they’re meaty and less watery. Avoid overly ripe tomatoes, or your salsa might get too thin.
- Balance acidity: Apple cider vinegar and lime juice aren’t just for flavor—they’re essential for safe canning and preserving brightness.
- Chop by hand: While a food processor is tempting, hand-chopping gives you control over chunk size and a rustic feel that’s truly satisfying.
- Test your jars: Always check seals before storing. A failed seal means you need to refrigerate and use the salsa quickly or reprocess.
One time, I forgot to adjust for altitude and had a few jars with loose lids — lesson learned! Also, prepping ingredients the day before can speed up the process on canning day, especially if you’re juggling other meals like a quick classic tuna melt on sourdough bread for lunch.
Variations & Adaptations
This fresh homemade salsa for canning is wonderfully flexible, ready to shift with your mood or pantry:
- Mild Version: Omit jalapeños and add a pinch of smoked paprika for a smoky flavor without heat.
- Chunkier Salsa: Add diced bell peppers or corn kernels for extra texture and sweetness – great in summer!
- Spicy Kick: Toss in a serrano pepper or a dash of cayenne for those who like it hot and fiery.
- Roasted Twist: Roast tomatoes and peppers before chopping to introduce a deeper, smoky flavor profile.
- Low Sodium: Reduce salt and add a splash of fresh lime juice for freshness, adjusting to taste after canning.
One variation I love is stirring in diced avocado just before serving, creating a creamy, fresh finish that pairs perfectly with crunchy chips or on top of grilled chicken. For a quick weeknight meal, this salsa is a perfect companion to BBQ chicken cheddar wraps, adding a zesty freshness that cuts through the richness.
Serving & Storage Suggestions
This salsa is best served chilled or at room temperature. Spoon it over tortilla chips, dollop on tacos, or use it as a topping for scrambled eggs or grilled meats. The chunky texture makes it a versatile condiment that pairs beautifully with many dishes.
Store sealed jars in a cool, dark pantry for up to one year. Once opened, refrigerate and consume within two weeks for the freshest flavor. Reheating isn’t necessary; the salsa tastes best fresh but can be warmed gently if preferred.
Over time, the flavors deepen and meld, but the fresh zing remains thanks to the lime juice. If you find the salsa has thickened too much after storage, just stir in a splash of lime juice or a little water to loosen it up before serving.
Nutritional Information & Benefits
One half-cup serving of this fresh homemade salsa for canning roughly contains:
| Calories | 40 |
|---|---|
| Carbohydrates | 9g |
| Fiber | 2g |
| Vitamin C | 35% DV |
| Sodium | 400 mg |
This salsa is naturally low in calories and fat, packed with antioxidants from fresh tomatoes and peppers, and a good source of vitamin C, which supports immune health. The fresh garlic and onions add not just flavor but also compounds linked to heart health. Those watching sodium can adjust salt amounts or rinse the salsa slightly before serving.
Conclusion
This fresh homemade salsa for canning recipe is more than just a condiment—it’s a little jar of joy that carries summer’s best flavors through the colder months. Whether you’re a canning newbie or a seasoned pro, this recipe’s simplicity and reliability make it a must-try. I love how it brings a bright, zesty punch to everything from snacks to full meals and how it sparks memories of warm days and good company.
Feel free to experiment with spice levels and veggies to make it your own. And if you try this recipe, drop a comment to share your tweaks or how it transformed your winter meals! Cooking should always be a little adventure, right?
FAQs About Fresh Homemade Salsa for Canning
How long does homemade salsa last when canned?
Properly canned and sealed salsa can last up to one year stored in a cool, dark place. Once opened, refrigerate and use within two weeks.
Can I use other types of tomatoes for this salsa?
Yes, but Roma tomatoes are preferred for their firm texture and lower water content. Other types may make the salsa thinner.
Is this salsa recipe safe for canning?
Yes, the apple cider vinegar and lime juice provide enough acidity for safe water bath canning when following the processing times carefully.
Can I freeze this salsa instead of canning?
Absolutely! Freezing preserves the fresh flavor well but may change the texture slightly. Use freezer-safe containers and consume within 6 months.
How can I reduce the heat if I don’t like spicy salsa?
Remove seeds and membranes from jalapeños or substitute with milder peppers like poblano. You can also reduce the number of peppers used.
Pin This Recipe!
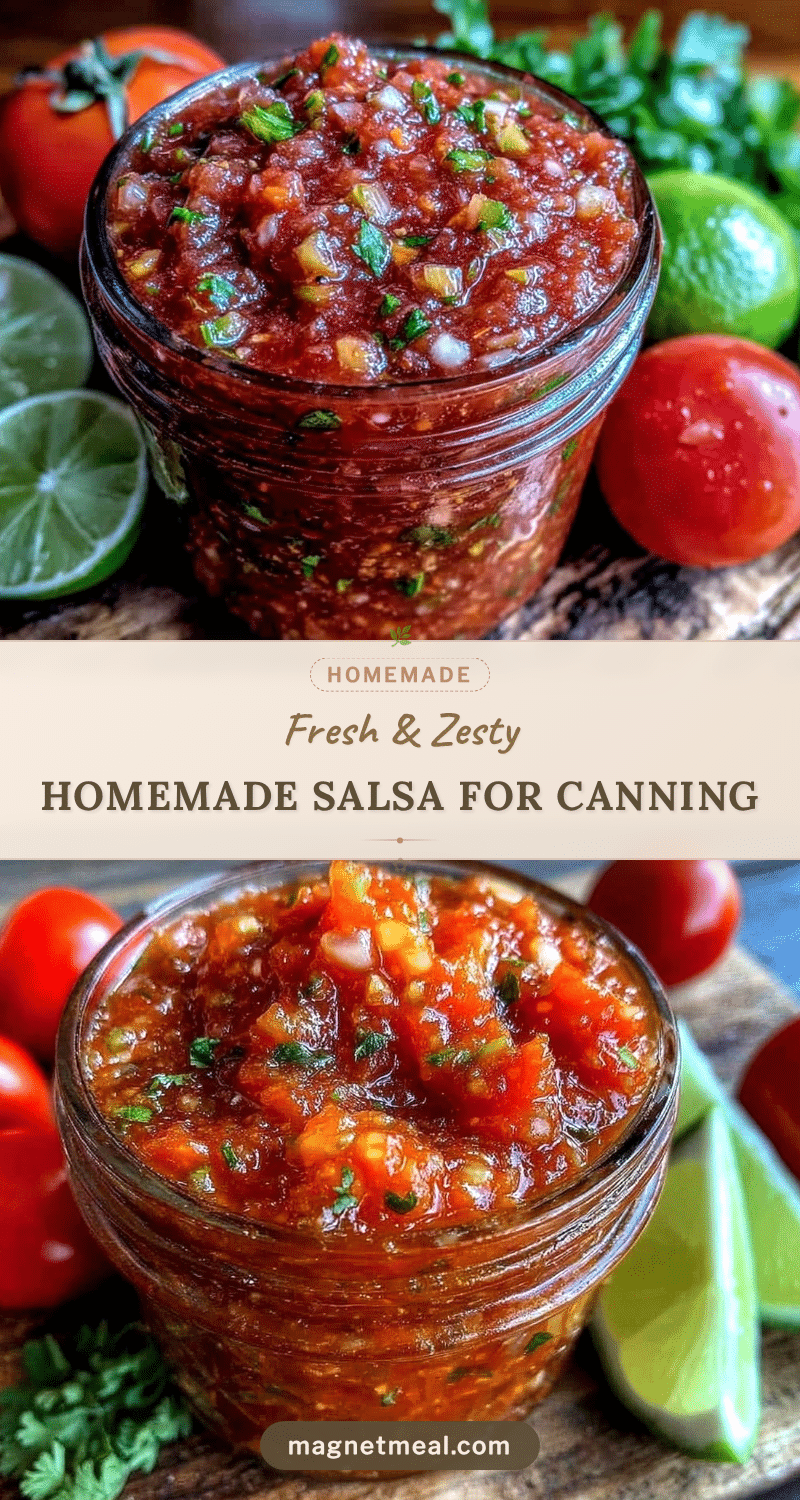
Fresh Homemade Salsa for Canning Easy Zesty Chunky Recipe
A fresh, chunky, and zesty homemade salsa recipe perfect for canning and preserving the bright flavors of summer all year round.
- Prep Time: 15 minutes
- Cook Time: 20 minutes
- Total Time: 45 minutes
- Yield: 8 cups (about 8 servings) 1x
- Category: Condiment
- Cuisine: Mexican
Ingredients
- 10 medium Roma tomatoes, diced (about 5 pounds)
- 1 large white onion, finely chopped
- 2 medium jalapeño peppers, seeded for less heat or left whole for spice
- 4 large garlic cloves, minced
- 1/2 cup fresh cilantro, chopped
- Juice of 2 limes (about 1/4 cup)
- 1/4 cup apple cider vinegar
- 2 teaspoons sea salt
- 1 teaspoon ground cumin
- 1/2 teaspoon freshly cracked black pepper
- Optional: pinch of smoked paprika
Instructions
- Wash all produce thoroughly. Dice the Roma tomatoes into roughly 1/2-inch chunks, finely chop the white onion, and mince the garlic cloves. Seed and finely chop jalapeños unless extra heat is desired.
- In a large stainless steel pot, combine diced tomatoes, onions, jalapeños, garlic, and chopped cilantro. Stir gently to mix.
- Add fresh lime juice, apple cider vinegar, sea salt, ground cumin, black pepper, and smoked paprika if using. Stir to combine evenly.
- Place the pot over medium heat and bring the mixture to a gentle boil. Reduce to a simmer and cook uncovered for 15-20 minutes, stirring occasionally, until salsa thickens slightly but remains chunky.
- While salsa simmers, sterilize canning jars and lids by boiling them in water for 10 minutes. Keep jars warm until ready to fill.
- Using a funnel and ladle, carefully spoon hot salsa into each jar, leaving about 1/2 inch of headspace. Wipe rims clean to ensure proper seal.
- Place lids on jars and screw on bands fingertip-tight. Process jars in a boiling water bath for 15 minutes (adjust for altitude if needed). Remove jars carefully and let cool undisturbed for 12-24 hours.
- After cooling, press the center of each lid to check seals. If the lid does not pop back, the jar is sealed properly. Store sealed jars in a cool, dark place.
Notes
Do not overcook the salsa to maintain chunky texture; 15-20 minutes simmering is ideal. Use firm Roma tomatoes to avoid watery salsa. Balance acidity with apple cider vinegar and lime juice for safe canning. Hand-chop ingredients for best texture. Always check jar seals before storage. Adjust heat by removing jalapeño seeds or substituting milder peppers. Let flavors mellow for a week after canning for best taste.
Nutrition
- Serving Size: 1/2 cup
- Calories: 40
- Sodium: 400
- Carbohydrates: 9
- Fiber: 2
Keywords: homemade salsa, salsa for canning, fresh salsa, chunky salsa, zesty salsa, garden salsa, canning recipe, easy salsa, salsa recipe


