
“You forgot the cookies, didn’t you?” my friend whispered half-jokingly as we rushed into the school auditorium, armloads of gifts in tow. Honestly, I hadn’t forgotten, but the chaos of the day had me doubting if the little homemade gift I’d planned would hold up. That’s how the idea for the Perfect Thank You Teacher Cookie Gift Box with Royal Icing came about — a last-minute scramble that somehow turned into a sweet success.
Making these cookies felt like a quiet promise: a way to say thanks without words, wrapped in colorful icing and simple shapes that reminded me of those early school days. I never imagined royal icing would be this approachable, but it turned out to be the perfect finishing touch, making each cookie look polished and special without the fuss.
It’s funny how a few batches of these cookie gifts became my go-to for every teacher appreciation moment since. The delicate shimmer of the icing, the crisp edges, and the soft centers somehow made me feel like I was giving more than just a cookie — it was a little box of gratitude and care. And honestly, once you get the hang of the royal icing, it’s not as intimidating as it looks.
So, this recipe stuck with me because it’s more than just a treat. It’s a simple way to brighten someone’s day with something handmade, thoughtful, and undeniably sweet.
Why You’ll Love This Recipe
Having tested this recipe multiple times — sometimes in the middle of a hectic week, other times with a quiet afternoon to spare — I can say it’s a reliable crowd-pleaser that balances ease and elegance.
- Quick & Easy: The cookie dough comes together in about 15 minutes, and the royal icing dries fast enough to assemble gift boxes the same day.
- Simple Ingredients: No need for fancy or hard-to-find items; most are pantry staples, and you can swap some for allergy-friendly options.
- Perfect for Teacher Gifts: The decorated cookies make a charming, personalized present that feels thoughtful but doesn’t require hours of decorating expertise.
- Crowd-Pleaser: Kids and adults alike love these cookies, whether as a snack or a sweet reminder of appreciation.
- Unbelievably Delicious: The buttery cookie base with the smooth, sweet royal icing hits that nostalgic comfort-food spot.
What sets this recipe apart is the royal icing technique. I’ve tweaked it to be less intimidating — blending just the right balance of stiffness and smoothness so it pipes beautifully but dries with a lovely sheen. It’s not just cookie decorating; it’s a small art form that anyone can master with a little practice. Plus, the gift box presentation means you get to share a bit of that joy with the people who make a difference every day.
If you’ve ever admired those perfectly iced cookies online but felt it was out of reach, this recipe breaks it down in a way that’s approachable and satisfying.
What Ingredients You Will Need
This recipe uses simple, wholesome ingredients to deliver bold flavor and satisfying texture without the fuss. Most are easy to find, and the list is friendly to substitutions if needed.
- For the Cookie Dough:
- All-purpose flour (2 ¾ cups / 345 g) – I prefer King Arthur for consistent texture
- Baking powder (1 tsp)
- Salt (½ tsp)
- Unsalted butter (1 cup / 227 g), softened – room temperature for best creaming
- Granulated sugar (1 cup / 200 g)
- Large egg (1), room temperature
- Pure vanilla extract (1 tsp)
- Milk (2 tbsp), whole or 2% for tenderness (can substitute with almond milk)
- For the Royal Icing:
- Powdered sugar (4 cups / 480 g), sifted for smooth icing
- Pasteurized egg whites (3 tbsp) or meringue powder (2 tbsp) + water
- Fresh lemon juice (1 tsp) – balances sweetness and helps drying
- Food coloring gels (optional) – AmeriColor gels work great for vibrant colors
- Optional Decorations:
- Edible glitter or sanding sugar
- Mini sprinkles
- For the Gift Box:
- Decorative box or cellophane bags
- Ribbon or twine
- Gift tags
For a gluten-free option, swap the all-purpose flour with an equal amount of a gluten-free blend. Also, if you’re worried about raw egg whites in the royal icing, meringue powder is a safe and convenient alternative.
Equipment Needed
- Mixing bowls – a large one for dough, a medium for icing
- Electric mixer or stand mixer – essential for creaming butter and whipping the icing
- Measuring cups and spoons – accuracy helps with consistent cookies
- Rolling pin – a non-stick or silicone one works best
- Cookie cutters – a set of classic shapes like apples, pencils, and stars fit the teacher theme
- Baking sheets lined with parchment paper or silicone mats
- Piping bags and tips – a small round tip (like Wilton #2 or #3) for outlining and flooding
- Toothpicks or scribe tools – helpful for smoothing the icing and fixing small details
If you don’t have a stand mixer, a handheld electric mixer will work just fine. For piping bags, reusable silicone ones are budget-friendly and easy to clean. I keep a few toothpicks handy, which have saved me more than once when a bubble appears in the icing!
Preparation Method

- Prepare the Cookie Dough (15 minutes active + 1 hour chilling):
- In a bowl, whisk together the flour, baking powder, and salt. Set aside.
- In a large bowl, beat the softened butter and granulated sugar with an electric mixer on medium speed until light and fluffy, about 3-4 minutes.
- Add the egg and vanilla extract; mix until combined.
- Gradually add the dry ingredients alternately with the milk, mixing on low speed just until incorporated. Avoid overmixing — the dough should be soft but not sticky.
- Form the dough into a disc, wrap it in plastic wrap, and chill in the fridge for at least 1 hour (this prevents spreading during baking).
- Roll and Cut the Cookies (20 minutes):
- Preheat the oven to 350°F (175°C). Line baking sheets with parchment paper.
- On a lightly floured surface, roll out the chilled dough to about ¼ inch (6 mm) thickness.
- Use cookie cutters to cut shapes, gently transfer them to the baking sheets about 1 inch (2.5 cm) apart.
- Re-roll scraps as needed but avoid overworking the dough.
- Bake the Cookies (10-12 minutes):
- Bake until edges are just golden — watch closely to avoid over-browning.
- Remove from oven and let cookies cool on the baking sheet for 5 minutes, then transfer to a wire rack to cool completely.
- Make the Royal Icing (10 minutes):
- In a mixing bowl, combine powdered sugar and egg whites (or meringue powder with water) and lemon juice.
- Beat on low speed until combined, then increase to high and whip until stiff peaks form, about 5-7 minutes. The icing should hold a peak but still be smooth enough to pipe.
- Divide into smaller bowls and tint with food coloring gels if desired.
- Adjust consistency with small amounts of water or powdered sugar for outlining (thicker) or flooding (thinner).
- Decorate the Cookies (30-45 minutes):
- Outline cookie shapes with thicker icing; let set for 10 minutes.
- Flood the inside with thinner icing; use a toothpick to spread evenly and pop any bubbles.
- Add sprinkles or edible glitter while icing is wet.
- Allow cookies to dry completely at room temperature for at least 2 hours or overnight for best results.
- Assemble the Gift Box:
- Arrange decorated cookies in a decorative box or wrap individually in cellophane bags.
- Tie with ribbon and add a personalized gift tag if you like.
Pro tip: If your icing is too runny, let it sit for a few minutes to thicken before piping. Also, when rolling out dough, chilling it well makes cutting easier and helps the cookies keep their shape.
Cooking Tips & Techniques
Royal icing can be intimidating, but a few tricks make it manageable. First, make sure your powdered sugar is well sifted to avoid lumps. When whipping the icing, start slow to avoid sugar dust flying everywhere, then crank up the speed for those glossy peaks.
Outlining before flooding is key to keep your colors neat and prevent the icing from running off the edges. Patience is your best friend here — let the outline crust over before filling in.
One time, I rushed the drying step and ended up with smudged colors and sticky cookies — lesson learned! Dry time really makes a difference, so if you can, let the cookies rest overnight before packaging.
Multitasking during decorating helps — pipe outlines on a few cookies, then flood others while the outlines dry. It keeps the process moving without feeling rushed.
For consistent results, keep your icing at room temperature and cover unused portions with a damp cloth to prevent drying out.
Variations & Adaptations
- Gluten-Free: Use a gluten-free all-purpose blend instead of regular flour. The texture might be slightly different but still delicious.
- Vegan Option: Substitute butter with vegan margarine and use aquafaba (chickpea water) in place of egg whites for the icing.
- Flavor Twists: Add lemon zest or a pinch of cinnamon to the cookie dough for subtle flavor depth.
- Alternative Decorating: Instead of royal icing, try a simple powdered sugar glaze with vanilla or almond extract for a rustic look.
- Seasonal Themes: Customize cookie shapes and icing colors for holidays or special occasions, like hearts for Valentine’s Day or pumpkins for fall.
Personally, I’ve tried a batch with cocoa powder in the dough for chocolate-flavored teacher cookies that were a big hit. Also, piping simple messages like “Thank You” or “Best Teacher” on the cookies makes them extra personal and fun.
Serving & Storage Suggestions
Serve these cookies at room temperature, ideally within a day or two of decorating for the best texture and flavor. They look lovely arranged in a gift box lined with tissue paper or a festive napkin.
Pair the cookies with a warm cup of tea or coffee for a cozy treat. If you want to include a little extra in the gift box, a small jar of honey or a sachet of herbal tea complements the flavors beautifully.
Store the cookies in an airtight container at room temperature for up to 5 days. If you need to keep them longer, place them in a single layer in a sealed container and freeze for up to a month. Thaw at room temperature before gifting.
When reheating, avoid the microwave as it can soften the royal icing. Instead, let them come to room temp naturally. You’ll notice the flavors mellow and the icing slightly softens without losing that lovely sheen.
Nutritional Information & Benefits
Each cookie contains approximately 150-180 calories depending on size and decoration. The primary ingredients include butter, sugar, and flour, making these a rich but occasional treat.
Butter provides some vitamin A and essential fats, while the egg whites in the royal icing add a bit of protein. Using real vanilla and lemon juice adds natural flavors without artificial additives.
This recipe is gluten-free adaptable and can be made dairy-free or vegan with simple swaps, making it suitable for various dietary needs.
While it’s definitely a sweet indulgence, sharing these cookies as a thoughtful gift can bring joy and build connections — which, honestly, is a kind of nourishment all on its own.
Conclusion
This Perfect Thank You Teacher Cookie Gift Box with Royal Icing is a heartfelt way to show appreciation that feels personal and homemade without taking all day. It strikes the right balance between beautifully decorated treats and manageable prep, making it a go-to for busy gift-givers.
Feel free to tweak the flavors, colors, and shapes to suit your style or the season — the recipe is flexible and forgiving. For me, these cookies have become more than just a gift; they’re a little tradition that carries warmth and gratitude in every bite.
If you have a favorite twist or decorating hack, I’d love to hear about it — sharing ideas is part of the fun! Here’s to sweet moments and joyful giving.
FAQs
Can I make the cookie dough ahead of time?
Yes! The dough can be refrigerated for up to 3 days or frozen for up to 3 months. Just thaw and roll before baking.
How long does royal icing take to dry completely?
Royal icing typically dries to the touch within 1-2 hours but for a firm finish suitable for stacking or packaging, allow 6-8 hours or overnight.
What if my royal icing is too thick or too thin?
Add a few drops of water to thin it or more powdered sugar to thicken. It should hold a peak but still be smooth enough to pipe or flood.
Can I use store-bought sugar cookie dough instead?
You can, but homemade dough yields better flavor and texture. If using store-bought, chill it well before cutting for best results.
How should I store decorated cookies to keep them fresh?
Store in an airtight container at room temperature. Separate layers with parchment paper to avoid sticking. Freeze for longer storage.
For a perfect pairing with these cookies, you might enjoy the classic tuna melt on sourdough bread or a cozy batch of garlic butter shrimp ramen if you want to whip up something savory after your sweet gifts are done.
Pin This Recipe!
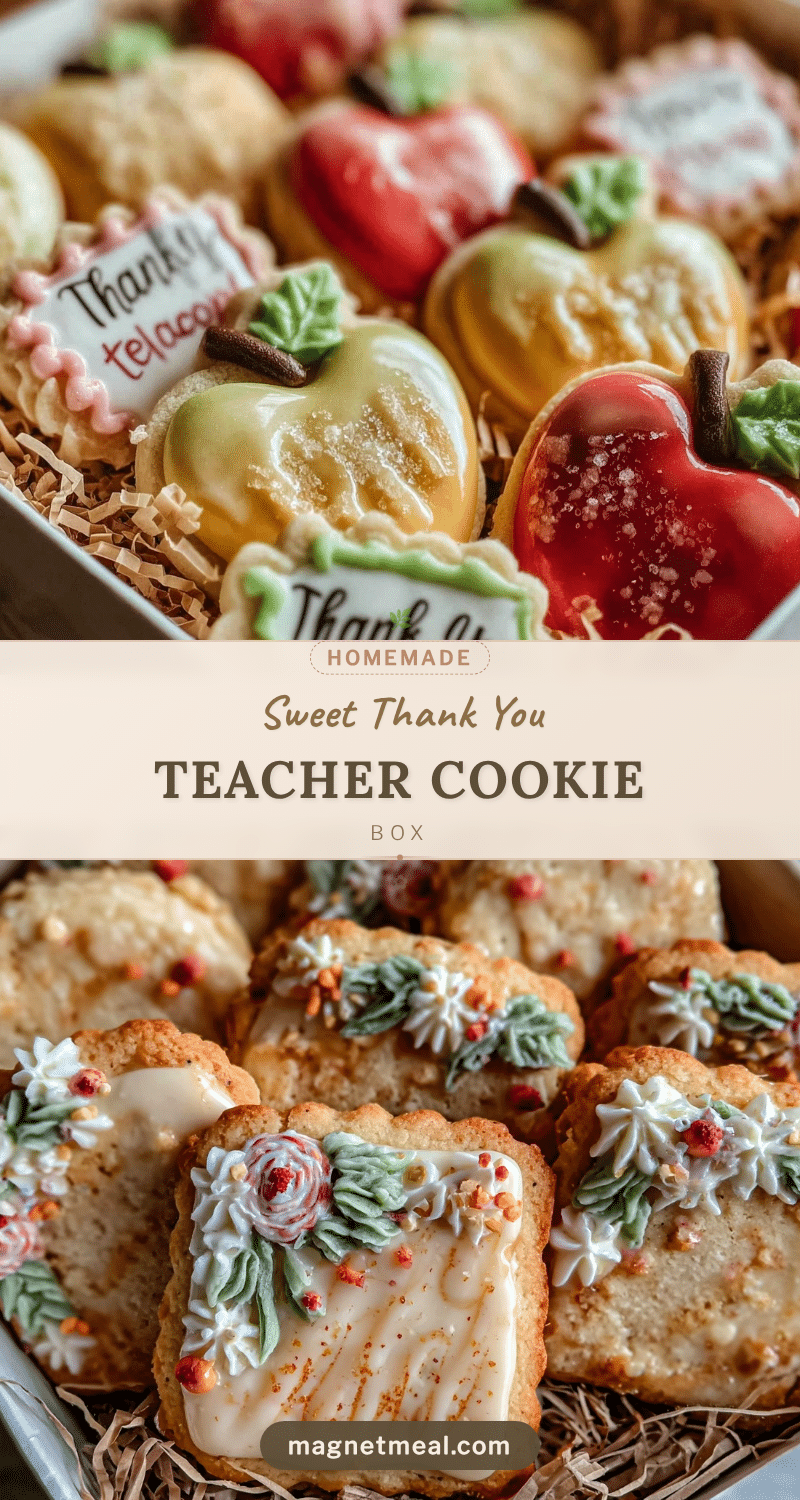
Perfect Thank You Teacher Cookie Gift Box Recipe with Easy Royal Icing Tutorial

A reliable and easy sugar cookie recipe decorated with smooth royal icing, perfect for thoughtful teacher gifts. The cookies have a buttery base with crisp edges and soft centers, decorated with a simple yet elegant royal icing technique.
- Prep Time: 15 minutes active + 1 hour chilling
- Cook Time: 10-12 minutes
- Total Time: 2 hours 30 minutes to overnight drying time
- Yield: About 24 cookies 1x
- Category: Dessert
- Cuisine: American
Ingredients
- 2 3/4 cups all-purpose flour (345 g)
- 1 tsp baking powder
- 1/2 tsp salt
- 1 cup unsalted butter (227 g), softened
- 1 cup granulated sugar (200 g)
- 1 large egg, room temperature
- 1 tsp pure vanilla extract
- 2 tbsp milk (whole or 2%), can substitute almond milk
- 4 cups powdered sugar (480 g), sifted
- 3 tbsp pasteurized egg whites or 2 tbsp meringue powder + water
- 1 tsp fresh lemon juice
- Food coloring gels (optional)
- Optional decorations: edible glitter or sanding sugar, mini sprinkles
- For gift box: decorative box or cellophane bags, ribbon or twine, gift tags
Instructions
- Prepare the Cookie Dough: Whisk together flour, baking powder, and salt. In a large bowl, beat softened butter and sugar until light and fluffy (3-4 minutes). Add egg and vanilla; mix to combine. Gradually add dry ingredients alternated with milk, mixing on low until just incorporated. Form dough into a disc, wrap, and chill for at least 1 hour.
- Roll and Cut the Cookies: Preheat oven to 350°F (175°C). Line baking sheets with parchment paper. Roll chilled dough to 1/4 inch thickness on a floured surface. Cut shapes with cookie cutters and place 1 inch apart on baking sheets. Re-roll scraps as needed.
- Bake the Cookies: Bake for 10-12 minutes until edges are just golden. Cool on baking sheet 5 minutes, then transfer to wire rack to cool completely.
- Make the Royal Icing: Combine powdered sugar, egg whites (or meringue powder with water), and lemon juice in a bowl. Beat on low then high speed until stiff peaks form (5-7 minutes). Divide and tint with food coloring if desired. Adjust consistency with water or powdered sugar for outlining (thicker) or flooding (thinner).
- Decorate the Cookies: Outline cookies with thicker icing; let set 10 minutes. Flood inside with thinner icing; use toothpick to spread and pop bubbles. Add sprinkles or edible glitter while icing is wet. Let dry at room temperature for at least 2 hours or overnight.
- Assemble the Gift Box: Arrange decorated cookies in a decorative box or wrap individually in cellophane bags. Tie with ribbon and add gift tags.
Notes
Chill dough well to prevent spreading and make cutting easier. Sift powdered sugar to avoid lumps in icing. Outline cookies before flooding to keep colors neat. Let icing dry overnight for best results. If icing is too runny, let it thicken before piping. Store cookies in airtight container at room temperature up to 5 days or freeze up to 1 month.
Nutrition
- Serving Size: 1 cookie
- Calories: 150180
- Sugar: 15
- Sodium: 90
- Fat: 7
- Saturated Fat: 4
- Carbohydrates: 25
- Protein: 2
Keywords: teacher gift cookies, royal icing cookies, sugar cookies, easy decorated cookies, homemade teacher gifts, cookie gift box, royal icing tutorial


