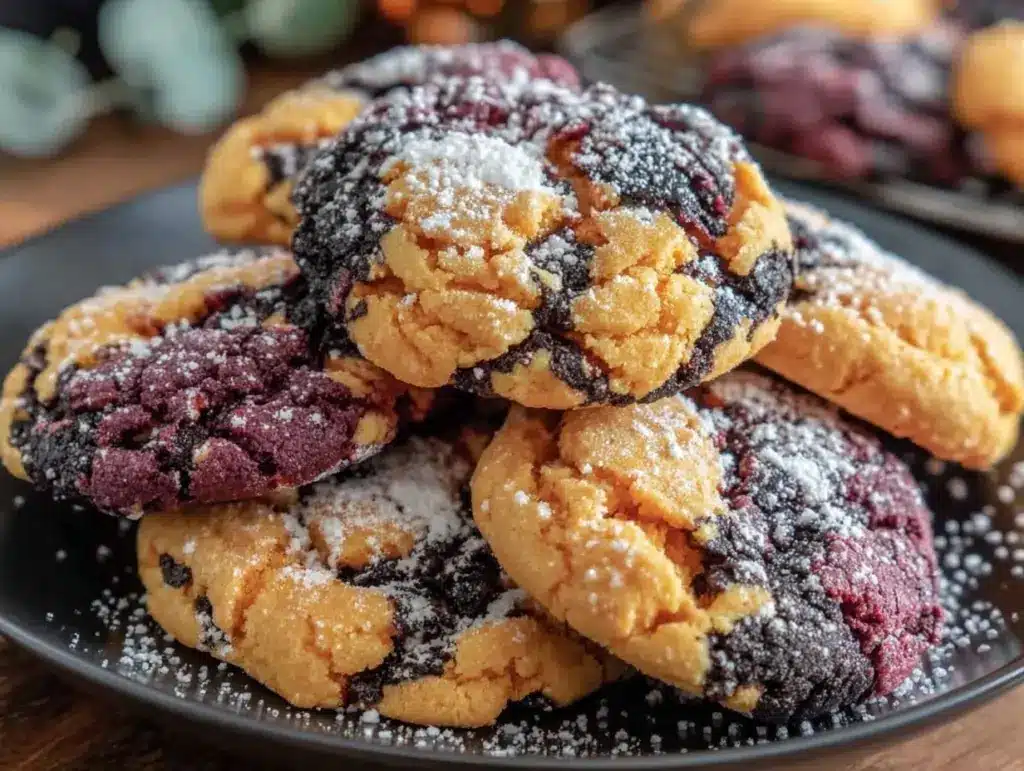
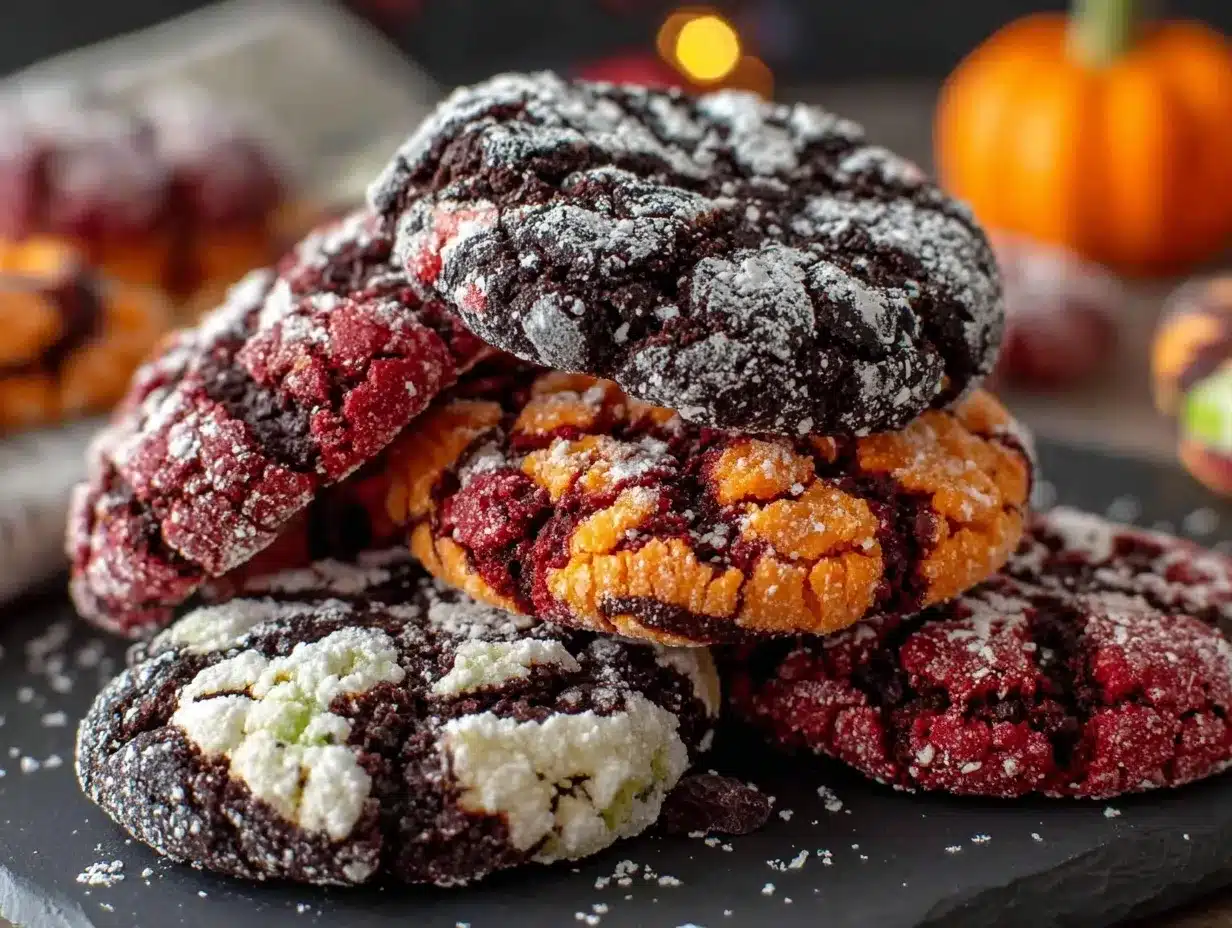
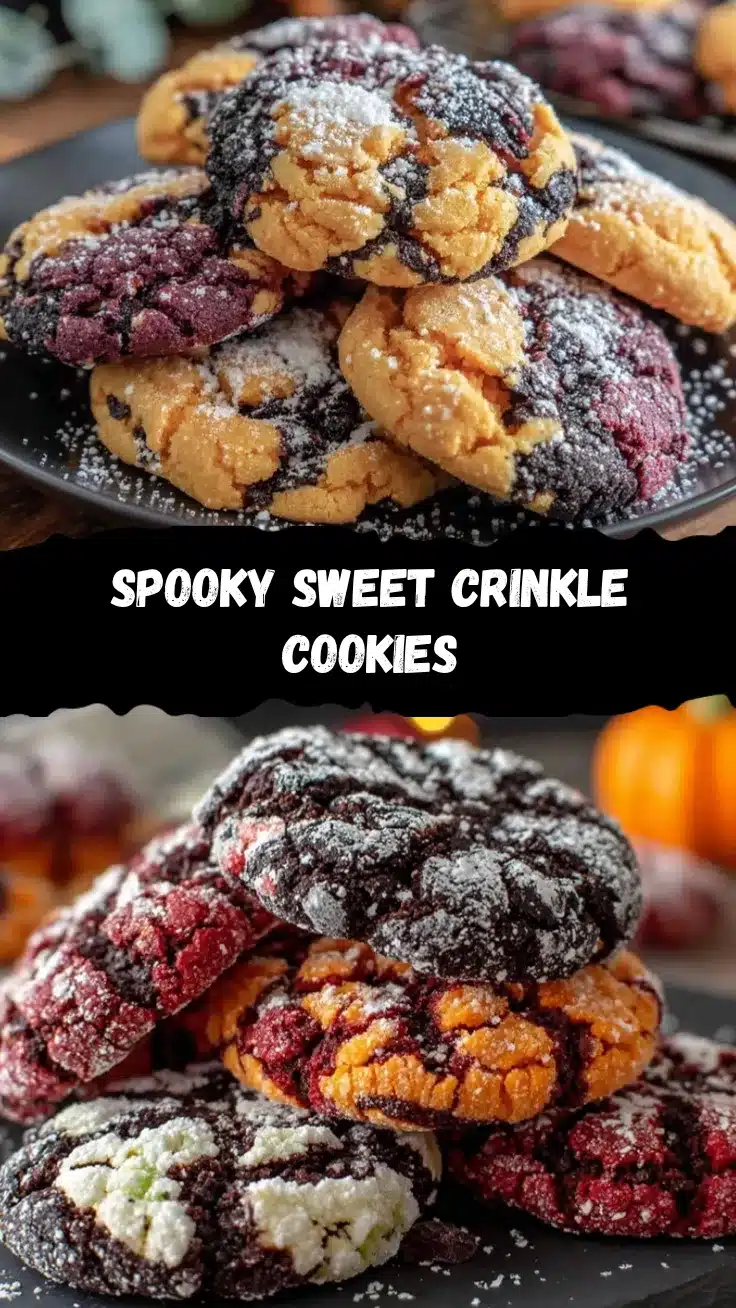
Picture this: a tray of spooky yet adorable Halloween crinkle cookies, bursting with vibrant colors, dusted in powdered sugar, and crackling with festive charm. These cookies are not just a treat—they’re a centerpiece for your Halloween celebrations. I’ve been making these for years, and honestly, they never fail to steal the spotlight at parties. Whether you’re hosting a monster bash or just indulging in some seasonal fun, this recipe will quickly become your go-to for Halloween goodies.
It all started when I wanted to create a dessert that screamed Halloween but was still easy to make. I didn’t want to spend hours on intricate designs, but I wanted something that looked as good as it tasted. And voila—Halloween crinkle cookies! With their striking colors and soft, fudgy texture, these cookies deliver on every front. Plus, they’re so versatile, you can tweak them to fit any spooky theme. Trust me, you’re going to love this recipe!
Why You’ll Love This Recipe
- Quick and easy: These cookies come together in under an hour, making them perfect for last-minute Halloween prep.
- Festive and fun: Their crinkly tops and bright colors make them ideal for Halloween parties, school events, or even as edible gifts.
- Kid-friendly: Little ones will enjoy helping with the rolling and decorating process—it’s a great way to get them involved!
- Soft and fudgy texture: The inside is wonderfully tender with just the right amount of chewiness.
- Customizable: You can mix and match colors to fit your Halloween theme or even add spooky decorations like candy eyes.
What sets this recipe apart is how easy it is to make while still looking incredibly impressive. The crinkled sugar coating gives each cookie a unique and festive appearance, making them the star of any dessert table. Plus, they’re not overly sweet, so you can enjoy a couple without feeling overwhelmed. I’ve tested this recipe countless times, and it’s truly foolproof. You don’t need fancy equipment or rare ingredients—just a bit of creativity and some Halloween spirit!
Ingredients You’ll Need
This recipe uses simple pantry staples, along with a few fun extras to add that Halloween flair. Here’s what you’ll need:
- All-purpose flour: The base for a soft and chewy cookie.
- Cocoa powder: For a rich chocolate flavor (use unsweetened).
- Granulated sugar: Adds sweetness and helps create the crinkle effect.
- Powdered sugar: The finishing touch for that classic crinkle look.
- Baking powder: Ensures the cookies rise and crack perfectly.
- Salt: Enhances the flavors and balances the sweetness.
- Vegetable oil: Keeps the cookies moist and gives them a rich texture.
- Large eggs: Helps bind the ingredients and adds structure.
- Vanilla extract: Adds depth to the flavor.
- Food coloring: Vibrant shades of orange, purple, and green for Halloween (gel food coloring works best).
If you’re missing an ingredient, don’t worry! You can substitute vegetable oil for melted butter or use almond extract in place of vanilla for a different flavor twist. And if you’re gluten-free, swap the all-purpose flour for a 1:1 gluten-free baking blend.
Equipment Needed
You don’t need anything fancy to whip up these cookies—just a few basic kitchen tools:
- Mixing bowls: One large bowl for the dough and smaller bowls for dividing and coloring.
- Hand or stand mixer: Makes mixing the dough quicker, but you can do it by hand if needed.
- Spatula: For folding the dough and scraping down the bowl.
- Measuring cups and spoons: Accurate measurements ensure perfect cookies.
- Baking sheets: Line them with parchment paper or a silicone mat for easy cleanup.
- Small bowls: For rolling the dough in powdered sugar.
If you don’t have a stand mixer, a sturdy whisk and some elbow grease will do the trick. For budget-friendly baking sheets, I recommend checking out local kitchen stores—they often have great deals!
Preparation Method
- Start by preheating your oven to 350°F (175°C). Line your baking sheets with parchment paper or silicone mats for easy cleanup.
- In a large mixing bowl, whisk together 1 cup (125g) of all-purpose flour, 1/3 cup (35g) of cocoa powder, 1 teaspoon of baking powder, and a pinch of salt. Set aside.
- In another bowl, beat together 3/4 cup (150g) of granulated sugar, 1/4 cup (60ml) of vegetable oil, and 2 large eggs until smooth. Add 1 teaspoon of vanilla extract and mix well.
- Gradually add the dry ingredients into the wet mixture, stirring until a soft dough forms. Do not overmix!
- Divide the dough into three equal portions. Add a few drops of orange, purple, and green gel food coloring to each portion and mix until evenly colored.
- Cover the bowls with plastic wrap and chill the dough in the refrigerator for 30 minutes. This step is crucial for achieving the perfect crinkle texture.
- Once chilled, scoop out tablespoon-sized portions of dough and roll them into balls. Coat each ball generously in powdered sugar.
- Place the cookie balls on the prepared baking sheets, spacing them about 2 inches (5cm) apart. Bake for 10-12 minutes, or until the tops are crinkled and the cookies are set.
- Let the cookies cool on the baking sheet for 5 minutes before transferring them to a wire rack to cool completely.
Pro tip: If your dough feels too sticky while rolling, dust your hands with a bit of powdered sugar. And don’t skip the chilling step—it’s key to getting that signature crinkle look!
Cooking Tips & Techniques
- Use gel food coloring for vibrant hues without altering the texture of the dough.
- Don’t overmix the dough—this can make the cookies dense instead of soft and fudgy.
- Chill the dough for at least 30 minutes to prevent spreading during baking.
- Roll the dough generously in powdered sugar for the best crackled effect.
- If baking multiple batches, let your baking sheets cool completely before reusing them.
I’ve learned these tips the hard way! Once, I skipped chilling the dough, and my cookies turned into flat blobs. Trust me, patience is key to perfect crinkles.
Variations & Adaptations
- Dietary swaps: Use gluten-free flour for a celiac-friendly option, or substitute vegetable oil with coconut oil for added flavor.
- Flavor twists: Add a teaspoon of pumpkin spice for a warm, seasonal touch, or sprinkle cinnamon into the powdered sugar for extra depth.
- Decorative ideas: Press candy eyes into the cookies before baking for a spooky effect, or add orange and black sprinkles for a festive look.
Last year, I used neon food coloring for a glow-in-the-dark vibe, and the kids absolutely loved it! Get creative and make these cookies your own.
Serving & Storage Suggestions
Serve these Halloween crinkle cookies at room temperature on a festive platter. Pair them with a warm cup of cider or some spooky-themed cocktails for the adults. They’re also a hit with a scoop of vanilla ice cream for dessert.
To store, place the cookies in an airtight container at room temperature for up to 5 days. For longer storage, freeze them in a freezer-safe bag for up to 2 months. To reheat, thaw at room temperature or warm for a few seconds in the microwave.
Bonus: The flavors deepen after a day, making them even more irresistible!
Nutritional Information & Benefits
Each cookie contains approximately:
- Calories: 120
- Fat: 5g
- Carbohydrates: 18g
- Protein: 2g
These cookies are made with simple ingredients, making them a lighter option compared to other Halloween treats. Cocoa powder provides antioxidants, and you can make them gluten-free or nut-free with simple swaps. They’re a great way to enjoy the holiday without overindulging!
Conclusion
If you’re looking for a festive, fun, and easy dessert, these Halloween crinkle cookies are your answer. They’re a crowd-pleaser that’s perfect for kids and adults alike. I love how customizable they are—you can switch up the colors or add your own spooky decorations to fit any theme.
Give them a try this Halloween and let me know how they turn out! Share your creations and tag me on social media—I’d love to see your spooky spins on this recipe. Happy Halloween baking, and remember, the best treats are made with love!
FAQs
Can I make these cookies ahead of time?
Absolutely! You can prepare the dough a day ahead and refrigerate it overnight. Just roll and bake when ready.
What if my cookies don’t crack?
Make sure to chill the dough before baking and don’t skip the powdered sugar coating. Also, avoid overmixing the dough.
Can I use liquid food coloring instead of gel?
Gel food coloring is preferred because it’s more vibrant and won’t alter the dough consistency. Liquid food coloring can work but may require adjustments.
How do I make these cookies vegan?
Replace the eggs with a flaxseed or chia seed egg substitute, and use dairy-free butter or coconut oil instead of vegetable oil.
Can I double the recipe for a larger batch?
Yes, simply double all the ingredients. Make sure to mix the dough in batches if your mixing bowl isn’t large enough.
Pin This Recipe!
Irresistible Halloween Crinkle Cookies Recipe for Parties
Spooky yet adorable Halloween crinkle cookies with vibrant colors, powdered sugar coating, and a soft, fudgy texture—perfect for Halloween celebrations.
- Prep Time: 15 minutes
- Cook Time: 12 minutes
- Total Time: 57 minutes
- Yield: 24 cookies 1x
- Category: Dessert
- Cuisine: American
Ingredients
- 1 cup (125g) all-purpose flour
- 1/3 cup (35g) cocoa powder (unsweetened)
- 3/4 cup (150g) granulated sugar
- 1/4 cup (60ml) vegetable oil
- 2 large eggs
- 1 teaspoon vanilla extract
- 1 teaspoon baking powder
- Pinch of salt
- Powdered sugar (for coating)
- Food coloring (orange, purple, and green gel food coloring)
Instructions
- Preheat your oven to 350°F (175°C). Line your baking sheets with parchment paper or silicone mats.
- In a large mixing bowl, whisk together all-purpose flour, cocoa powder, baking powder, and salt. Set aside.
- In another bowl, beat together granulated sugar, vegetable oil, and eggs until smooth. Add vanilla extract and mix well.
- Gradually add the dry ingredients into the wet mixture, stirring until a soft dough forms. Do not overmix.
- Divide the dough into three equal portions. Add a few drops of orange, purple, and green gel food coloring to each portion and mix until evenly colored.
- Cover the bowls with plastic wrap and chill the dough in the refrigerator for 30 minutes.
- Scoop out tablespoon-sized portions of dough and roll them into balls. Coat each ball generously in powdered sugar.
- Place the cookie balls on the prepared baking sheets, spacing them about 2 inches apart. Bake for 10-12 minutes, or until the tops are crinkled and the cookies are set.
- Let the cookies cool on the baking sheet for 5 minutes before transferring them to a wire rack to cool completely.
Notes
Chill the dough for at least 30 minutes to achieve the perfect crinkle texture. Use gel food coloring for vibrant hues without altering the dough consistency.
Nutrition
- Serving Size: 1 cookie
- Calories: 120
- Fat: 5
- Carbohydrates: 18
- Protein: 2
Keywords: Halloween cookies, crinkle cookies, festive dessert, easy Halloween recipe, kid-friendly baking


