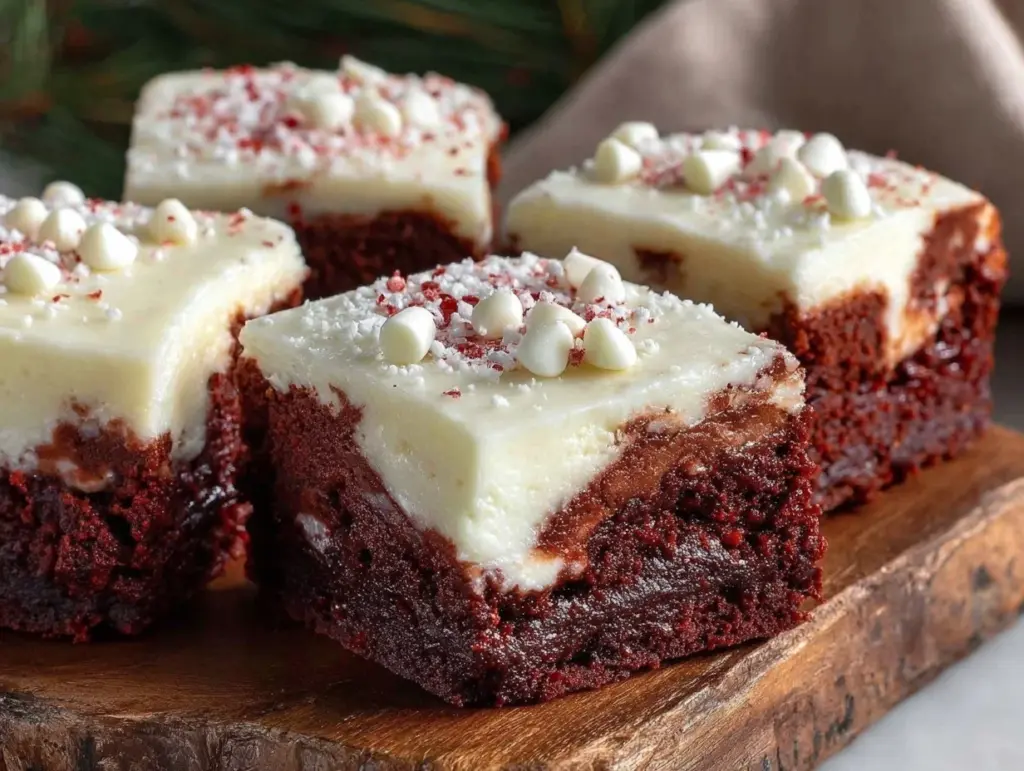
The moment I pulled these red velvet brownie cheesecake bars from the oven, the smell—rich cocoa mingling with sweet cream cheese—totally swept me away. Honestly, this recipe has become my go-to for when I need a dessert that feels fancy but doesn’t take forever to make. I first stumbled upon the idea during a baking experiment gone delightfully right, and since then, I’ve made these bars countless times for family, friends, and even potlucks. The combo of velvety red velvet brownie and creamy cheesecake layers is something you won’t forget anytime soon.
What makes these red velvet brownie cheesecake bars truly stand out is how they balance indulgence and simplicity. You get that classic deep red color with a hint of cocoa, paired perfectly with a smooth, tangy cheesecake topping. It’s comfort food with a twist, and it’s great for anyone who loves a dessert that’s both visually stunning and delicious. Whether you’re baking for a holiday, a birthday, or just because you’ve got a serious sweet tooth, these bars are a winner.
I’ve tested this recipe over and over, tweaking it to get the texture just right—moist, fudgy brownie base with a creamy cheesecake layer that’s neither too dense nor too soft. If you’re looking for a dessert to impress without the stress, these bars deliver every time. Plus, they keep well, so you can make them ahead of time (which is always a win in my book!).
Why You’ll Love This Recipe
- Quick & Easy: Comes together in under an hour, so you’re not stuck all day in the kitchen.
- Simple Ingredients: You probably already have everything on hand—no weird or hard-to-find stuff needed.
- Perfect for Any Occasion: Whether it’s Valentine’s Day, a casual gathering, or a holiday treat, these bars fit right in.
- Crowd-Pleaser: Kids, adults, picky eaters—they all ask for seconds (and thirds!).
- Unbelievably Delicious: The fudgy brownie meets tangy, creamy cheesecake in a way that just melts in your mouth.
This isn’t your average red velvet brownie recipe. The secret? The cheesecake layer is whipped just enough to keep it light but still rich, and the red velvet base uses a splash of vinegar and buttermilk to get that signature tangy depth. Plus, I like to swirl a bit of cream cheese into the batter for extra gooey goodness. It’s comfort food without the guilt, honestly. Every bite feels like a special moment.
What Ingredients You Will Need
This recipe uses simple, wholesome ingredients to create a dessert that’s rich and satisfying without fuss. Most are pantry staples, making it easy to whip up anytime you want.
- For the Red Velvet Brownie Base:
- Unsalted butter, 1/2 cup (113g), melted (adds richness and moisture)
- Granulated sugar, 1 cup (200g)
- Large eggs, 2, room temperature
- All-purpose flour, 3/4 cup (95g)
- Cocoa powder, 2 tablespoons (unsweetened, for that subtle chocolate flavor)
- Red food coloring, 2 tablespoons (you can use gel for a more vibrant color)
- Vanilla extract, 1 teaspoon
- White vinegar, 1 teaspoon (helps with the red velvet tang)
- Salt, 1/4 teaspoon
- For the Cheesecake Layer:
- Cream cheese, 8 oz (225g), softened (I prefer Philadelphia brand for smooth texture)
- Granulated sugar, 1/3 cup (67g)
- Large egg, 1, room temperature
- Vanilla extract, 1/2 teaspoon
- Sour cream, 2 tablespoons (adds creaminess and tang)
If you want a dairy-free version, swap the cream cheese and sour cream for coconut-based alternatives. Using almond flour instead of all-purpose flour works for gluten-free, but the texture will be a bit different—still delicious, though!
Equipment Needed
- 8×8-inch (20×20 cm) square baking pan — glass or metal both work; I prefer glass for even baking
- Mixing bowls — one for brownie batter, one for cheesecake
- Electric mixer or stand mixer — makes the cheesecake layer super smooth; hand mixer works fine too
- Measuring cups and spoons — for precise ingredient amounts
- Rubber spatula — great for folding and scraping bowls clean
- Whisk — handy for cracking eggs and mixing wet ingredients
If you don’t have a mixer, you can mix the cheesecake ingredients by hand, but expect a bit more arm work. For budget-friendly pans, non-stick aluminum pans are great and easy to clean.
Detailed Preparation Method
- Preheat your oven to 350°F (175°C) and grease your 8×8-inch pan or line it with parchment paper, leaving an overhang for easy removal later. This step prevents sticking and makes cleanup a breeze.
- Make the red velvet brownie batter: In a medium bowl, whisk together the melted butter and sugar until combined. Add the eggs one at a time, whisking well after each addition. Stir in the vanilla extract, red food coloring, and vinegar. In a separate bowl, sift together the flour, cocoa powder, and salt. Gradually fold the dry ingredients into the wet mixture until just combined—don’t overmix! The batter should be thick and glossy.
- Prepare the cheesecake layer: Using a mixer, beat the softened cream cheese until smooth and fluffy. Add the sugar and continue mixing until creamy. Beat in the egg, vanilla extract, and sour cream until all is smooth and well combined. Watch out for lumps—they’re the enemy of silky cheesecake.
- Assemble the bars: Pour half of the brownie batter into your prepared pan and spread evenly. Gently spoon or dollop the cheesecake mixture over the brownie layer, then carefully spread it out in an even layer. Finally, drop spoonfuls of the remaining brownie batter over the cheesecake layer. Use a knife or skewer to swirl the brownie and cheesecake layers together for a marbled effect.
- Bake for 35 to 40 minutes, or until the edges are set but the center still jiggles slightly when you shake the pan. Avoid overbaking—it’ll dry out the bars. Let the bars cool completely in the pan on a wire rack before slicing into squares. Chill in the fridge for at least two hours for best slicing results.
Pro tip: If your cream cheese is too cold, it’ll make the cheesecake layer lumpy—soften it at room temp before mixing. Also, the swirl step is your chance to get creative: don’t be shy about making bold patterns!
Cooking Tips & Techniques
Getting that perfect balance between fudgy brownie and creamy cheesecake isn’t always easy, but here’s what I’ve learned:
- Don’t overmix the brownie batter. Overworking the flour can make the brownies tough. Fold gently until just combined.
- Room temperature ingredients are your friend. Cold eggs or cream cheese can cause batter separation or lumps.
- Use good quality cocoa powder. It makes a noticeable difference in flavor. I like Valrhona or Ghirardelli for richness.
- Watch your baking time closely. The cheesecake layer should still have a slight wobble when you take the bars out—carryover heat will finish cooking them.
- Swirling is optional but highly recommended. It not only looks stunning but also ensures every bite has both flavors.
Once, I rushed slicing them and ended up with crumbly bars—lesson learned: chill first, slice slowly with a sharp knife, and wipe the blade clean between cuts.
Variations & Adaptations
This recipe is super adaptable, so feel free to make it your own!
- Nutty Twist: Add 1/2 cup chopped pecans or walnuts to the brownie batter for crunch.
- Chocolate Lovers: Drop mini chocolate chips into the brownie layer or sprinkle on top before baking.
- Berry Burst: Swirl in some raspberry or cherry jam with the cheesecake mixture for a fruity surprise.
- Gluten-Free: Substitute the all-purpose flour with a gluten-free flour blend, but reduce by a tablespoon to keep texture right.
- Dairy-Free: Use vegan cream cheese and coconut oil instead of butter; results will be slightly different but still tasty.
One time I tried adding orange zest to the cheesecake layer—it added a fresh brightness that was unexpectedly amazing. Experiment with flavors that excite you!
Serving & Storage Suggestions
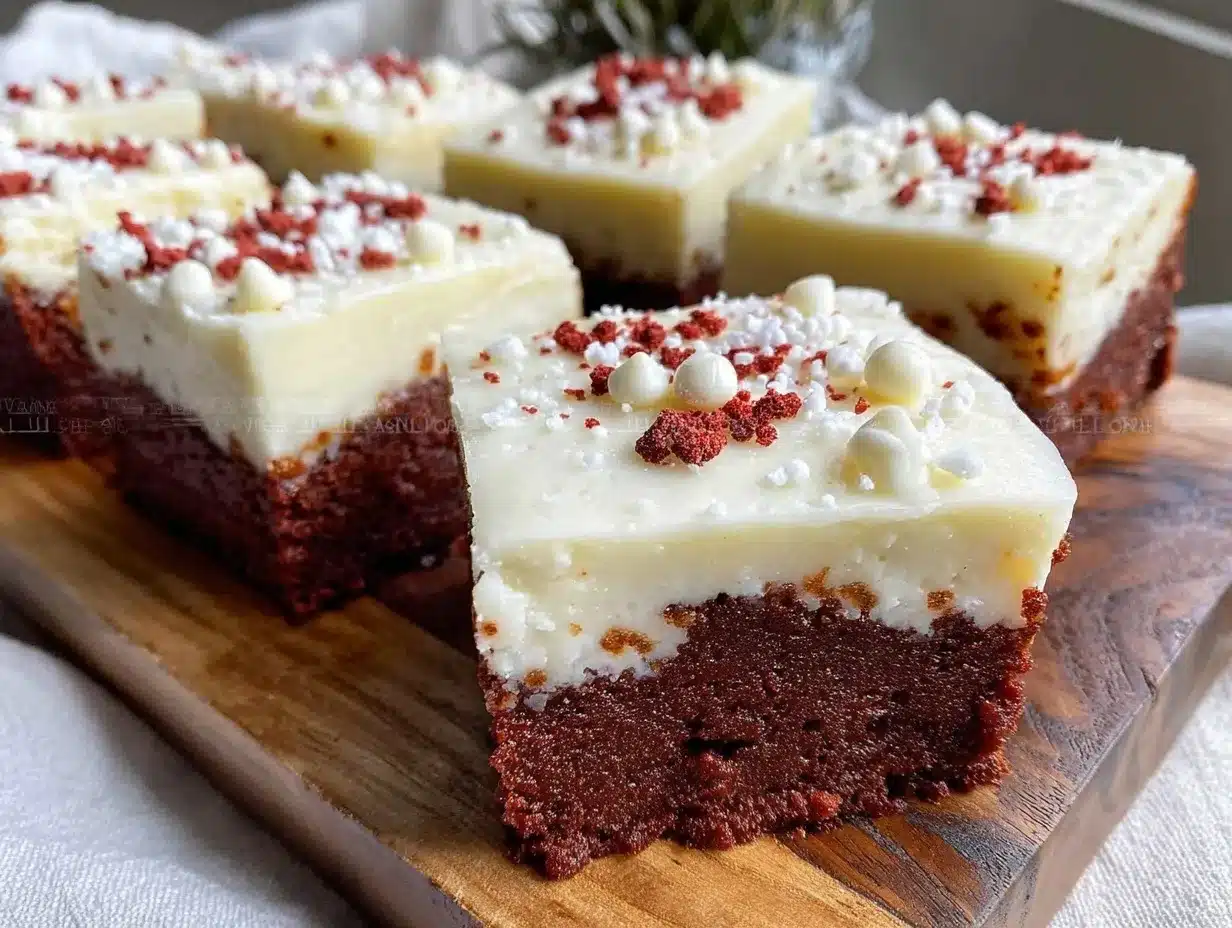
Serve these red velvet brownie cheesecake bars chilled or at room temperature. I like to cut them into small squares and arrange on a festive platter—makes them look like little gems! They pair beautifully with a cup of coffee or a glass of cold milk.
Store leftovers in an airtight container in the refrigerator for up to 5 days. If you want to keep them longer, freeze the bars wrapped tightly in plastic wrap and foil; they’ll last up to 3 months. Thaw in the fridge overnight before serving.
Reheat gently in the microwave for 10-15 seconds if you prefer them warm, but honestly, they taste just as amazing cold. Flavors deepen and meld after a day or two, so making these bars ahead can actually improve the experience.
Nutritional Information & Benefits
Each serving of these red velvet brownie cheesecake bars (based on 16 squares) has roughly 220 calories, 12g fat, 25g carbs, and 3g protein. The cream cheese adds calcium and protein, while the cocoa powder provides antioxidants. Using real butter and cream cheese gives richness but also keeps the ingredient list simple and clean.
For those watching gluten or dairy, the substitutions mentioned earlier help make this recipe more inclusive. Plus, because these bars are portion-controlled and rich, a little goes a long way in satisfying sweet cravings.
From a wellness perspective, I appreciate having a dessert that feels indulgent without complicated ingredients or artificial additives. It’s a treat that fits nicely into a balanced lifestyle.
Conclusion
If you’re after a dessert that’s both stunning and straightforward, these red velvet brownie cheesecake bars won’t disappoint. They bring together the best of two worlds—fudgy chocolate and creamy cheesecake—in a way that’s easy enough for any home baker to master. I love how they make every occasion feel special without hours of fuss.
Feel free to tweak the recipe to suit your tastes or the ingredients you have on hand. Baking is all about making recipes your own, after all! I can’t wait to hear how your batch turns out—drop a comment or share your variations below. Happy baking, and here’s to many delicious bites ahead!
FAQs About Red Velvet Brownie Cheesecake Bars
Can I make these bars ahead of time?
Absolutely! They taste even better after chilling overnight, and you can store them in the fridge for up to 5 days or freeze for longer storage.
What if I don’t have red food coloring?
You can skip it, but the bars won’t have that classic red velvet hue. Beet juice or powder can be a natural alternative, though it may slightly alter flavor.
How do I prevent the cheesecake layer from cracking?
Don’t overbake and make sure your cream cheese is smooth before adding eggs. Also, avoid sudden temperature changes by cooling gradually.
Can I use a different size pan?
Yes, but adjust baking time accordingly. A larger pan will require less time, while a smaller one may need more.
Is it possible to make these bars vegan?
With substitutions like vegan cream cheese, plant-based butter, and egg replacers, you can make a vegan-friendly version, though texture and flavor will differ slightly.
Pin This Recipe!
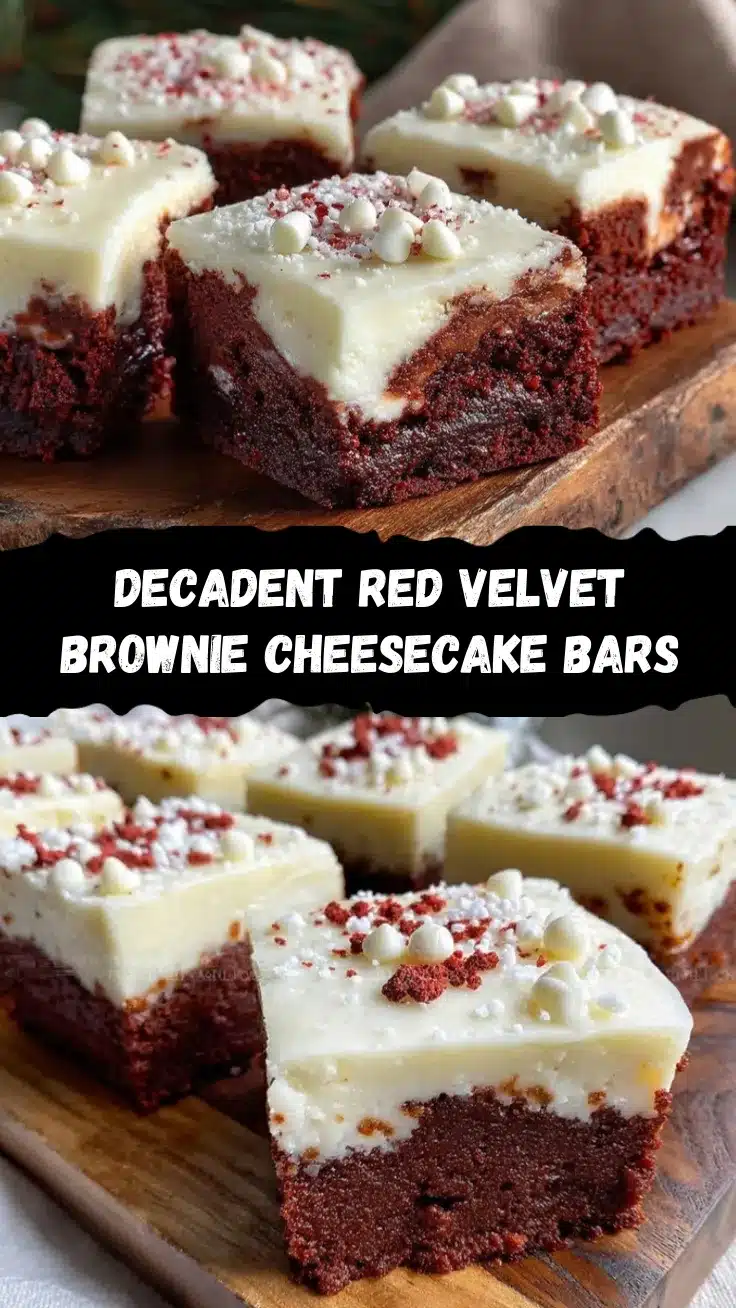
Red Velvet Brownie Cheesecake Bars
These red velvet brownie cheesecake bars combine a moist, fudgy red velvet brownie base with a creamy, tangy cheesecake layer for a visually stunning and delicious dessert that’s quick and easy to make.
- Prep Time: 15 minutes
- Cook Time: 40 minutes
- Total Time: 55 minutes
- Yield: 16 servings 1x
- Category: Dessert
- Cuisine: American
Ingredients
- 1/2 cup (113g) unsalted butter, melted
- 1 cup (200g) granulated sugar
- 2 large eggs, room temperature
- 3/4 cup (95g) all-purpose flour
- 2 tablespoons unsweetened cocoa powder
- 2 tablespoons red food coloring (gel recommended)
- 1 teaspoon vanilla extract
- 1 teaspoon white vinegar
- 1/4 teaspoon salt
- 8 oz (225g) cream cheese, softened
- 1/3 cup (67g) granulated sugar
- 1 large egg, room temperature
- 1/2 teaspoon vanilla extract
- 2 tablespoons sour cream
Instructions
- Preheat your oven to 350°F (175°C) and grease an 8×8-inch pan or line it with parchment paper, leaving an overhang for easy removal.
- Make the red velvet brownie batter: In a medium bowl, whisk together melted butter and sugar until combined. Add eggs one at a time, whisking well after each addition. Stir in vanilla extract, red food coloring, and vinegar. In a separate bowl, sift together flour, cocoa powder, and salt. Gradually fold dry ingredients into wet mixture until just combined; do not overmix.
- Prepare the cheesecake layer: Using a mixer, beat softened cream cheese until smooth and fluffy. Add sugar and continue mixing until creamy. Beat in egg, vanilla extract, and sour cream until smooth and well combined.
- Assemble the bars: Pour half of the brownie batter into the prepared pan and spread evenly. Spoon or dollop the cheesecake mixture over the brownie layer and spread evenly. Drop spoonfuls of remaining brownie batter over the cheesecake layer. Use a knife or skewer to swirl the layers together for a marbled effect.
- Bake for 35 to 40 minutes, or until edges are set but center still jiggles slightly. Let cool completely in the pan on a wire rack. Chill in the fridge for at least two hours before slicing into squares.
Notes
Do not overmix the brownie batter to avoid toughness. Use room temperature ingredients for best texture. Soften cream cheese before mixing to prevent lumps. Swirling the layers is optional but recommended for a beautiful marbled effect. Chill bars before slicing for clean cuts. Variations include adding nuts, chocolate chips, or fruit jam. Gluten-free and dairy-free substitutions are possible.
Nutrition
- Serving Size: 1 bar (1/16th of rec
- Calories: 220
- Fat: 12
- Carbohydrates: 25
- Protein: 3
Keywords: red velvet, brownie, cheesecake, dessert bars, easy dessert, homemade dessert, chocolate, cream cheese


