
Let me tell you, the moment the sizzling aroma of seasoned ground beef mixed with zesty taco spices hits your nose, you know you’re in for a treat. The first time I tried making easy flavor-packed walking tacos, it was during a last-minute backyard hangout when we needed something quick, tasty, and totally fuss-free. Honestly, the kind of moment where you pause, take a deep breath, and just smile because you know you’re onto something truly special.
Years ago, when I was knee-high to a grasshopper, our family gatherings meant sitting around a big table, passing plates, and sharing stories. But let’s face it, sometimes you just want food that’s easy to handle, no forks or plates required. That’s exactly what walking tacos brought to our table—pure, nostalgic comfort in a crunchy, handheld form. I stumbled upon this recipe on a rainy weekend when I was trying to recreate that fun, casual vibe from a county fair snack stand. What I wish I’d known then was how dangerously easy and crowd-pleasing this recipe really is.
My family couldn’t stop sneaking them off the cooling rack (and I can’t really blame them). Whether it was my picky nephew or my grill-master dad, everyone agreed: these walking tacos are the perfect quick snack or party starter. You know what? They’re perfect for potlucks, last-minute movie nights, or just brightening up your Pinterest snack board. After testing this recipe more times than I can count (in the name of research, of course), it’s become a staple for family gatherings, gifting, and those “I need something tasty right now” moments. You’re going to want to bookmark this one.
Why You’ll Love This Recipe
From my personal kitchen trials to family-approved feedback, this easy flavor-packed walking tacos recipe brings together the best of quick, simple, and downright delicious snacking. Here’s why it stands apart and why you’ll keep coming back for more:
- Quick & Easy: Comes together in under 20 minutes, perfect for busy weeknights or last-minute cravings.
- Simple Ingredients: No fancy grocery trips needed; you likely already have everything in your kitchen.
- Perfect for Any Occasion: Great for backyard barbecues, game days, or casual get-togethers.
- Crowd-Pleaser: Always gets rave reviews from kids and adults alike, no matter the season.
- Unbelievably Delicious: The crunchy chips combined with seasoned meat and fresh toppings offer a texture and flavor combo that’s pure comfort food.
What really makes this recipe different? It’s the balance of seasoning and the handy “walking” format that lets you customize every bite. Plus, using crushed chips as your serving vessel is genius—no plates, no mess! It’s comfort food reimagined—fast, flavorful, and fuss-free. This recipe isn’t just good—it’s the kind that makes you close your eyes after the first bite, savoring every mouthful. Whether you want to impress guests without stress or whip up a quick snack, this is your go-to.
What Ingredients You Will Need
This recipe uses simple, wholesome ingredients to deliver bold flavor and satisfying texture without the fuss. Most are pantry staples, and a few fresh touches make all the difference.
- Ground beef (1 lb / 450 g): I recommend 80/20 for juicy, flavorful meat.
- Seasoning blend: 1 tablespoon chili powder, 1 teaspoon cumin, ½ teaspoon smoked paprika, ½ teaspoon garlic powder, ¼ teaspoon onion powder, and a pinch of salt and black pepper.
- Small bags of crunchy tortilla chips (about 2 cups / 60 g crushed): Your favorite brand works great here; I like the lightly salted type.
- Shredded cheddar cheese (1 cup / 100 g): Sharp cheddar adds a nice tang.
- Diced tomatoes (½ cup / 120 ml): Fresh or canned, drained.
- Chopped green onions (¼ cup / 25 g): For that fresh, mild bite.
- Pickled jalapeños (optional, 2 tablespoons): Adds a pleasant kick.
- Sour cream or Greek yogurt (½ cup / 120 ml): For creamy topping; swap with dairy-free yogurt if needed.
- Fresh cilantro (a handful, chopped): Brightens the whole dish.
- Lime wedges: For squeezing on top—it wakes up the flavors beautifully.
If you want to switch things up, you can easily substitute ground turkey or plant-based crumbles. For a gluten-free option, just check your chip brand to make sure they’re certified gluten-free. Seasonal swaps like fresh corn or avocado chunks? Absolutely delicious.
Equipment Needed
- Large skillet or frying pan (non-stick preferred for easy cleanup)
- Spoon or spatula for stirring
- Knife and cutting board for chopping toppings
- Mixing bowl for crushing chips (optional—you can crush directly in the bag)
- Small serving cups or the original chip bags (cut open on top)—makes for fun “walking” serving!
If you don’t have a non-stick pan, just add a little extra oil and keep an eye on the meat to prevent sticking. No fancy gear needed here—just basics that you probably already own. And hey, if you want to get fancy, a cast iron skillet gives a nice sear to the meat, but it’s totally optional.
Preparation Method

- Prepare your ingredients: Dice tomatoes, chop green onions, and cilantro. Set aside the sour cream and lime wedges for serving. (About 5 minutes)
- Cook the ground beef: Heat a large skillet over medium-high heat. Add the ground beef and break it apart with your spatula. Cook for 5-7 minutes until browned and no longer pink, stirring occasionally.
- Add seasoning: Sprinkle the chili powder, cumin, smoked paprika, garlic powder, onion powder, salt, and pepper over the meat. Stir well to evenly coat and cook for another 2 minutes to let the spices bloom.
- Drain excess fat: Carefully tip the pan to drain off any excess grease, or use a spoon to remove it. This keeps the tacos from being greasy but still juicy.
- Crush the chips: While the meat is cooking, gently crush the tortilla chips inside their bag or in a bowl until you get bite-sized pieces. Don’t pulverize them—chunky bits add great texture.
- Assemble the walking tacos: Open small chip bags (or use cups) and layer about ½ cup (120 ml) of cooked meat on top of the crushed chips. Sprinkle with shredded cheddar, diced tomatoes, green onions, and jalapeños if using.
- Add dollops of sour cream or Greek yogurt: This adds a creamy, cooling contrast to the spicy meat.
- Garnish with fresh cilantro and a squeeze of lime: The citrus brightens everything up and makes each bite pop.
- Serve immediately: These are best enjoyed fresh while the chips stay crunchy and the meat warm.
If your meat seems dry, a splash of water or broth while cooking can keep it juicy. And remember, don’t overcook the meat or the spices might turn bitter. The smell of toasted chili and cumin wafting from the pan? That’s your cue—it’s showtime!
Cooking Tips & Techniques
There are a few tricks that make these walking tacos really shine. First, don’t rush the browning of the meat. Let it sit a few seconds before stirring to get those little crispy bits that add depth of flavor. Also, seasoning at the right time matters—adding spices too early can burn them, so sprinkle once the meat is mostly cooked.
Beware of soggy chips! Always serve immediately after assembling to keep that satisfying crunch. If you’re prepping ahead, keep the components separate and combine just before serving. Using fresh lime juice right before eating lifts the entire dish, so don’t skip that step.
When it comes to multitasking, while the meat is cooking, prep your toppings—that way you’re not scrambling at the last minute. And if you’ve ever experienced bland walking tacos, it’s usually because of under-seasoned meat or lack of acidity. Trust your taste buds and adjust spices or lime juice accordingly.
Variations & Adaptations
This recipe is flexible as heck, and I’ve played around with a few tasty twists over time. Here are some you might enjoy:
- Vegetarian: Swap ground beef for seasoned black beans or lentils. Add extra spices to boost flavor.
- Chicken Walking Tacos: Use shredded rotisserie chicken mixed with taco seasoning instead of beef.
- Seasonal Twist: In summer, toss in fresh corn kernels and diced avocado for a fresh, vibrant bite.
- Spicy Kick: Add a dash of hot sauce or swap jalapeños for sliced serrano peppers for more heat.
- Gluten-Free: Use certified gluten-free tortilla chips and double-check your seasoning blends.
One personal favorite I tried was mixing in some smoky chipotle powder for a subtle fire that’s perfect for cozy fall evenings. Honestly, it changed the game for me—adds warmth without overpowering the other flavors.
Serving & Storage Suggestions
Walking tacos are best served warm and fresh, right out of the bag or cup, so the chips stay crunchy and the meat juicy. For a fun presentation, serve with lime wedges on the side and a small fork or spoon if your crowd likes to pile on toppings. They pair wonderfully with cold beverages like iced tea or a crisp lager if you’re serving adults.
If you happen to have leftovers (which is rare), store the cooked meat and toppings separately in airtight containers in the fridge for up to 3 days. Keep chips in their original bags or in a sealed container to avoid sogginess. To reheat, warm the meat gently on the stove or microwave and assemble fresh—don’t try to heat the whole assembled taco as the chips will lose their crunch.
Flavors tend to develop nicely when the meat sits overnight, so if you’re prepping in advance, you might find the spice blend tastes even richer the next day. Just remember: crispy chips are a must for that authentic walking taco experience!
Nutritional Information & Benefits
This recipe offers a balanced mix of protein, carbs, and fats, with roughly 350-400 calories per serving depending on topping choices. Ground beef provides a solid protein boost, while the tortilla chips offer crunchy carbohydrates for quick energy. The addition of fresh veggies like tomatoes and green onions adds vitamins and antioxidants.
Using Greek yogurt or sour cream adds calcium and probiotics, supporting gut health. For those watching carbs or gluten, swapping chips for a low-carb or gluten-free option works well without sacrificing flavor. Plus, the spices used contain anti-inflammatory properties, making these walking tacos more than just a tasty snack—they’re a little boost of goodness too.
Conclusion
So there you have it—my go-to easy flavor-packed walking tacos recipe that’s perfect for quick snacking or casual entertaining. It’s simple, satisfying, and endlessly customizable to suit your tastes and lifestyle. Whether you’re feeding a crowd or just craving a fast, flavorful bite, this recipe’s got your back.
I love how it brings people together without any fuss and delivers that warm, comforting feeling every time. Honestly, once you try it, you’ll wonder why you didn’t make these sooner. Give it a shot, tweak it your way, and please come back to share your favorite variations or tips—I’m always eager to hear how you make it your own!
Happy snacking and enjoy every crunchy, cheesy, zesty bite!
FAQs
What are walking tacos?
Walking tacos are individual servings of taco ingredients layered inside a small bag of crushed tortilla chips, making them easy to eat on the go without plates or utensils.
Can I make walking tacos vegetarian?
Absolutely! You can swap the meat for beans, lentils, or plant-based crumbles, and still enjoy all the classic toppings.
How do I keep the chips from getting soggy?
The key is to assemble right before serving and serve immediately. Keep meat and toppings separate if prepping ahead.
Can I use other types of chips?
Yes! Doritos, Fritos, or any crunchy corn chips work well. Just pick your favorite flavor for a fun twist.
How long can I store leftover walking taco components?
Store cooked meat and toppings separately in airtight containers in the fridge for up to 3 days. Keep chips sealed to maintain crunch.
Pin This Recipe!
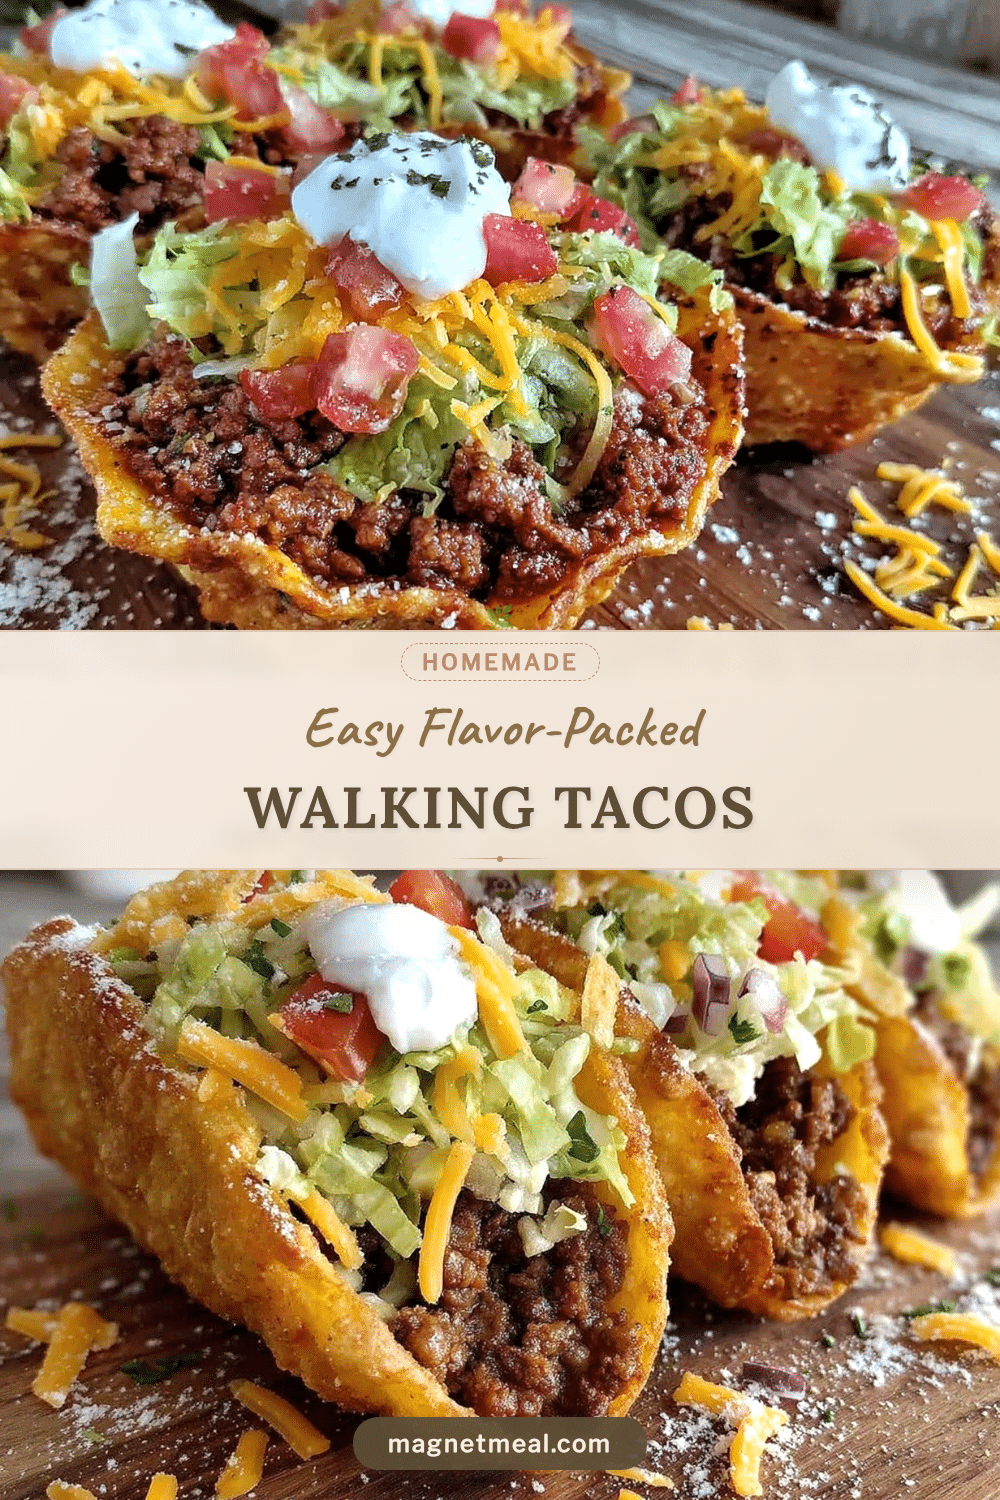
Easy Flavor-Packed Walking Tacos

A quick and tasty walking tacos recipe featuring seasoned ground beef, crunchy tortilla chips, and fresh toppings, perfect for snacks or casual gatherings.
- Prep Time: 10 minutes
- Cook Time: 10 minutes
- Total Time: 20 minutes
- Yield: 4 servings 1x
- Category: Snack
- Cuisine: Mexican
Ingredients
- 1 lb ground beef (80/20 recommended)
- 1 tablespoon chili powder
- 1 teaspoon cumin
- ½ teaspoon smoked paprika
- ½ teaspoon garlic powder
- ¼ teaspoon onion powder
- Pinch of salt and black pepper
- About 2 cups (60 g) crushed crunchy tortilla chips
- 1 cup (100 g) shredded cheddar cheese
- ½ cup (120 ml) diced tomatoes, fresh or canned, drained
- ¼ cup (25 g) chopped green onions
- 2 tablespoons pickled jalapeños (optional)
- ½ cup (120 ml) sour cream or Greek yogurt
- A handful of fresh cilantro, chopped
- Lime wedges for serving
Instructions
- Dice tomatoes, chop green onions and cilantro. Set aside sour cream and lime wedges for serving.
- Heat a large skillet over medium-high heat. Add ground beef and break apart with a spatula. Cook 5-7 minutes until browned and no longer pink, stirring occasionally.
- Sprinkle chili powder, cumin, smoked paprika, garlic powder, onion powder, salt, and pepper over the meat. Stir well and cook for another 2 minutes to bloom the spices.
- Drain excess fat from the pan to keep tacos juicy but not greasy.
- Crush tortilla chips gently inside their bag or in a bowl until bite-sized pieces form; avoid pulverizing.
- Open small chip bags or use cups and layer about ½ cup of cooked meat on top of crushed chips.
- Sprinkle shredded cheddar cheese, diced tomatoes, green onions, and jalapeños if using.
- Add dollops of sour cream or Greek yogurt for a creamy contrast.
- Garnish with fresh cilantro and a squeeze of lime.
- Serve immediately to keep chips crunchy and meat warm.
Notes
Serve immediately after assembling to keep chips crunchy. If prepping ahead, keep meat and toppings separate and combine just before serving. Use certified gluten-free chips for gluten-free option. Adding a splash of water or broth while cooking meat keeps it juicy. Avoid overcooking spices to prevent bitterness.
Nutrition
- Serving Size: 1 walking taco (abou
- Calories: 350400
- Sugar: 3
- Sodium: 550
- Fat: 22
- Saturated Fat: 9
- Carbohydrates: 25
- Fiber: 2
- Protein: 22
Keywords: walking tacos, quick snack, ground beef tacos, easy tacos, party food, handheld tacos, taco recipe


