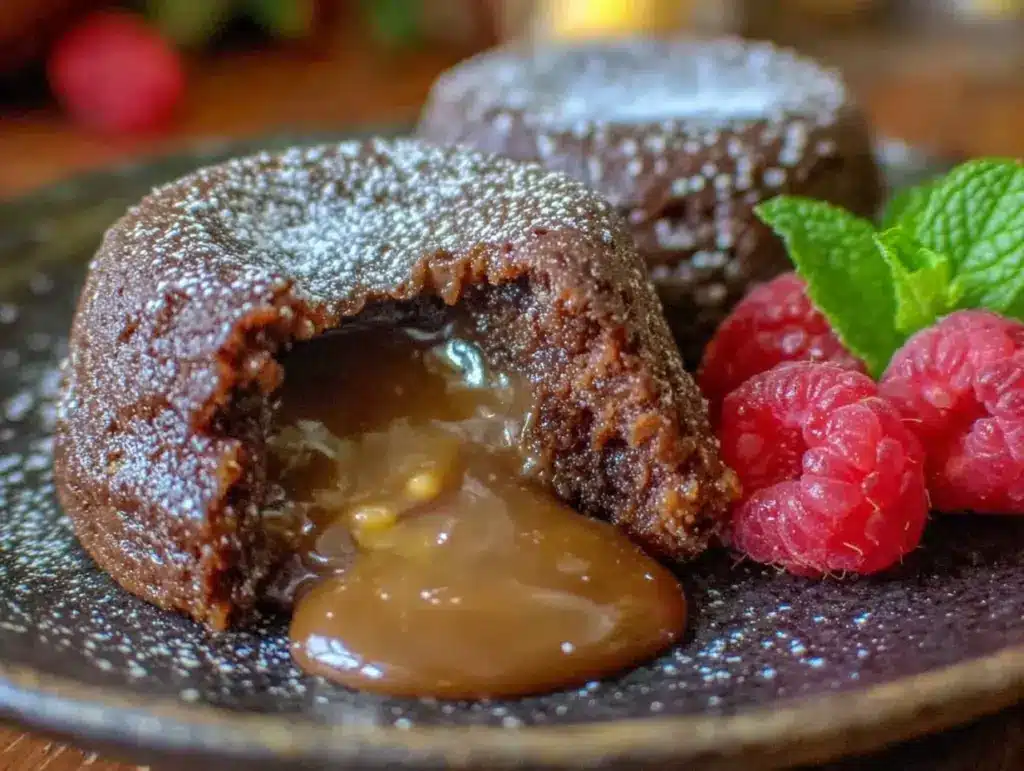
Let me tell you, the scent of rich, melted chocolate mingling with warm butter and a hint of vanilla as these molten chocolate lava cakes bake is enough to make anyone’s mouth water. The first time I baked these, I was instantly hooked — the kind of moment where you pause, take a deep breath, and just smile because you know you’re onto something truly special. It was years ago, on a rainy weekend when I was knee-high to a grasshopper (well, maybe not that long ago, but close enough!), trying to recreate that fancy dessert I once had in a bistro. Honestly, it felt like pure, nostalgic comfort wrapped up in a tiny cake with a surprise inside.
My family couldn’t stop sneaking them off the cooling rack (and I can’t really blame them). You know what? These decadent molten chocolate lava cakes with gooey centers are dangerously easy to make, and they bring such a wow moment to any occasion. Whether you’re after a sweet treat for your kids, a stunning finish to a dinner party, or just something to brighten up your Pinterest cookie board, these cakes are a total winner. After testing this recipe multiple times (in the name of research, of course!), it has become a staple for family gatherings and gifting. It’s like a warm hug in dessert form, and you’re going to want to bookmark this one for sure.
Why You’ll Love This Recipe
Honestly, these decadent molten chocolate lava cakes with gooey centers have that magic combination of simplicity and show-stopping flavor that keeps everyone coming back for more. Here’s why this recipe stands out:
- Quick & Easy: Ready in under 30 minutes, perfect for busy weeknights or last-minute cravings.
- Simple Ingredients: No fancy grocery trips needed; you likely have everything in your pantry already.
- Perfect for Any Occasion: Great for date nights, celebrations, or just when you need a little indulgence.
- Crowd-Pleaser: Rave reviews from both kids and adults alike—trust me, nobody can resist that molten center.
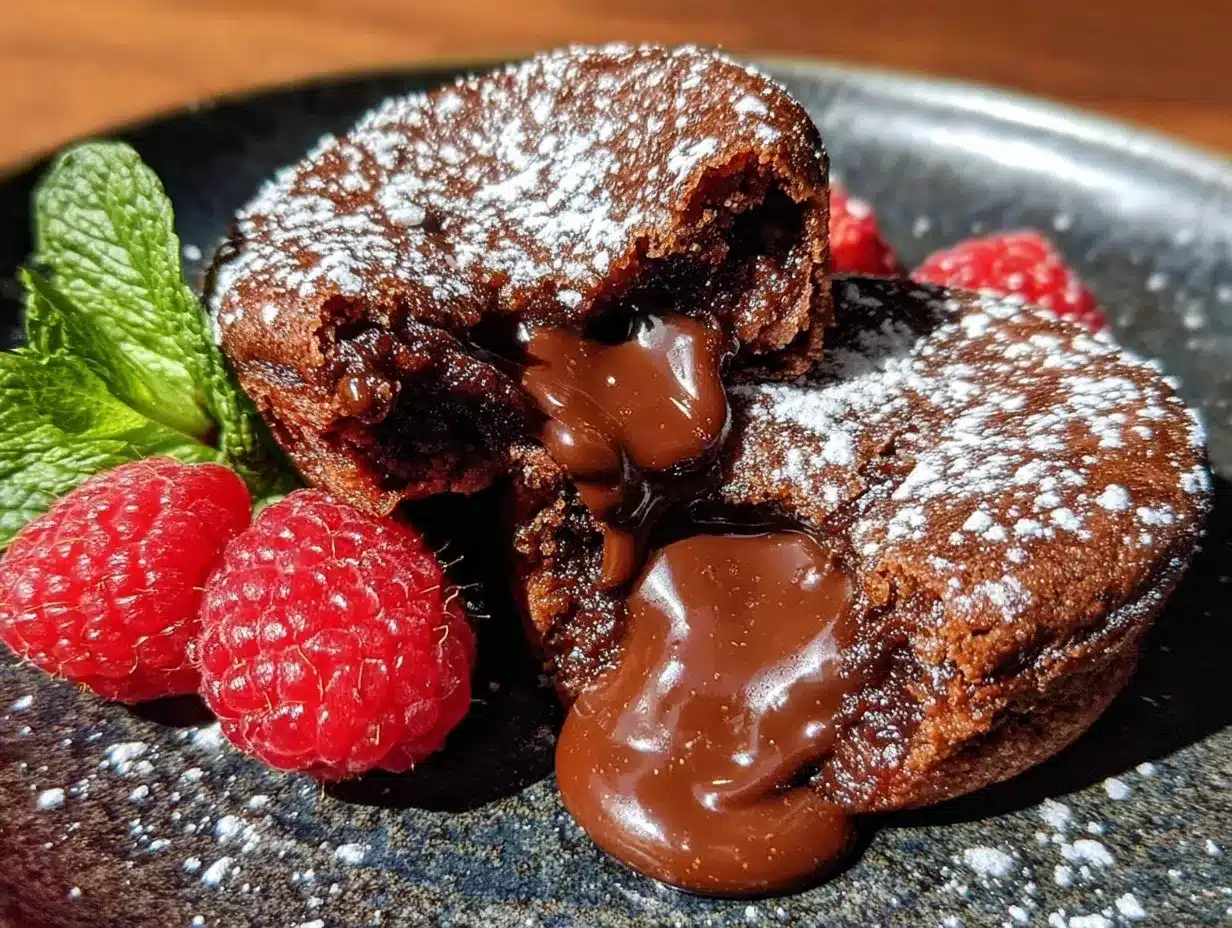
- Unbelievably Delicious: The texture is a perfect balance between a delicate cake and a luscious chocolate river inside.
What makes this recipe different? It’s all about the technique—melting the chocolate and butter just right and timing the baking so the outside is set but the inside stays gloriously gooey. This isn’t just another chocolate cake; it’s the best version you’ll ever try. I like to use high-quality dark chocolate (I usually go for Ghirardelli or Valrhona when I can) to get that deep, complex flavor. After the first bite, you’ll close your eyes and savor every second. It’s comfort food reimagined—faster, easier, but with all the soul-soothing satisfaction you want.
What Ingredients You Will Need
This recipe uses simple, wholesome ingredients to deliver bold flavor and satisfying texture without the fuss. Most are pantry staples, and a few tips on choosing the best will make all the difference.
- Unsalted Butter, 6 tablespoons (85g), plus extra for greasing (adds richness and helps texture)
- Bittersweet or Semi-Sweet Chocolate, 4 ounces (115g), chopped (I recommend Ghirardelli for the best melt and flavor)
- Powdered Sugar, 1/2 cup (60g), sifted (for sweetness and a tender crumb)
- Large Eggs, 2, room temperature (helps the cake rise and stay moist)
- Large Egg Yolks, 2, room temperature (adds richness and helps the gooey center)
- All-Purpose Flour, 1/4 cup (30g), sifted (for structure; you can use gluten-free flour blend if needed)
- Vanilla Extract, 1 teaspoon (adds warm flavor)
- Pinch of Salt (balances the sweetness and enhances chocolate flavor)
- Cocoa Powder, for dusting ramekins (prevents sticking and adds a hint of extra chocolate)
If you want to switch things up, feel free to swap in dairy-free butter and coconut or almond flour for a gluten-free/dairy-free version. For a seasonal twist, a sprinkle of chili powder or orange zest in the batter can add a surprising pop of flavor. The key is quality chocolate—you don’t want to settle for anything less than good stuff here.
Equipment Needed
- Ramekins: 4 to 6 individual-sized, about 6-ounce capacity each. If you don’t have ramekins, small oven-safe custard cups or muffin tins can work.
- Mixing Bowls: One for melting chocolate and butter, another for beating eggs and sugar.
- Whisk and Spatula: For mixing ingredients smoothly and scraping sides.
- Double Boiler or Microwave-Safe Bowl: To gently melt chocolate and butter without scorching.
- Fine Sieve: For sifting flour and powdered sugar, which helps keep the batter light.
- Oven: Preheated and reliable, since baking time is crucial for that molten center.
If you don’t have a double boiler, no worries—microwaving in short bursts and stirring often works just fine. I’ve used both methods, and honestly, the microwave method is quicker and just as effective if you keep an eye on it. For ramekins, I like ceramic because it holds heat well and looks nice when serving straight to the table. If you’re budget-conscious, silicone ramekins are dishwasher safe and reusable options.
Preparation Method
- Preheat the Oven and Prepare Ramekins (5 minutes): Set your oven to 425°F (220°C). Generously butter each ramekin and dust with cocoa powder, tapping out any excess. This little step prevents sticking and adds that extra chocolate touch.
- Melt Chocolate and Butter (5 minutes): Combine the 6 tablespoons of butter and 4 ounces of chopped bittersweet chocolate in a heatproof bowl. Gently melt over a double boiler or in the microwave in 30-second bursts, stirring often until smooth and glossy. Set aside to cool slightly—this prevents cooking the eggs in the next step.
- Mix Eggs, Yolks, and Sugar (3 minutes): In a separate bowl, whisk together 2 large eggs, 2 large egg yolks, and 1/2 cup powdered sugar until the mixture is pale and slightly thickened. This aeration is key for a tender texture.
- Combine Chocolate and Egg Mixtures (2 minutes): Slowly pour the melted chocolate into the egg mixture, whisking constantly to avoid scrambling. Add 1 teaspoon vanilla extract and a pinch of salt. The batter will start looking luscious and velvety.
- Add Flour (1 minute): Sift 1/4 cup all-purpose flour over the batter and gently fold it in with a spatula. Stop folding as soon as the flour disappears to keep the batter light.
- Fill Ramekins (2 minutes): Divide the batter evenly among the prepared ramekins (about 3.5 ounces or 100g each). Don’t overfill—leave a little room for rising.
- Bake (12-14 minutes): Place ramekins on a baking sheet and bake in the preheated oven for 12 to 14 minutes. The edges should be firm but the center still looks soft and slightly jiggly. Overbaking means no gooey center, and underbaking means it may collapse.
- Rest and Serve (2 minutes): Remove from oven and let sit for 1 minute. Run a knife around the edges to loosen, then invert onto plates. Serve immediately for that molten magic.
Pro tip: If you want a more pronounced molten center, bake closer to 12 minutes. For a slightly firmer center, push it to 14. I’ve learned the hard way that ovens vary, so keep a close eye the first time you bake. The cakes should smell rich and chocolaty—like a little piece of heaven.
Cooking Tips & Techniques
Here’s the scoop from my kitchen experiments and a few pro-level secrets:
- Use Room Temperature Eggs: They blend better and create a smoother batter.
- Don’t Overmix: Folding flour gently keeps the batter airy, so the cake is delicate yet holds the molten center.
- Chocolate Quality Matters: Use at least 60% cocoa bittersweet chocolate for depth. Milk chocolate won’t give the same richness.
- Timing is Everything: Set a timer for 12 minutes and check visually—edges should be set but the center still wiggle. If you open the oven too often, the cakes can deflate, so peek quickly.
- Prepare Ramekins Well: Butter and cocoa powder help the cakes release easily. I’ve experienced disasters when I skipped this step!
- Rest Briefly: Letting cakes cool a minute or two helps them hold shape when inverted.
- Multitask: Melt chocolate while preheating oven and prepping ramekins to save time.
One time, I left the cakes in too long (rookie mistake), and the centers turned into regular cake—still tasty, but where’s the thrill in that? So trust me, better a little underdone than overbaked here.
Variations & Adaptations
Want to mix things up? These decadent molten chocolate lava cakes with gooey centers are surprisingly versatile:
- Peanut Butter Lava: Drop a teaspoon of creamy peanut butter in the center before baking for a nutty surprise.
- Raspberry Twist: Add a spoonful of raspberry jam or fresh raspberries inside for a fruity contrast that cuts through the richness.
- Spiced Mocha: Stir in a pinch of instant espresso powder and cinnamon to the batter for a coffee-chocolate combo that’s dreamy.
- Gluten-Free: Swap all-purpose flour for a 1:1 gluten-free flour blend and bake a tad longer if needed.
- Dairy-Free: Use coconut oil instead of butter and dairy-free dark chocolate for a vegan-friendly version.
Personally, I tried the raspberry twist last Valentine’s Day, and it was a crowd favorite. The tartness paired beautifully with the molten chocolate and made the dessert feel a bit lighter. You can also experiment with baking them in muffin tins if ramekins aren’t handy—just watch the baking time closely.
Serving & Storage Suggestions
These molten chocolate lava cakes are best served warm, fresh out of the oven, with a dusting of powdered sugar or a scoop of vanilla ice cream (because, honestly, why not?). A sprig of fresh mint or a few berries on the side adds a pop of color and freshness.
For drinks, a bold red wine, espresso, or even a glass of cold milk pairs fantastically. If you’re hosting a dinner party, serve them directly in the ramekins for a rustic touch that guests will love.
If you need to store leftovers (though that rarely happens!), cover cakes tightly with plastic wrap and refrigerate for up to 2 days. Reheat gently in a microwave for 20-30 seconds to bring back some gooey goodness. Freezing is possible—wrap individually in plastic wrap and foil, freeze for up to a month, then thaw overnight in the fridge and reheat carefully.
Just a heads-up: flavors deepen after resting, but the molten center is best enjoyed fresh. The next day, they’ll be more like fudgy chocolate cakes, still delicious but missing that lava effect.
Nutritional Information & Benefits
One decadent molten chocolate lava cake (about 3.5 ounces/100g) typically contains roughly 350-400 calories, depending on chocolate and butter brands. It’s a treat rich in antioxidants from dark chocolate, which supports heart health and mood uplift. Eggs provide protein and essential nutrients, while butter adds fat that keeps you satisfied.
For dietary considerations, this recipe can be adapted to gluten-free and dairy-free versions without sacrificing texture or flavor. Just be mindful of allergens like eggs, dairy, and chocolate if serving guests with sensitivities.
From my wellness perspective, enjoying a small portion of this dessert feels like a well-earned indulgence—a reminder that balance is key, and sometimes a little chocolate happiness is exactly what the doctor ordered.
Conclusion
So, there you have it—your go-to recipe for decadent molten chocolate lava cakes with gooey centers that are surprisingly easy to pull off and guaranteed to impress. Whether you stick to the classic or try one of the fun variations, you can’t go wrong with this dessert that feels like a warm hug on a plate. I love this recipe because it’s simple enough for a weeknight treat but special enough for celebrations.
Go ahead, customize it to your taste, and let me know how it turns out! Drop a comment below sharing your favorite twists or questions. And hey, if you loved this recipe, don’t forget to share it with friends who need a little chocolate magic in their lives. Remember, the best desserts are the ones that bring smiles and satisfy those cravings—these lava cakes do just that.
FAQs About Decadent Molten Chocolate Lava Cakes with Gooey Centers
How do I know when the lava cakes are done baking?
Look for firm edges with a center that still jiggles slightly when you gently shake the ramekin. This means the inside is gooey but the outside is set.
Can I prepare the batter ahead of time?
Yes! You can prepare the batter and refrigerate it in the ramekins, covered tightly, for up to 24 hours. Let them come to room temperature before baking and add a minute or two to baking time.
What’s the best chocolate to use for these lava cakes?
I recommend bittersweet or semi-sweet chocolate with at least 60% cocoa for deep flavor. Avoid milk chocolate, as it won’t yield the same richness or texture.
Can I make these vegan or dairy-free?
Absolutely! Use dairy-free butter or coconut oil, dairy-free dark chocolate, and a flax egg or commercial egg replacer to adapt the recipe.
How do I prevent the cakes from sticking to the ramekins?
Thoroughly butter the ramekins and dust with cocoa powder before adding batter. This creates a non-stick coating that helps the cakes release cleanly when inverted.
Pin This Recipe!
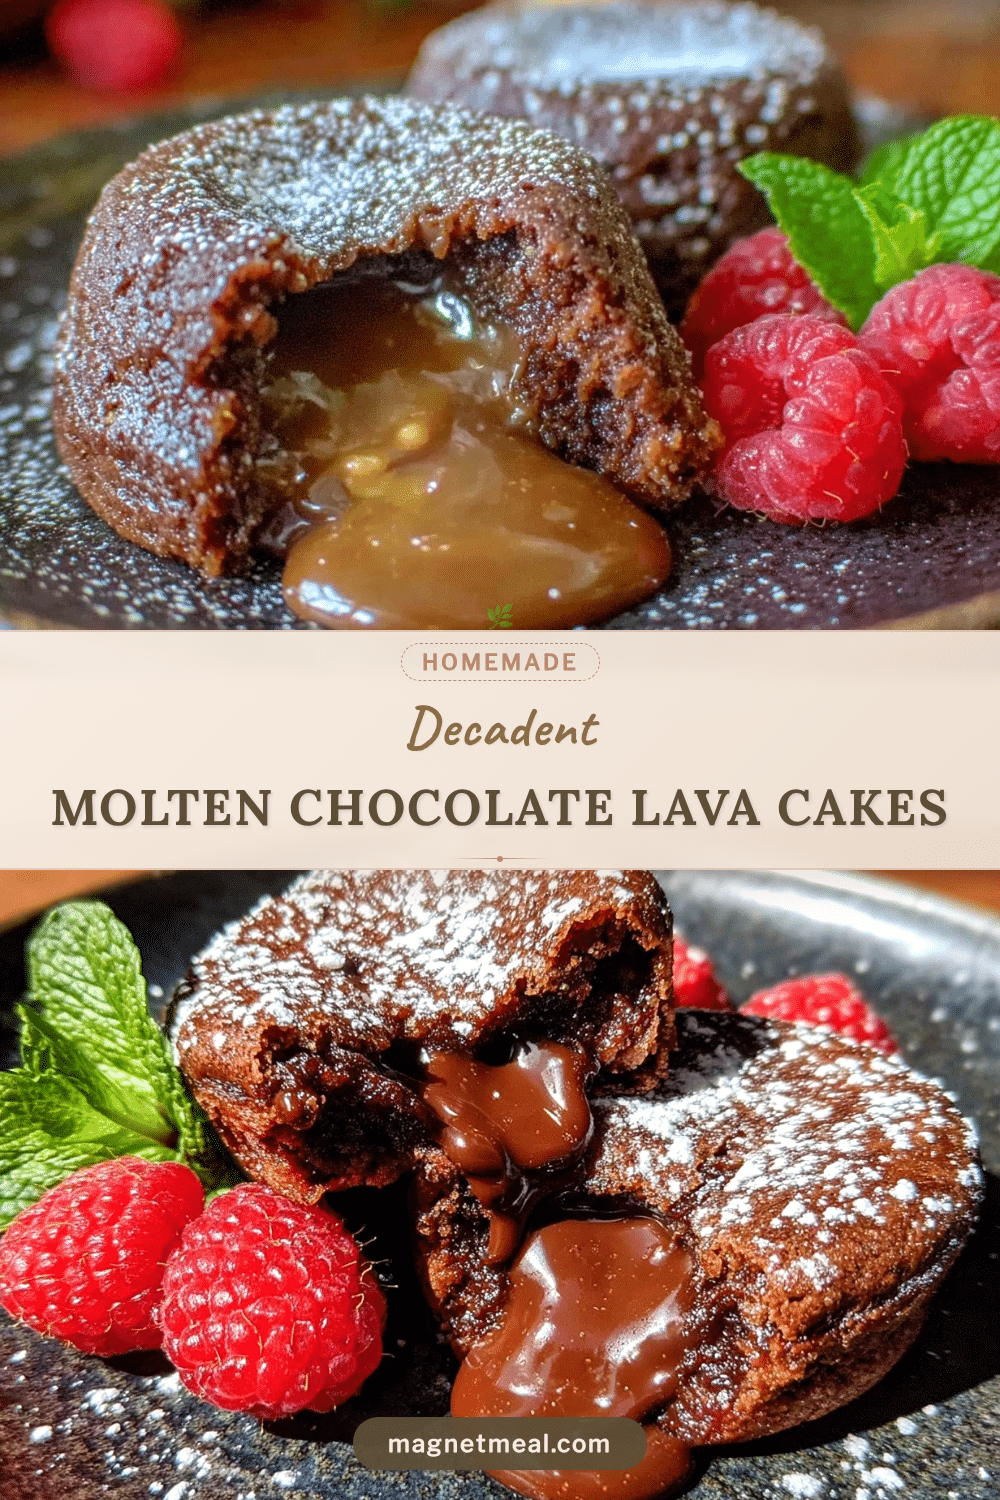
Decadent Molten Chocolate Lava Cakes Recipe Easy Gooey Centers
These decadent molten chocolate lava cakes feature rich, melted chocolate with warm butter and a hint of vanilla, delivering a perfect balance between a delicate cake and a luscious gooey center. Quick and easy to make, they are perfect for any occasion and guaranteed to impress.
- Prep Time: 15 minutes
- Cook Time: 14 minutes
- Total Time: 29 minutes
- Yield: 4 servings 1x
- Category: Dessert
- Cuisine: American
Ingredients
- 6 tablespoons (85g) unsalted butter, plus extra for greasing
- 4 ounces (115g) bittersweet or semi-sweet chocolate, chopped
- 1/2 cup (60g) powdered sugar, sifted
- 2 large eggs, room temperature
- 2 large egg yolks, room temperature
- 1/4 cup (30g) all-purpose flour, sifted
- 1 teaspoon vanilla extract
- Pinch of salt
- Cocoa powder, for dusting ramekins
Instructions
- Preheat the oven to 425°F (220°C). Generously butter each ramekin and dust with cocoa powder, tapping out any excess.
- Melt the butter and chopped chocolate together in a heatproof bowl over a double boiler or in the microwave in 30-second bursts, stirring often until smooth and glossy. Set aside to cool slightly.
- In a separate bowl, whisk together the eggs, egg yolks, and powdered sugar until pale and slightly thickened.
- Slowly pour the melted chocolate mixture into the egg mixture, whisking constantly to avoid scrambling. Add vanilla extract and a pinch of salt, mixing until smooth.
- Sift the flour over the batter and gently fold it in with a spatula until just combined.
- Divide the batter evenly among the prepared ramekins (about 3.5 ounces or 100g each), leaving room for rising.
- Place ramekins on a baking sheet and bake for 12 to 14 minutes until edges are firm but centers are soft and slightly jiggly.
- Remove from oven and let sit for 1 minute. Run a knife around edges to loosen, then invert onto plates and serve immediately.
Notes
Use room temperature eggs for a smoother batter. Do not overmix the flour to keep the batter light and airy. Use high-quality bittersweet chocolate with at least 60% cocoa for best flavor. Baking time is crucial: 12 minutes for a more molten center, 14 minutes for a slightly firmer center. Butter and dust ramekins with cocoa powder to prevent sticking. Cakes are best served immediately for the molten effect. Batter can be prepared ahead and refrigerated up to 24 hours; add 1-2 minutes to baking time when baking from cold.
Nutrition
- Serving Size: One cake (about 3.5
- Calories: 375
- Sugar: 25
- Sodium: 90
- Fat: 25
- Saturated Fat: 15
- Carbohydrates: 35
- Fiber: 3
- Protein: 6
Keywords: molten chocolate lava cakes, gooey chocolate cake, easy chocolate dessert, quick chocolate cake, decadent dessert, chocolate lava cake recipe


