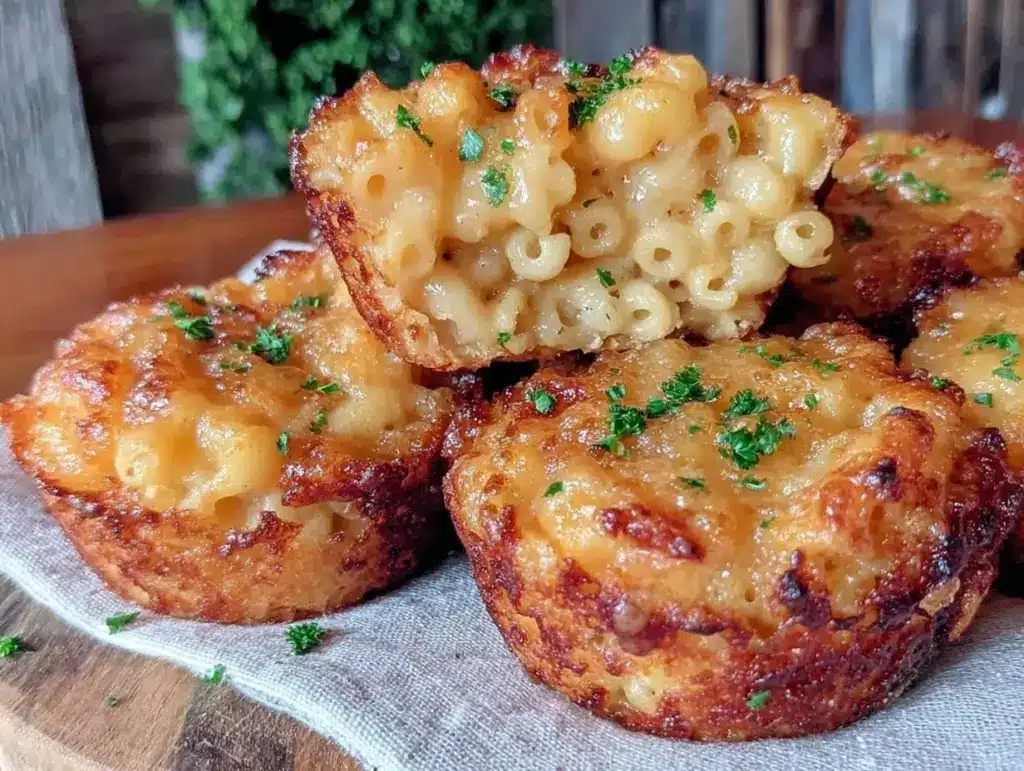
Let me tell you, the scent of bubbling cheese mingling with golden, crispy edges wafting from my oven is enough to make anyone’s mouth water. The first time I baked these crispy mac and cheese muffin cups, I was instantly hooked—the kind of moment where you pause, take a deep breath, and just smile because you know you’re onto something truly special. Honestly, it’s like comfort food found a new groove, packed into these adorable little cups that are both fun to eat and dangerously easy to make.
Years ago, when I was knee-high to a grasshopper, my grandma served a mac and cheese that was creamy and dreamy, but these muffin cups take that nostalgia up a notch. I stumbled upon this recipe one rainy weekend, trying to recreate that same cozy feeling but with a crispy twist. My family couldn’t stop sneaking them off the cooling rack (and I can’t really blame them). Whether it’s a potluck, a kid’s lunchbox surprise, or just a cheeky snack to brighten up a lazy afternoon, these crispy mac and cheese muffin cups have become a staple in our kitchen.
You know what? After testing this recipe more times than I can count (in the name of research, of course), it’s safe to say these cheesy bites are pure, nostalgic comfort with a fun, crispy edge you didn’t know you needed. You’re going to want to bookmark this one and keep it handy for whenever you crave cheesy perfection with a bit of crunch.
Why You’ll Love This Recipe
Here’s why these crispy mac and cheese muffin cups are a winner, straight from my kitchen to yours:
- Quick & Easy: Comes together in under 40 minutes, perfect for busy weeknights or last-minute cravings.
- Simple Ingredients: No fancy grocery trips needed; you likely already have everything in your pantry and fridge.
- Perfect for Parties: Great for potlucks, game days, or just impressing your family with minimal effort.
- Crowd-Pleaser: Always gets rave reviews from kids and adults alike—especially those who claim they “don’t even like mac and cheese.”
- Unbelievably Delicious: The combo of creamy, cheesy goodness with a crispy, golden crust is next-level comfort food.
What makes this recipe stand out is that it’s not just another mac and cheese. The secret is in baking the mac and cheese in muffin tins, which crisps up the edges while keeping the center creamy and cheesy. Plus, I use a blend of sharp cheddar and mozzarella for that perfect balance of flavor and stretch. The addition of a light breadcrumb topping adds just the right amount of crunch, making every bite a textural delight.
Honestly, this recipe feels like comfort food reimagined: faster, fuss-free, but with all the soul-soothing satisfaction you crave. It’s perfect for impressing guests without breaking a sweat or turning a simple meal into something memorable. Trust me, once you try these crispy mac and cheese muffin cups, you’ll wonder how you ever lived without them.
What Ingredients You Will Need
This recipe uses simple, wholesome ingredients to deliver bold flavor and satisfying texture without the fuss. Most of these are pantry staples, and you can easily swap a few if needed.
- Elbow Macaroni: 2 cups (about 200g), cooked al dente (don’t overcook because they’ll bake again).
- Sharp Cheddar Cheese: 1 ½ cups (about 170g), shredded (I recommend Cabot for best melt and tang).
- Mozzarella Cheese: ½ cup (about 55g), shredded (adds great stretch and creaminess).
- Milk: 1 cup (240ml), whole milk preferred for richness, but 2% works fine.
- Unsalted Butter: 3 tablespoons (about 43g), melted (adds richness).
- All-Purpose Flour: 3 tablespoons (24g), to thicken the cheese sauce.
- Salt: 1 teaspoon, to taste.
- Black Pepper: ½ teaspoon, freshly ground (for a little kick).
- Garlic Powder: ¼ teaspoon (optional, but it adds a subtle depth).
- Breadcrumbs: ½ cup (about 60g), preferably panko for extra crunch.
- Parmesan Cheese: ¼ cup (about 25g), grated, mixed with breadcrumbs for topping (adds sharpness).
You can swap the elbow macaroni for small shells or cavatappi if you want a different shape. For a gluten-free version, use gluten-free pasta and almond or oat flour instead of all-purpose. If you’re dairy-free, coconut milk and vegan cheese can work here, but the texture will be a bit different.
Equipment Needed
- Large Pot: For boiling pasta.
- Muffin Tin: Standard 12-cup size works perfectly to make individual crispy mac and cheese cups.
- Mixing Bowls: For combining ingredients.
- Whisk: Helpful to make a smooth cheese sauce without lumps.
- Measuring Cups and Spoons: For precise ingredients.
- Cheese Grater: Freshly shredded cheese melts better than pre-shredded, trust me.
If you don’t have a muffin tin, you can use a silicone muffin mold or small ramekins, but baking times might vary slightly. I’ve found that non-stick muffin pans make cleanup a breeze, but you can always grease your tin well with butter or non-stick spray. For budget-friendly options, silicone muffin molds are great and last forever.
Preparation Method
- Cook the Pasta: Bring a large pot of salted water to a boil. Add 2 cups (about 200g) elbow macaroni and cook for 1-2 minutes less than the package instructions (about 6 minutes). You want it al dente because it’ll bake again. Drain and rinse under cold water to stop cooking. Set aside.
- Make the Cheese Sauce: In a medium saucepan over medium heat, melt 3 tablespoons (43g) unsalted butter. Whisk in 3 tablespoons (24g) all-purpose flour until smooth, cooking for about 1 minute (don’t let it brown). Slowly whisk in 1 cup (240ml) whole milk, stirring constantly to avoid lumps. Cook until the sauce thickens and coats the back of a spoon, about 4-5 minutes.
- Add Cheese and Seasoning: Remove from heat and stir in 1 ½ cups (170g) sharp cheddar cheese and ½ cup (55g) mozzarella cheese until melted and smooth. Season with 1 teaspoon salt, ½ teaspoon black pepper, and ¼ teaspoon garlic powder (optional). Taste and adjust seasoning.
- Combine Pasta and Cheese Sauce: Pour the cheese sauce over the cooked pasta in a large bowl. Gently fold to coat all the noodles evenly.
- Prepare Topping: In a small bowl, mix ½ cup (60g) panko breadcrumbs with ¼ cup (25g) grated Parmesan cheese for a crunchy, cheesy topping.
- Fill Muffin Cups: Preheat oven to 375°F (190°C). Grease a 12-cup muffin tin well with butter or non-stick spray. Spoon the mac and cheese mixture evenly into each muffin cup, pressing gently to pack the pasta.
- Add Breadcrumb Topping: Sprinkle the breadcrumb and Parmesan mix evenly on top of each cup. This is what makes the crispy golden crust.
- Bake: Place the muffin tin on a baking sheet and bake for 20-25 minutes until the tops are golden brown and crispy. You’ll know they’re done when they’re firm to the touch and the edges start to pull away slightly.
- Cool Slightly and Serve: Let the muffin cups cool in the pan for about 5 minutes before carefully removing them with a spoon or knife. Serve warm for maximum cheesy melty goodness.
Pro tip: If you want extra crispy edges, switch your oven to broil for the last 2 minutes—just keep a close eye so they don’t burn! Also, don’t pack the mac and cheese too tightly into the cups or they’ll be dense instead of light and crispy.
Cooking Tips & Techniques
Getting these crispy mac and cheese muffin cups just right takes a few tricks I’ve learned over many batches:
- Don’t Overcook Pasta: Since the pasta bakes again, slightly undercooking keeps it from getting mushy. Al dente is your friend here.
- Make a Smooth Cheese Sauce: When whisking in the milk, pour slowly and keep whisking to avoid lumps. Patience here pays off with creamy texture.
- Use a Mix of Cheeses: Sharp cheddar gives that classic tang, while mozzarella adds stretch and smooth melt. Other cheeses can be swapped in, but keep the balance.
- Grease Muffin Tin Well: Nothing worse than perfect crispy cups sticking to the pan. Butter or non-stick spray is a must.
- Breadcrumbs Matter: Panko breadcrumbs give that lovely crunch. If you don’t have them, regular breadcrumbs work but won’t be quite as crisp.
- Watch Baking Time: Oven temps vary, so start checking at 20 minutes. The golden crust is your cue.
- Let Them Rest: Cooling for a few minutes helps the cups set so they hold together better when you remove them.
My first attempts had soggy bottoms because I didn’t drain the pasta well enough and packed it too tightly. Lesson learned! Also, I found that freshly grated cheese melts better than pre-shredded, which often has anti-caking agents that mess with smooth melting.
Variations & Adaptations
These crispy mac and cheese muffin cups are a great base for customization to suit different tastes and dietary needs:
- Spicy Kick: Add ½ teaspoon cayenne pepper or a dash of hot sauce to the cheese sauce for a little heat.
- Veggie Boost: Stir in finely chopped steamed broccoli, spinach, or roasted red peppers before baking for color and nutrients.
- Gluten-Free: Use gluten-free pasta and substitute the flour with a gluten-free blend or cornstarch. Make sure breadcrumbs are gluten-free.
- Vegan Version: Swap dairy milk for unsweetened almond or oat milk, use vegan cheese shreds, and vegan butter. Nutritional yeast can add cheesy flavor.
- Bacon or Ham: Add cooked, crumbled bacon or diced ham to the mac and cheese mixture for a meaty twist.
Personally, I love adding a handful of caramelized onions for a sweet-savory depth. When I did a batch with smoked gouda instead of mozzarella, it was smoky and rich—delicious but richer, so a little goes a long way.
Serving & Storage Suggestions
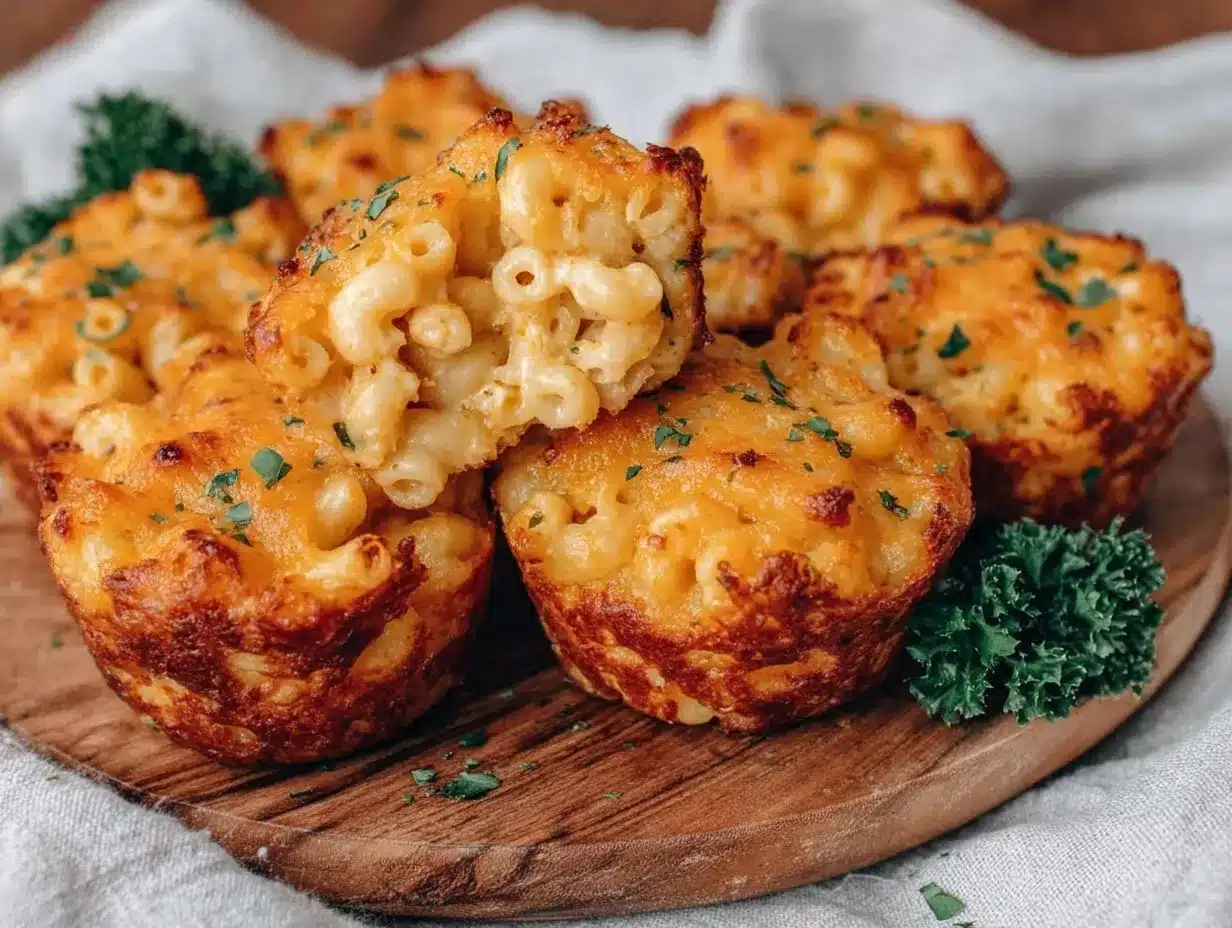
Serve these crispy mac and cheese muffin cups warm, fresh out of the oven for the best gooey-cheesy experience with crisp edges. They look adorable on a platter and pair perfectly with a simple green salad or roasted veggies to balance richness.
For a casual gathering, serve them alongside finger foods or dips—they’re great finger food for parties. Kids love them with ketchup or a mild ranch dip.
To store, cool completely and keep in an airtight container in the refrigerator for up to 3 days. They reheat beautifully in a toaster oven or regular oven at 350°F (175°C) for about 10 minutes to restore crispiness. Avoid microwaving if you want to keep that crunch.
If you want to freeze them, wrap individually in plastic wrap and place in a freezer bag for up to 2 months. Thaw in the fridge overnight before reheating.
Fun fact: The flavors actually deepen after a day in the fridge, so if you can wait, it’s worth making them ahead of time.
Nutritional Information & Benefits
Each muffin cup roughly contains:
| Calories | ~220 kcal |
|---|---|
| Protein | 10g |
| Carbohydrates | 20g |
| Fat | 12g |
| Calcium | Approx. 20% DV |
The sharp cheddar and milk provide a good source of calcium and protein, important for bone health and muscle repair. Using whole milk and butter adds richness but can be swapped for lower-fat versions if desired. This recipe is vegetarian-friendly but contains dairy and gluten unless substituted.
From a wellness perspective, this recipe brings the comfort food you love with a portion-controlled twist. Making these at home means you control the ingredients, avoiding preservatives and excess additives often found in store-bought versions.
Conclusion
If you’re craving cheesy comfort with a crispy twist, these crispy mac and cheese muffin cups are just what you need. They’re quick, easy, and perfect for any occasion where you want something a little special without fuss. You can customize them to your liking, whether that’s adding veggies, spice, or going gluten-free.
I love this recipe because it combines the gooey, nostalgic goodness of mac and cheese with a fun, crunchy edge that makes every bite exciting. Plus, it’s become a family favorite—always disappearing fast at gatherings and making me feel like a kitchen rockstar (which, let’s face it, every home cook wants!).
Give these a try, and let me know how you tweak them! Drop a comment, share your favorite variations, or just tell me how many you managed to sneak before anyone noticed. Happy baking!
FAQs About Crispy Mac and Cheese Muffin Cups
Can I make these ahead of time?
Yes! Prepare and bake the muffin cups, then cool completely and store in the fridge for up to 3 days. Reheat in the oven to keep them crispy.
Can I freeze the mac and cheese muffins?
Absolutely. Wrap them individually and freeze for up to 2 months. Thaw in the fridge overnight before reheating.
What’s the best cheese to use?
A mix of sharp cheddar and mozzarella works best for flavor and meltiness. You can experiment with gouda or Monterey Jack for different profiles.
How do I keep the muffins from sticking to the pan?
Grease your muffin tin thoroughly with butter or non-stick spray. You can also use silicone muffin molds for easy removal.
Can I add vegetables or meat?
Yes! Finely chopped steamed veggies or cooked bacon/ham can be folded into the mac and cheese before baking for extra flavor and nutrition.
Pin This Recipe!
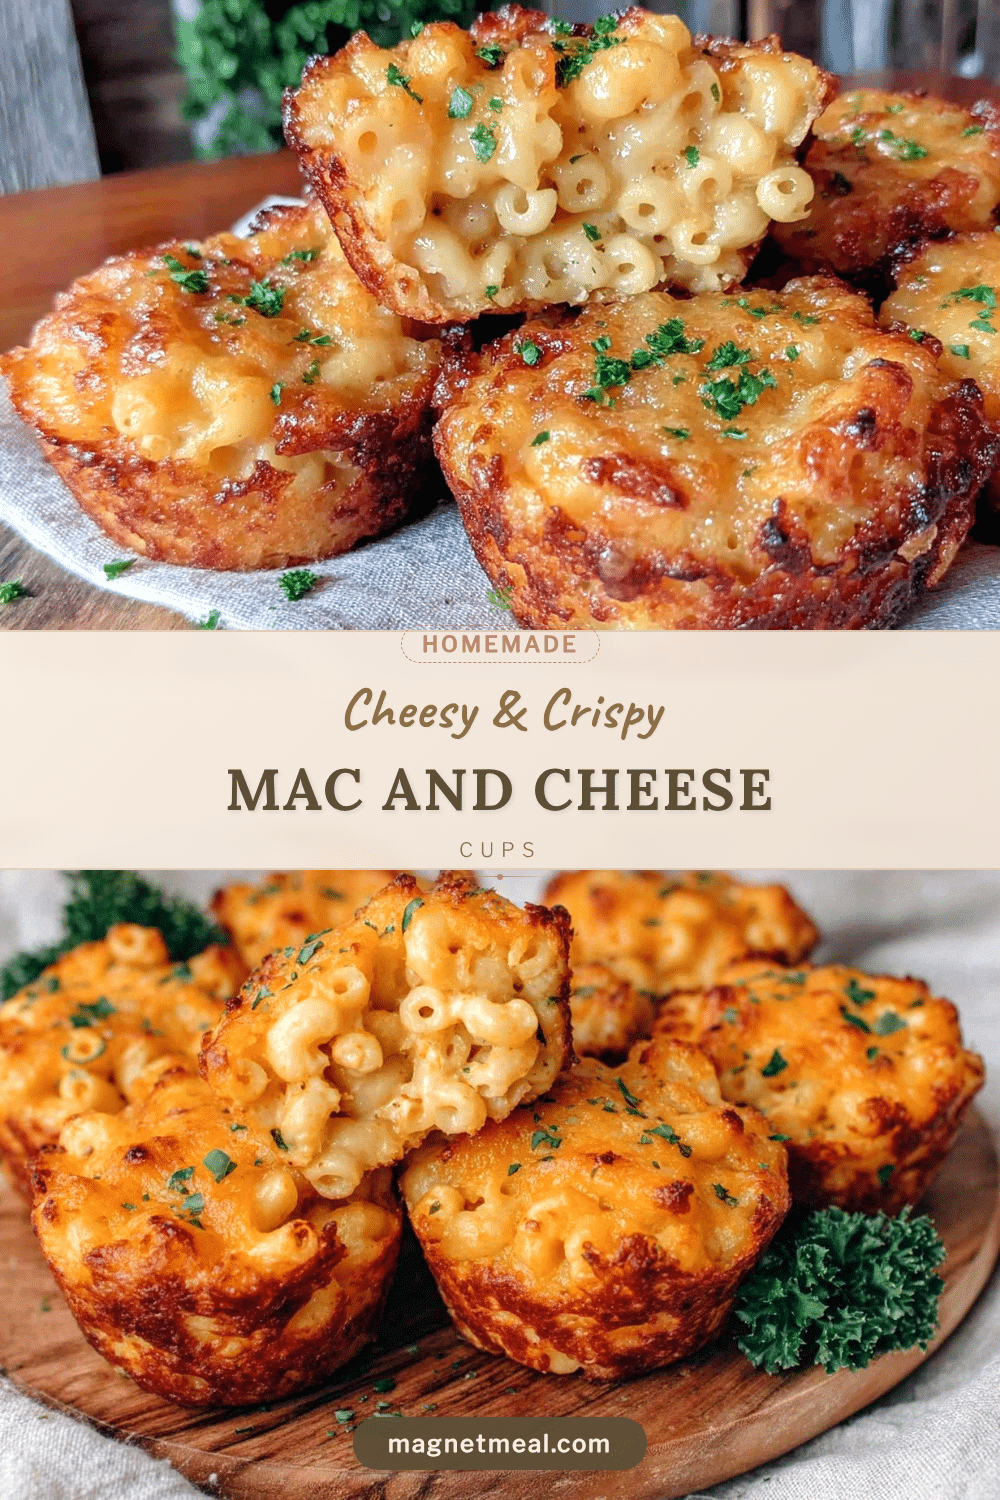
Crispy Mac and Cheese Muffin Cups

These crispy mac and cheese muffin cups combine creamy, cheesy goodness with a crispy, golden crust for a fun and easy comfort food twist. Perfect for parties, snacks, or kid-friendly meals.
- Prep Time: 15 minutes
- Cook Time: 25 minutes
- Total Time: 40 minutes
- Yield: 12 servings 1x
- Category: Main Course
- Cuisine: American
Ingredients
- 2 cups elbow macaroni (about 200g), cooked al dente
- 1 ½ cups sharp cheddar cheese (about 170g), shredded
- ½ cup mozzarella cheese (about 55g), shredded
- 1 cup whole milk (240ml)
- 3 tablespoons unsalted butter (about 43g), melted
- 3 tablespoons all-purpose flour (24g)
- 1 teaspoon salt
- ½ teaspoon freshly ground black pepper
- ¼ teaspoon garlic powder (optional)
- ½ cup panko breadcrumbs (about 60g)
- ¼ cup grated Parmesan cheese (about 25g)
Instructions
- Bring a large pot of salted water to a boil. Add 2 cups elbow macaroni and cook for 1-2 minutes less than package instructions (about 6 minutes). Drain and rinse under cold water to stop cooking. Set aside.
- In a medium saucepan over medium heat, melt 3 tablespoons unsalted butter. Whisk in 3 tablespoons all-purpose flour until smooth, cooking about 1 minute without browning.
- Slowly whisk in 1 cup whole milk, stirring constantly to avoid lumps. Cook until sauce thickens and coats the back of a spoon, about 4-5 minutes.
- Remove from heat and stir in 1 ½ cups sharp cheddar cheese and ½ cup mozzarella cheese until melted and smooth. Season with 1 teaspoon salt, ½ teaspoon black pepper, and ¼ teaspoon garlic powder (optional). Adjust seasoning to taste.
- Pour cheese sauce over cooked pasta in a large bowl and gently fold to coat noodles evenly.
- In a small bowl, mix ½ cup panko breadcrumbs with ¼ cup grated Parmesan cheese for topping.
- Preheat oven to 375°F (190°C). Grease a 12-cup muffin tin with butter or non-stick spray.
- Spoon mac and cheese mixture evenly into each muffin cup, pressing gently to pack the pasta.
- Sprinkle breadcrumb and Parmesan mixture evenly on top of each cup.
- Place muffin tin on a baking sheet and bake for 20-25 minutes until tops are golden brown and crispy.
- Let muffin cups cool in the pan for about 5 minutes before removing carefully. Serve warm.
Notes
Do not overcook pasta; it should be al dente as it will bake again. Use freshly grated cheese for better melting. Grease muffin tin well to prevent sticking. For extra crispy edges, broil for last 2 minutes but watch closely to avoid burning. Do not pack mac and cheese too tightly to keep cups light and crispy.
Nutrition
- Serving Size: 1 muffin cup
- Calories: 220
- Fat: 12
- Carbohydrates: 20
- Protein: 10
Keywords: mac and cheese, crispy mac and cheese, muffin cups, comfort food, cheesy snack, party food, kid-friendly


