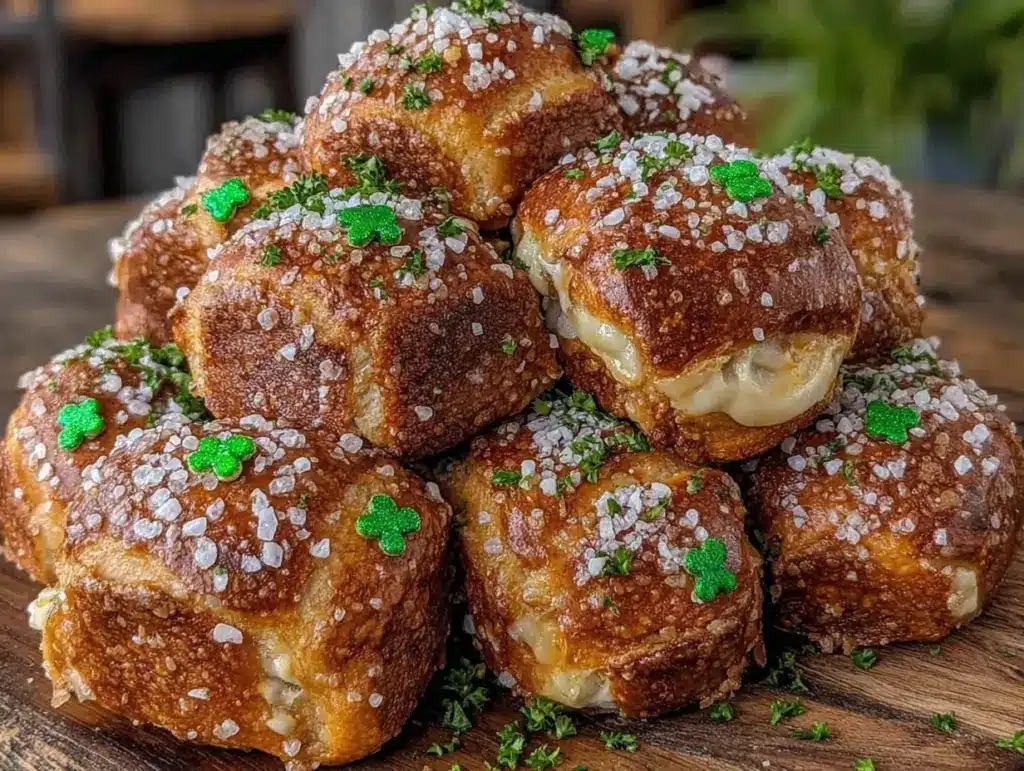
There I was, standing in my kitchen with a bag of pretzels and a vague idea that I wanted something festive but not too fussy for St. Patrick’s Day. Honestly, I wasn’t even sure if shamrocks and pretzels belonged together, but the thought of a crunchy, salty snack with a little holiday twist was oddly appealing. I grabbed some green food coloring, a few simple ingredients, and started experimenting. The result? These Crispy Shamrock Pretzel Bites that are now my go-to festive snack whenever I need something quick, fun, and crowd-pleasing.
What surprised me most was how the crispy texture paired with the subtle flavors made these bites irresistible. My skeptical side (you know, the one that’s wary about adding color or shape gimmicks) quickly turned into a full-blown fan. These bites have since become a must-have at casual get-togethers, especially when the crowd needs something snackable but different. Plus, shaping them into shamrocks adds a little cheer that nobody seems to resist.
It’s funny how a simple snack idea can shift from “just another pretzel” to something that brings a smile, especially when the kitchen smells like toasted dough and a hint of butter. I guess that’s the magic of a recipe that’s both easy and a bit playful.
So if you’re looking for a crispy, festive treat that doesn’t require hours of prep or fancy ingredients, these Crispy Shamrock Pretzel Bites might just become your new favorite. They stuck with me because they’re simple, tasty, and bring a little unexpected joy to the snack table.
Why You’ll Love This Recipe
- Quick & Easy: Ready in under 30 minutes, perfect for last-minute St. Patrick’s Day celebrations or anytime you want a crunchy snack fast.
- Simple Ingredients: Uses pantry staples like flour, baking soda, and pretzel salt, so no extra grocery runs needed.
- Perfect for Festive Occasions: Shamrock shapes add a charming touch for holiday parties, family gatherings, or even school snacks.
- Crowd-Pleaser: Both kids and adults love these crispy bites, and they’re great finger food for casual snacking.
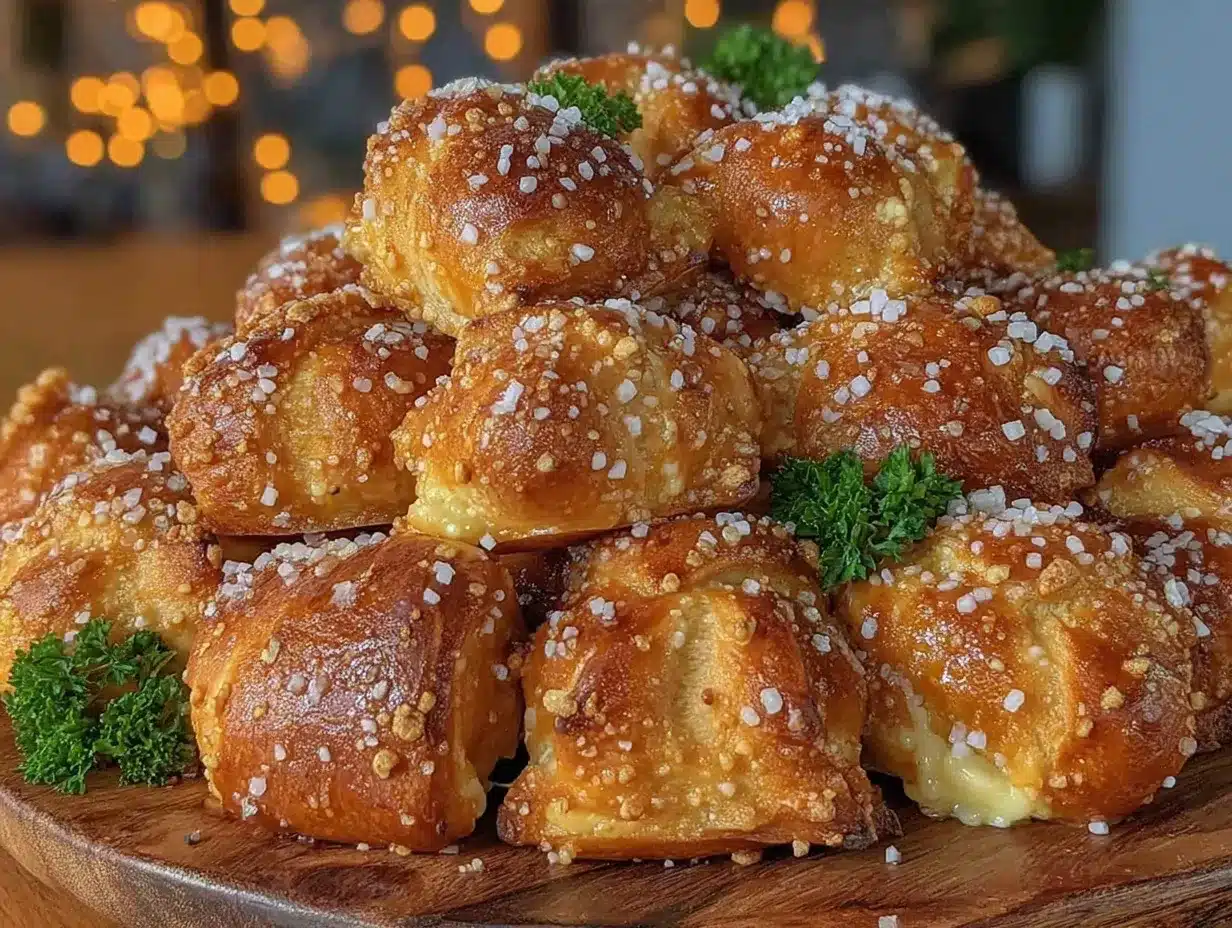
- Unbelievably Delicious: The crisp exterior with a slight chew inside plus that classic pretzel flavor combo is downright addictive.
- Unlike typical pretzel recipes, this one features a quick baking soda bath for that signature pretzel crust, but the shamrock shape makes it stand out visually—definitely not your everyday snack.
- This recipe brings a little festive flair without fuss—honestly, it’s the kind of snack that makes you pause and appreciate the simple comfort of crunchy, salty bites with a holiday twist.
What Ingredients You Will Need
This recipe relies on straightforward, wholesome ingredients that come together to create a crunchy, flavorful pretzel bite without any fuss. Most of these are pantry staples, so you probably have them on hand already. The green color and shamrock shape add just enough festive cheer.
- All-purpose flour (about 2 ½ cups / 300 grams) – the base of your dough, provides structure and chew.
- Instant yeast (2 ¼ teaspoons or one packet) – helps the dough rise and become airy inside.
- Sugar (1 tablespoon) – feeds the yeast and adds a subtle sweetness.
- Warm water (1 cup / 240 ml, around 110°F / 43°C) – activates the yeast and hydrates the dough.
- Baking soda (about ⅓ cup / 80 grams) – for the signature pretzel crust bath.
- Coarse pretzel salt (2 teaspoons) – adds that classic salty crunch on top.
- Unsalted butter (3 tablespoons, melted) – brushed on after baking for richness and shine.
- Green food coloring (a few drops) – optional, but perfect for a shamrock’s festive look.
- Olive oil or vegetable oil (1 tablespoon) – for the dough, adds tenderness.
For the shamrock effect, I like to use a small shamrock-shaped cookie cutter (about 2 inches across). If you don’t have one, a small round cutter or even shaping by hand works too. I tend to pick brands like King Arthur Flour for my all-purpose flour because the texture comes out just right, but any good-quality flour will do.
If you want to keep it gluten-free, swapping in a gluten-free flour blend can work, though the texture will be a bit different. For dairy-free needs, melted coconut oil can replace butter for brushing.
Equipment Needed
- Mixing bowls: One large bowl for yeast activation and another for mixing dough.
- Stand mixer with dough hook (optional): Makes kneading easier but hand kneading works fine.
- Shamrock cookie cutter: Around 2-inch size is perfect for bite-sized snacks. If you don’t have a shamrock cutter, a small round cutter or freehand shaping is fine.
- Baking sheet: Preferably rimmed to catch any drips from the baking soda bath.
- Large pot: For boiling water and baking soda bath.
- Slotted spoon or spider strainer: To safely lower and remove pretzel bites from the baking soda bath.
- Pastry brush: For brushing melted butter after baking.
I’ve tried making these without a stand mixer plenty of times, and while it takes a bit more elbow grease, it’s totally doable. Also, a silicone baking mat or parchment paper helps prevent sticking and makes cleanup simpler. If you want a budget-friendly option for cookie cutters, check out craft stores or online—they often have cute seasonal shapes.
Preparation Method
- Activate the yeast: In a large bowl, combine 1 cup (240 ml) of warm water (about 110°F / 43°C) with 1 tablespoon of sugar and 2 ¼ teaspoons (one packet) of instant yeast. Stir gently and let it sit for 5 minutes until foamy. This signals the yeast is alive and ready.
- Make the dough: Add 2 ½ cups (300 grams) of all-purpose flour and 1 tablespoon of oil to the yeast mixture. Stir to combine, then knead by hand on a floured surface or use a stand mixer with a dough hook for about 7-8 minutes until the dough is smooth and elastic. It should be soft but not sticky. If needed, sprinkle a little extra flour.
- First rise: Lightly oil a clean bowl and place the dough inside, turning it once to coat. Cover with a damp towel or plastic wrap, and let it rise in a warm spot for about 45 minutes to 1 hour, until doubled in size.
- Shape the pretzel bites: Punch down the dough and roll it out on a floured surface to about ½ inch (1.3 cm) thickness. Use your shamrock cookie cutter to cut out shapes. Gather scraps, reroll, and repeat until all dough is used. This step usually takes 10-15 minutes.
- Prepare the baking soda bath: Heat about 10 cups (2.4 liters) of water in a large pot until simmering, then add ⅓ cup (80 grams) of baking soda carefully (it will bubble up). Using a slotted spoon, gently dip each shamrock pretzel bite in the bath for 20-30 seconds, then transfer to a parchment-lined baking sheet.
- Bake: Preheat your oven to 450°F (230°C). Sprinkle the pretzel bites with coarse pretzel salt. Bake for 12-15 minutes, until golden brown and crispy on the edges.
- Finish with butter: Immediately after baking, brush the bites with 3 tablespoons of melted unsalted butter for shine and extra flavor. Let cool slightly before serving.
Troubleshooting tip: If your dough feels too sticky during kneading, add flour 1 tablespoon at a time. For dough that won’t rise, check your yeast’s freshness or water temperature. The baking soda bath is key for that crispy crust—don’t skip it or cut the dipping time too short. The pretzel bites should smell toasty and look golden with a slightly darker crust when done.
Cooking Tips & Techniques
One of the trickiest parts of this recipe is getting the baking soda bath just right. Too hot, and the dough can fall apart; too cool, and you don’t get that signature pretzel crust. I learned to keep the water at a gentle simmer—not a rolling boil—for the best texture.
When shaping the shamrocks, don’t press the cutter too hard or the dough can stick and tear. Lightly flour the cutter before each use. Also, reroll scraps quickly to avoid overworking the dough, which can make bites tough.
Brushing with melted butter right out of the oven adds a lovely gloss and keeps the bites tender inside while maintaining crispness outside. I once skipped this step in a rush, and the bites felt a bit dry—lesson learned!
Timing is everything here: preheat your oven fully before baking, and try to bake all batches in one go for consistent results. While one batch bakes, you can prepare the baking soda bath and shape the next batch to save time.
For extra crunch, sprinkle a little coarse salt right before baking. If you want a milder salt flavor, add it after brushing with butter.
Variations & Adaptations
- Cheesy Shamrock Bites: Add ½ cup (50 grams) shredded sharp cheddar or parmesan to the dough for a savory twist. It makes the bites extra flavorful and a great party snack.
- Gluten-Free Version: Use a gluten-free baking flour blend with xanthan gum. The texture will be slightly different—less chewy but still tasty.
- Sweet Cinnamon Sugar: Skip the pretzel salt, brush bites with melted butter, then toss in cinnamon sugar after baking for a sweet treat.
- Herb-Infused Dough: Mix in 1 teaspoon dried rosemary or thyme for an earthy flavor that pairs nicely with a cheese dip.
- Instead of shaping with a cutter, you can roll dough into small logs and slice into bite-sized pieces for a rustic look.
Personally, I once tried adding a touch of garlic powder and it was a hit at a casual game night. The shamrock shape stayed festive but the flavors leaned savory and comforting.
Serving & Storage Suggestions
Serve these Crispy Shamrock Pretzel Bites warm or at room temperature for the best texture. They pair wonderfully with mustard dips (spicy brown or honey mustard), cheese sauces, or even a simple garlic aioli.
For drinks, a crisp lager or even a refreshing sparkling water with lime complements the salty crunch perfectly. If serving to kids, a mild cheese dip or ranch dressing works great.
To store, place cooled pretzel bites in an airtight container at room temperature for up to 2 days. They’re best enjoyed fresh but can be frozen for up to 1 month—just thaw and reheat in a toaster oven or oven at 350°F (175°C) for 5-7 minutes to restore crispness.
Flavors tend to mellow a bit after a day, but the texture remains satisfyingly crunchy if stored well. Reheating with a light brush of butter helps bring back that fresh-baked charm.
Nutritional Information & Benefits
Each serving of these Crispy Shamrock Pretzel Bites (about 8-10 pieces) contains roughly 150-180 calories, depending on size and butter used. They provide a good source of carbohydrates for quick energy and a modest amount of protein from the flour.
The use of yeast not only adds airiness but can aid digestion compared to unleavened doughs. Using coarse pretzel salt means you get that salty punch without overdoing sodium, especially if you control the amount sprinkled.
This recipe can easily be adapted for dietary needs by swapping ingredients—gluten-free flours or dairy-free butter alternatives—to fit your lifestyle.
Honestly, these bites are a fun way to enjoy a snack that feels indulgent but can be part of a balanced approach, especially when paired with fresh veggies or a protein-based dip.
Conclusion
Crispy Shamrock Pretzel Bites are one of those recipes that sneak up on you—simple ingredients, easy steps, but a result that feels special and satisfying. They’re perfect for when you want a festive snack that’s crunchy, salty, and a little playful. I love how they bring a bit of joy to the snack table without a lot of fuss.
Feel free to tweak the flavors, shapes, or dips to make them your own. Whether it’s a last-minute party or a casual cozy night in, these bites fit right in.
If you try them, I’d love to hear how you personalized your batch! Sharing your twists or tips makes this recipe even better for everyone.
Here’s to simple snacks that bring smiles and a little crunch to your day.
FAQs
Can I make these pretzel bites ahead of time?
Yes, you can prepare the dough and shape the bites a day ahead. Keep them covered in the fridge and bake right before serving for the freshest results.
What can I use if I don’t have pretzel salt?
Coarse sea salt or kosher salt works as a good substitute. Avoid fine table salt as it can be too salty and less crunchy.
How do I keep pretzel bites crispy after baking?
Store them in an airtight container at room temperature and avoid refrigeration, which can make them soggy. Reheating in the oven helps restore crispness.
Is it necessary to use the baking soda bath?
While you can skip it, the baking soda bath is what creates the classic pretzel crust and flavor. It’s highly recommended for authentic texture.
Can I make these vegan?
Yes! Use a plant-based butter substitute for brushing and make sure your dough uses oil instead of butter. The rest of the ingredients are naturally vegan.
Pin This Recipe!
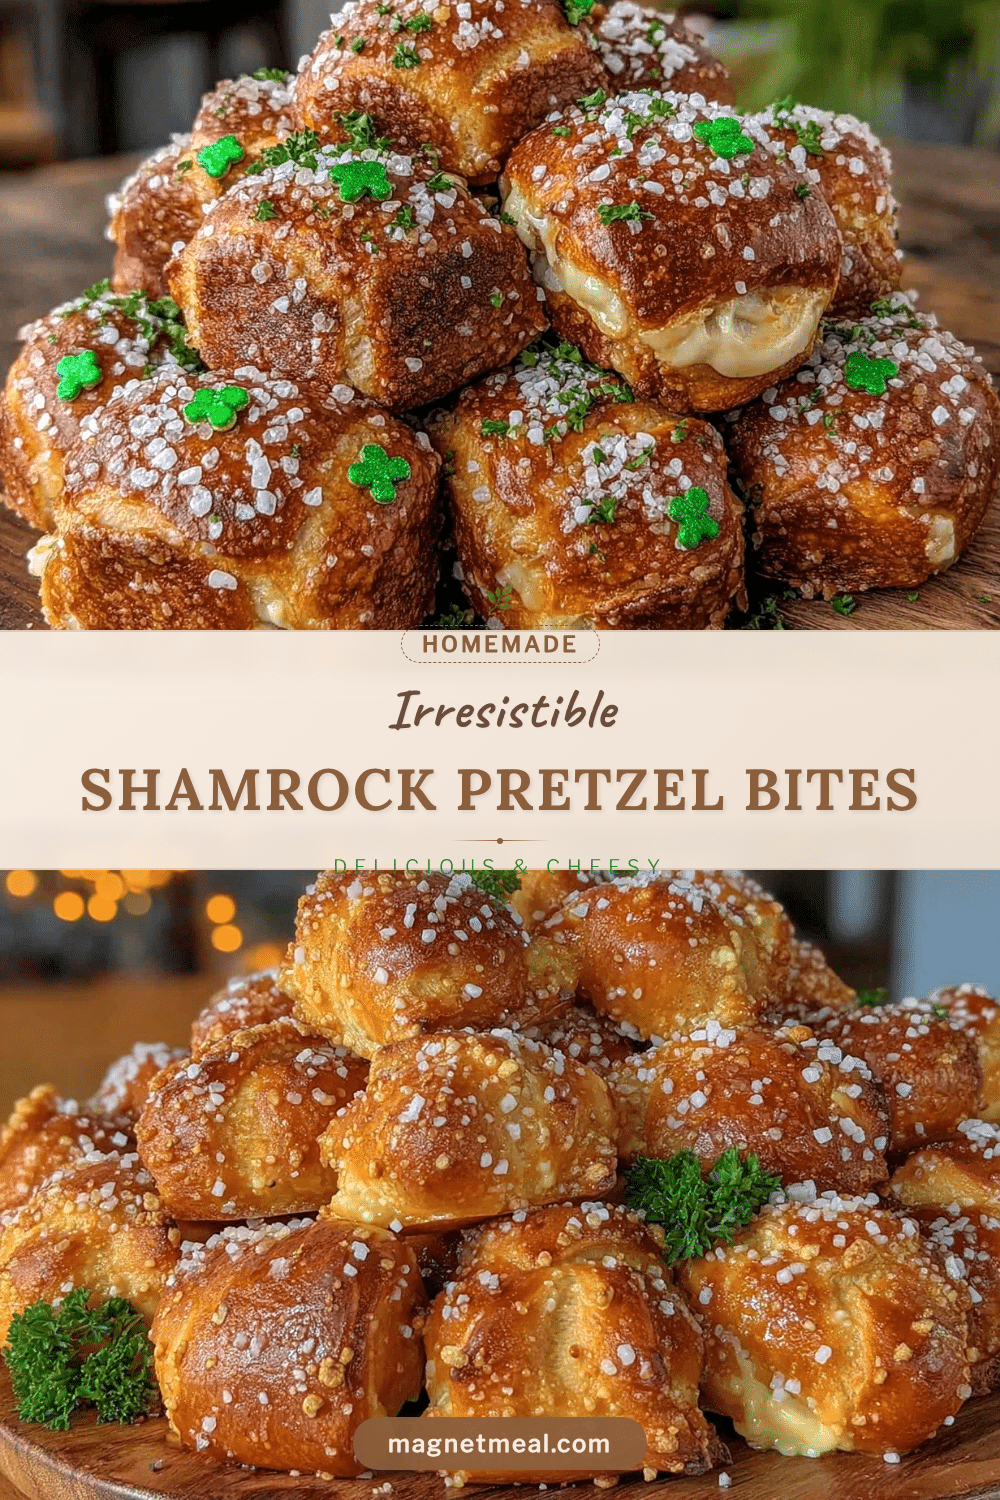
Crispy Shamrock Pretzel Bites

These Crispy Shamrock Pretzel Bites are a quick, festive snack perfect for St. Patrick’s Day or any casual gathering. They feature a crunchy pretzel crust with a playful shamrock shape and a buttery finish.
- Prep Time: 15 minutes
- Cook Time: 15 minutes
- Total Time: 1 hour 15 minutes
- Yield: 8-10 pieces per serving, about 4 servings 1x
- Category: Snack
- Cuisine: American
Ingredients
- 2 ½ cups (300 grams) all-purpose flour
- 2 ¼ teaspoons (1 packet) instant yeast
- 1 tablespoon sugar
- 1 cup (240 ml) warm water (about 110°F / 43°C)
- ⅓ cup (80 grams) baking soda
- 2 teaspoons coarse pretzel salt
- 3 tablespoons unsalted butter, melted
- A few drops green food coloring (optional)
- 1 tablespoon olive oil or vegetable oil
Instructions
- Activate the yeast: In a large bowl, combine warm water, sugar, and instant yeast. Stir gently and let sit for 5 minutes until foamy.
- Make the dough: Add flour and oil to the yeast mixture. Stir to combine, then knead by hand or with a stand mixer for 7-8 minutes until smooth and elastic.
- First rise: Lightly oil a clean bowl, place dough inside, cover, and let rise in a warm spot for 45 minutes to 1 hour until doubled in size.
- Shape the pretzel bites: Punch down dough, roll out to ½ inch thickness, and cut with a shamrock cookie cutter. Reroll scraps and repeat.
- Prepare baking soda bath: Heat 10 cups (2.4 liters) water to a gentle simmer, add baking soda carefully. Dip each pretzel bite for 20-30 seconds, then place on parchment-lined baking sheet.
- Bake: Preheat oven to 450°F (230°C). Sprinkle bites with pretzel salt and bake for 12-15 minutes until golden and crispy.
- Finish with butter: Brush baked bites with melted butter immediately after baking. Let cool slightly before serving.
Notes
Keep baking soda bath at a gentle simmer to avoid dough falling apart. Lightly flour cookie cutter before each use to prevent sticking. Brush with melted butter immediately after baking for shine and flavor. Store in airtight container at room temperature for up to 2 days or freeze for up to 1 month. Reheat in oven to restore crispness.
Nutrition
- Serving Size: About 8-10 pretzel b
- Calories: 150180
- Sugar: 2
- Sodium: 350
- Fat: 6
- Saturated Fat: 3.5
- Carbohydrates: 25
- Fiber: 1
- Protein: 4
Keywords: pretzel bites, shamrock pretzels, St. Patrick's Day snack, crispy pretzels, festive snack, easy pretzel recipe


