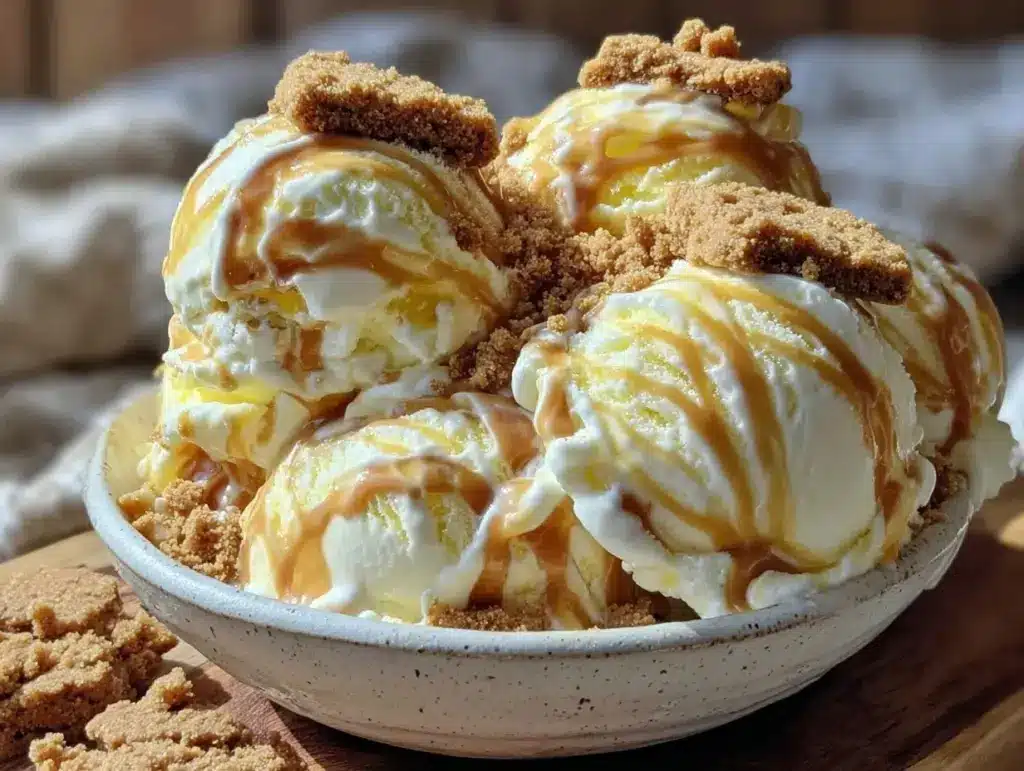
“Hey, did you ever think you could make ice cream without an ice cream maker?” That’s what my roommate asked me one lazy Sunday afternoon while we were rummaging through the pantry. Honestly, I was skeptical—ice cream usually meant a long process or fancy equipment. But then she pulled out a jar of Biscoff cookie butter and said, “Let’s see what happens.” Fast forward a couple hours, and there we were, spooning the creamiest, dreamiest no-churn Biscoff cookie butter ice cream straight from the freezer. It was so smooth and rich, I couldn’t believe it didn’t take all day or a fancy machine.
It started as a bit of a happy accident, really. I was craving something sweet and comforting but didn’t want to haul out the ice cream maker I only use twice a year. The smell of the cookie butter swirling through the mix was like a warm hug on a chilly evening. And the texture? Oh man, it was like biting into a cloud whipped with cinnamon and caramel undertones. The best part? This recipe became my go-to treat whenever I needed a quick homemade dessert that felt special but wasn’t a hassle.
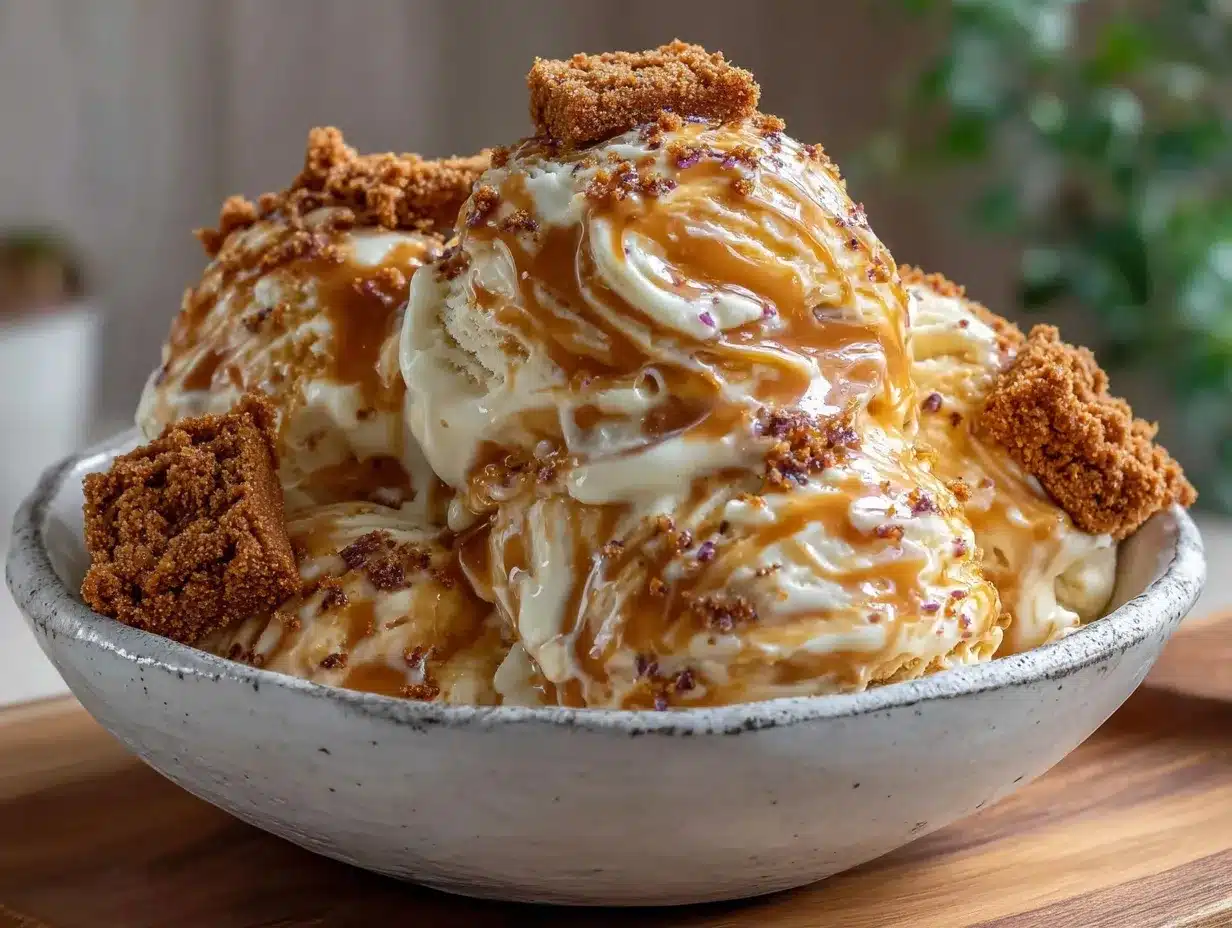
What really stuck with me was how this ice cream seemed to bring everyone together. Friends would drop by unannounced and somehow end up digging into the same container. It’s that kind of recipe that sneaks up on you with its simplicity but leaves a lasting impression—comfort food, but creamy and indulgent in the best way. No fancy appliances, no fuss, just pure, velvety, Biscoff-infused goodness that you can whip up in your own kitchen—in no time.
Why You’ll Love This Recipe
Making homemade ice cream usually feels like a production, but this creamy no-churn Biscoff cookie butter ice cream recipe breaks all those rules. I’ve tested it multiple times, tweaking the balance of sweetness and spice, and every iteration has been a winner. Here’s why this one deserves a spot in your recipe box:
- Quick & Easy: Ready to eat in under 4 hours, with just 10 minutes of prep—perfect for those spontaneous dessert cravings.
- Simple Ingredients: No need for obscure items; most of these are pantry staples. And yes, the star ingredient is that luscious jar of Biscoff cookie butter.
- Perfect for Any Occasion: Great for casual get-togethers, cozy nights in, or even impressing guests with minimal effort.
- Crowd-Pleaser: Kids and adults alike can’t get enough of the creamy texture and warm spice notes.
- Unbelievably Delicious: The cinnamon-ginger flavor of Biscoff blends seamlessly into the ice cream base, making it feel indulgent but not over the top.
This isn’t your everyday vanilla ice cream. What sets it apart is the no-churn method that keeps the texture silky without any ice crystals, and the way the cookie butter adds a subtle crunch and complexity that you won’t find in store-bought versions. Honestly, it’s like the wicked birthday cake of frozen desserts—unexpectedly special but so simple. Every time I make it, I close my eyes after the first bite, savoring that perfect balance of creaminess and spice.
What Ingredients You Will Need
This recipe calls for simple, wholesome ingredients that come together to create something truly special without any fuss. You probably have most of these in your kitchen already, and if not, a quick trip to the store will do the trick.
- Heavy cream (2 cups / 480 ml) – Use full-fat for the creamiest texture. I like the fresh cream from local dairies when available.
- Sweetened condensed milk (1 can, 14 oz / 396 g) – This adds sweetness and helps with the no-churn creaminess.
- Biscoff cookie butter (1 cup / 250 g) – The star ingredient! Look for a smooth, spreadable version for the best consistency.
- Vanilla extract (1 tsp / 5 ml) – Adds depth and rounds out the flavors.
- Cinnamon (1/2 tsp / 1.2 g) – Just a hint to enhance the cookie butter’s spice notes.
- Salt (a pinch) – Balances the sweetness and boosts flavor.
Optional add-ins:
- Crushed Biscoff cookies (1/2 cup / 60 g) – For extra crunch mixed into the ice cream.
- Chocolate chips (1/4 cup / 40 g) – If you want a little chocolate surprise.
If you need a dairy-free version, swap heavy cream with coconut cream and use sweetened condensed coconut milk. For a gluten-free option, just skip the crushed cookies or use gluten-free speculoos crumbs.
Equipment Needed
- Mixing bowl: A large bowl to whip the cream and mix ingredients easily.
- Electric mixer or stand mixer: Essential for whipping the heavy cream to the right fluffy texture. A hand whisk works but requires some muscle.
- Spatula: To fold everything together gently without deflating the cream.
- Freezer-safe container: Ideally, a loaf pan or plastic container with a lid for easy storage.
- Measuring cups and spoons: For precise measurements – icing on the cake for consistent results.
I’ve tried this recipe with both a hand mixer and a stand mixer. The stand mixer definitely makes whipping the cream faster (under 3 minutes), but the hand mixer works fine if you’re patient. If you’re on a budget, a sturdy balloon whisk can do the job—it just takes longer. And a metal loaf pan chills the ice cream faster than plastic containers, so if you have one, use it.
Preparation Method
- Chill your equipment: Place the mixing bowl and beaters in the fridge for about 15 minutes before whipping. Cold tools help the cream whip faster and hold air better.
- Whip the heavy cream: Pour 2 cups (480 ml) of heavy cream into the chilled bowl. Beat on medium-high speed until stiff peaks form. This should take about 3-5 minutes. You’ll know it’s ready when the cream holds its shape and doesn’t slide off the beaters.
- Mix the condensed milk and Biscoff: In a separate bowl, combine 1 can (14 oz / 396 g) of sweetened condensed milk with 1 cup (250 g) of Biscoff cookie butter, 1 tsp (5 ml) vanilla extract, 1/2 tsp (1.2 g) cinnamon, and a pinch of salt. Stir until smooth and well combined.
- Fold the whipped cream into the Biscoff mixture: Using a spatula, gently fold about one-third of the whipped cream into the cookie butter mixture to lighten it. Then fold in the remaining cream carefully, preserving as much airiness as possible.
- Add optional mix-ins: If you want some crunch, fold in 1/2 cup (60 g) crushed Biscoff cookies or 1/4 cup (40 g) chocolate chips now.
- Transfer to container and freeze: Pour the mixture into your freezer-safe container and smooth the top with a spatula. Cover tightly with a lid or plastic wrap.
- Freeze for at least 4 hours: Let the ice cream freeze until firm. For best texture, stir gently once after 2 hours to break up any icy spots (optional but helpful).
- Serve: Scoop into bowls or cones and enjoy the creamy, spiced goodness!
Note: If your Biscoff cookie butter is a bit stiff, warm it gently in the microwave for 10-15 seconds to soften before mixing. This helps it blend smoothly without lumps.
Cooking Tips & Techniques
Whipping the cream just right is the trickiest part here. I’ve learned the hard way that under-whipping leads to a runny mess, and over-whipping can turn it buttery. Stiff peaks mean when you lift the beaters, the cream holds its shape but still looks soft and fluffy.
Folding is another skill to get comfortable with. You want to mix the whipped cream into the Biscoff mixture gently to keep all that air in. A few slow, sweeping motions with a rubber spatula do the job—no vigorous stirring.
When freezing, don’t rush it by cranking your freezer to the coldest setting. Slow and steady freezing helps maintain that creamy texture without ice crystals. If you notice any icy bits forming, a quick stir halfway through freezing smooths things out nicely.
Also, a quick heads-up: if you add extra crunchy mix-ins, fold them in at the very end. Otherwise, they might dissolve or get soggy.
Lastly, if you want to experiment, try swirling in a bit of caramel or chocolate sauce just before freezing. It creates a fun marbled effect that’s always a crowd-pleaser.
Variations & Adaptations
- Vegan Version: Use coconut cream instead of heavy cream and a vegan sweetened condensed milk alternative. Make sure your Biscoff cookie butter is vegan-friendly.
- Spiced Up: Add a pinch of nutmeg or ginger alongside cinnamon for a warm holiday twist.
- Chunky Delight: Mix in chopped roasted nuts like pecans or walnuts for texture contrast.
- Chocolate Lovers: Stir in cocoa powder to the condensed milk mixture for a Biscoff chocolate ice cream.
- Fruit Fusion: Swirl in some homemade raspberry sauce or chopped fresh berries for a fruity surprise.
I once tried a combo with crushed pretzels and sea salt sprinkled on top before freezing—salty and sweet with a nice crunch. Totally recommend if you like a little texture adventure. For a no-churn twist, sometimes I fold in a spoonful of mascarpone cheese for extra creaminess, especially if I’m making it for friends who appreciate that tangy note.
Serving & Storage Suggestions
This ice cream is best served straight from the freezer, scooped into small bowls or waffle cones. I like to garnish with a few extra crushed Biscoff cookies or a drizzle of melted chocolate for a little flair. It pairs wonderfully with warm desserts, like a slice of emerald green layer cake or even alongside a cup of coffee or chai tea to complement the cinnamon notes.
Store leftovers tightly covered in the freezer—this recipe keeps well for up to two weeks. When reheating, just let it sit at room temperature for 5-10 minutes to soften slightly for easier scooping. The flavors tend to deepen after a day or two, making it even more irresistible.
Nutritional Information & Benefits
Each serving (about 1/2 cup or 125 ml) provides roughly 300-350 calories, primarily from fats and sugars. The heavy cream and sweetened condensed milk contribute to the rich, creamy texture and sweetness, while Biscoff cookie butter adds a touch of cinnamon and ginger spice.
Though indulgent, this treat offers some benefits—Biscoff cookies contain cinnamon, which has antioxidant properties, and the recipe is free from artificial additives and stabilizers you’d find in store-bought ice cream. For those watching carbs, swapping regular sweetened condensed milk for a sugar-free version can lighten the sugar load.
If you’re curious about pairing this creamy dessert with lighter meals, you might enjoy it following something like a fresh avocado tuna salad lettuce wrap. It’s a nice balance of indulgence and nutrition.
Conclusion
This creamy no-churn Biscoff cookie butter ice cream recipe really changed how I think about homemade desserts. It’s proof that you don’t need fancy equipment or complicated steps to make something truly comforting and delicious. You can tweak it to fit your tastes, and it’s always a hit with anyone who tries it.
I love how it feels like a little treat you made just for yourself or to share with friends who appreciate the simple joys of cookie butter and creamy sweetness. If you decide to try it, I’d love to hear how you adapted the recipe or what mix-ins you added—there’s always room for creativity in the kitchen.
Give it a go and trust me, you’ll find yourself coming back to this easy homemade dessert again and again.
Frequently Asked Questions
Can I make this ice cream without sweetened condensed milk?
Sweetened condensed milk is key for the creamy texture and sweetness in no-churn recipes. You could try using a homemade condensed milk substitute, but it might affect texture and sweetness.
How long does this ice cream keep in the freezer?
It stays fresh and creamy for up to two weeks when stored in an airtight container. After that, texture and flavor may start to decline.
Can I add mix-ins like nuts or chocolate chips?
Absolutely! Fold in crushed Biscoff cookies, chocolate chips, or nuts just before freezing for extra texture and flavor.
Is it possible to make this recipe vegan?
Yes, by using coconut cream and a plant-based sweetened condensed milk alternative. Make sure the cookie butter is vegan-friendly too.
Do I need to stir the ice cream while freezing?
It’s optional but helpful. Stirring once or twice during freezing breaks up ice crystals and keeps the texture smooth.
Pin This Recipe!
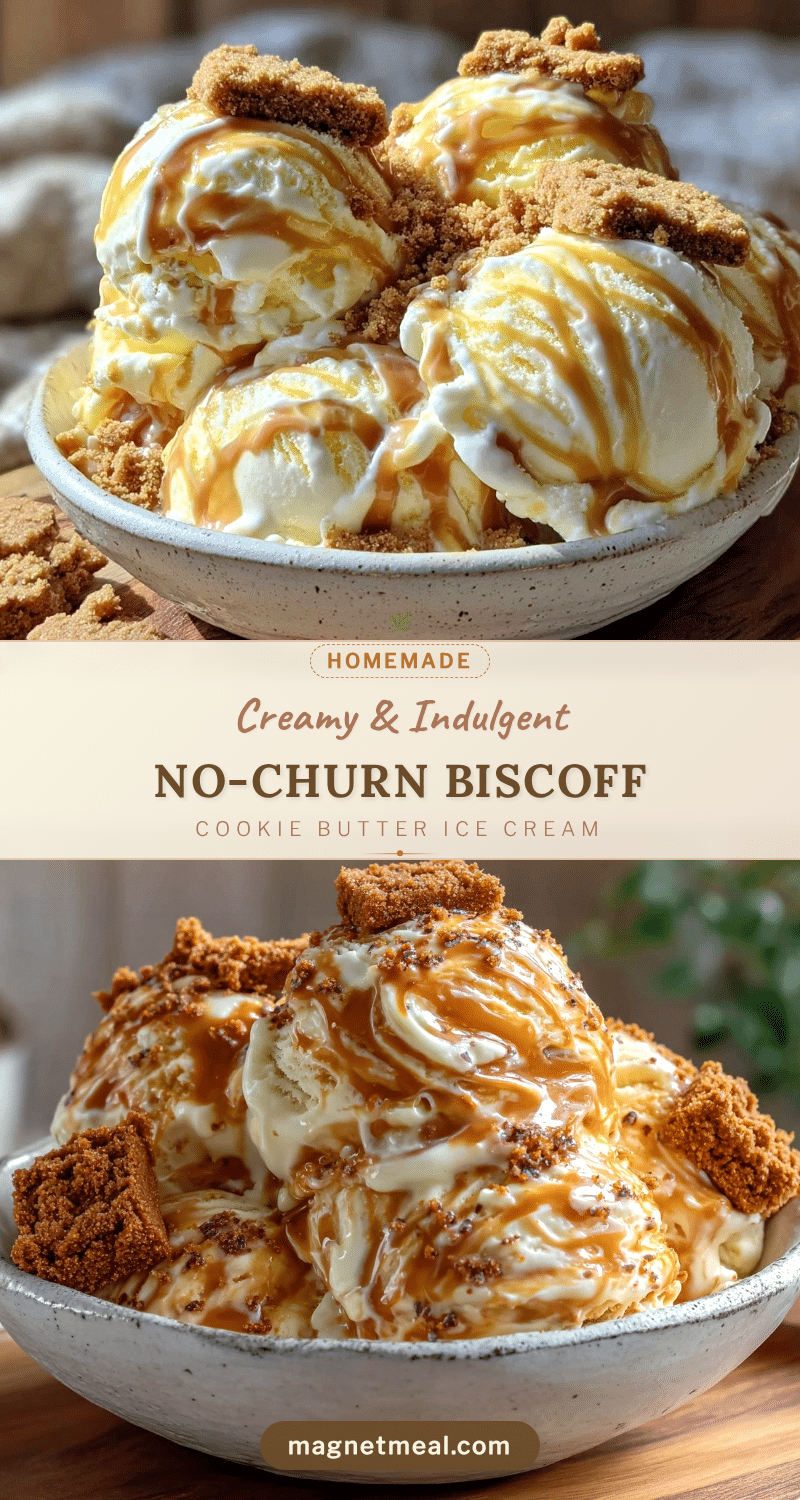
Creamy No-Churn Biscoff Cookie Butter Ice Cream
A quick and easy no-churn ice cream recipe featuring the rich, spiced flavor of Biscoff cookie butter. Creamy, indulgent, and perfect for homemade dessert cravings without any fancy equipment.
- Prep Time: 10 minutes
- Cook Time: 0 minutes
- Total Time: 4 hours 10 minutes
- Yield: 8 servings 1x
- Category: Dessert
- Cuisine: American
Ingredients
- 2 cups (480 ml) heavy cream, full-fat
- 1 can (14 oz / 396 g) sweetened condensed milk
- 1 cup (250 g) Biscoff cookie butter, smooth and spreadable
- 1 tsp (5 ml) vanilla extract
- 1/2 tsp (1.2 g) cinnamon
- Pinch of salt
- Optional: 1/2 cup (60 g) crushed Biscoff cookies
- Optional: 1/4 cup (40 g) chocolate chips
Instructions
- Chill your mixing bowl and beaters in the fridge for about 15 minutes before whipping.
- Pour 2 cups (480 ml) of heavy cream into the chilled bowl. Beat on medium-high speed until stiff peaks form, about 3-5 minutes.
- In a separate bowl, combine 1 can (14 oz / 396 g) sweetened condensed milk, 1 cup (250 g) Biscoff cookie butter, 1 tsp (5 ml) vanilla extract, 1/2 tsp (1.2 g) cinnamon, and a pinch of salt. Stir until smooth and well combined.
- Gently fold about one-third of the whipped cream into the Biscoff mixture to lighten it, then fold in the remaining cream carefully to preserve airiness.
- If desired, fold in 1/2 cup (60 g) crushed Biscoff cookies or 1/4 cup (40 g) chocolate chips.
- Transfer the mixture into a freezer-safe container and smooth the top with a spatula. Cover tightly with a lid or plastic wrap.
- Freeze for at least 4 hours until firm. Optionally, stir gently once after 2 hours to break up any icy spots.
- Serve scooped into bowls or cones and enjoy.
Notes
Warm stiff Biscoff cookie butter gently in the microwave for 10-15 seconds before mixing to ensure smooth blending. For best texture, chill equipment before whipping cream. Stir ice cream once halfway through freezing to avoid ice crystals. Optional mix-ins should be folded in at the end to maintain crunch.
Nutrition
- Serving Size: About 1/2 cup (125 m
- Calories: 325
- Sugar: 28
- Sodium: 90
- Fat: 22
- Saturated Fat: 14
- Carbohydrates: 30
- Fiber: 1
- Protein: 4
Keywords: no-churn ice cream, Biscoff cookie butter, homemade dessert, easy ice cream recipe, no ice cream maker, creamy ice cream, quick dessert


