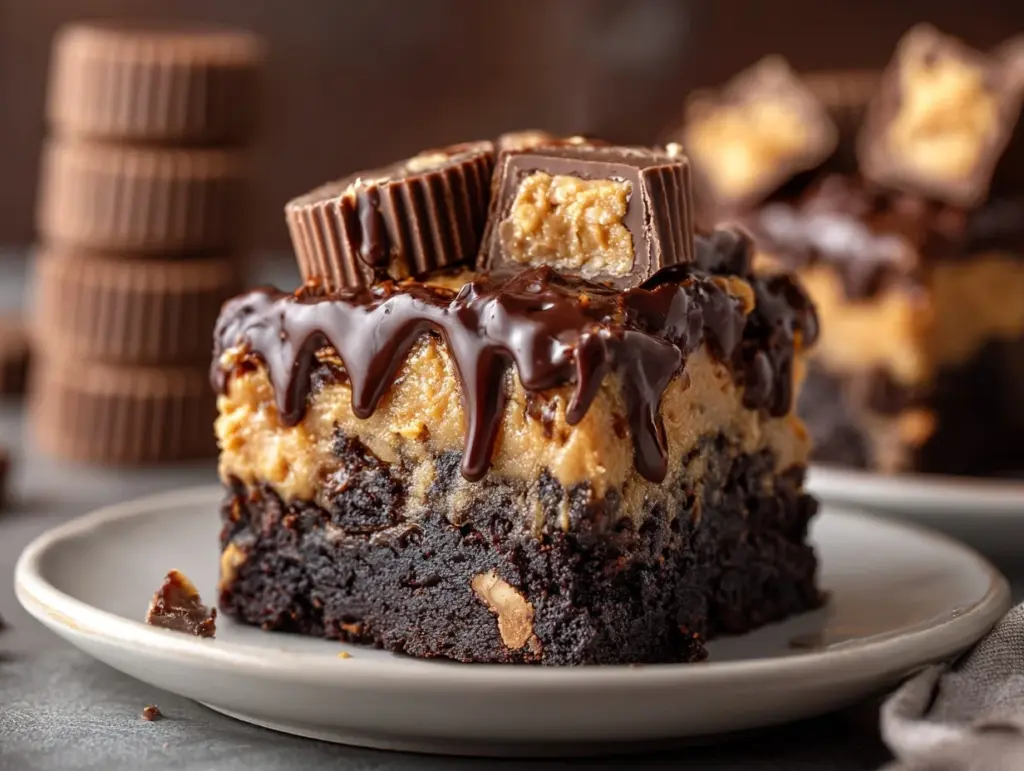
Imagine a dessert so easy, so decadent, and so irresistible that it feels like magic. That’s exactly what you get with this Peanut Butter Cup Dump Cake. It’s rich, gooey, and packed with the comforting flavors of peanut butter and chocolate. Best of all, it’s ready in just 30 minutes—perfect for last-minute cravings or impressing guests without breaking a sweat.
I first stumbled upon the concept of dump cakes during a busy weeknight when I needed a dessert but had zero energy for anything elaborate. This Peanut Butter Cup Dump Cake quickly became a family favorite. With minimal prep, no fancy techniques, and ingredients you probably already have at home, this recipe is a lifesaver for anyone who loves sweets but hates the fuss.
Whether you’re hosting a casual gathering, treating yourself after a long day, or simply indulging in a lazy weekend dessert, this recipe hits all the right notes. Let’s get baking—you won’t believe how simple and satisfying it is!
Why You’ll Love This Recipe
- Quick & Easy: This recipe comes together in under 30 minutes, making it ideal for busy schedules or last-minute dessert emergencies.
- Minimal Cleanup: True to its name, everything is layered in one dish—no mixing bowls or extra utensils required.
- Simple Ingredients: No need for a special trip to the store; you likely have everything you need in your pantry.
- A Guaranteed Crowd-Pleaser: Kids and adults alike rave about the gooey, chocolatey goodness of this dump cake.
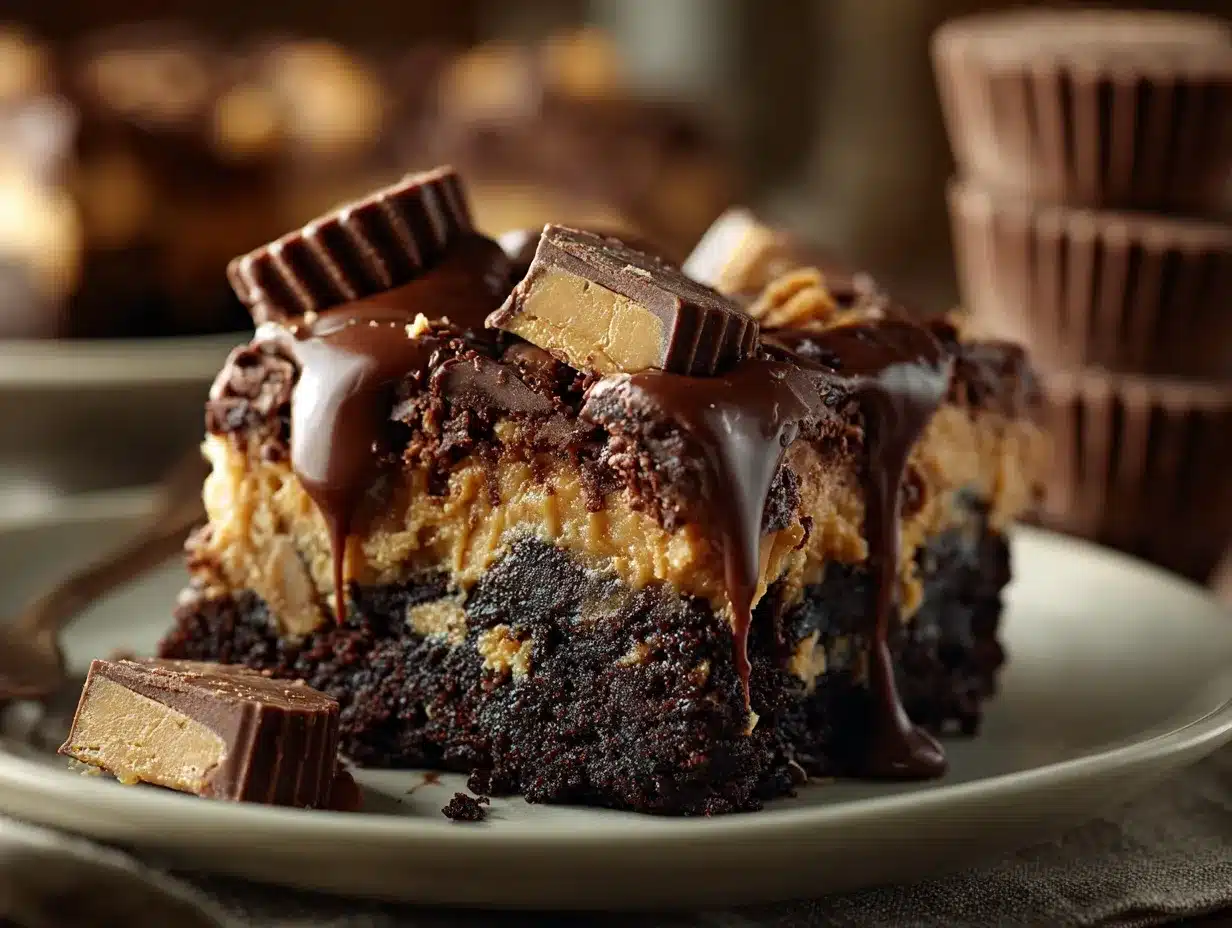
- Decadent Flavor: The combination of peanut butter cups, chocolate, and buttery cake mix creates a rich and irresistible dessert.
Unlike traditional cakes that require precision and patience, this recipe is forgiving and foolproof. You’ll love how the peanut butter cups melt into gooey pockets of flavor, while the buttery cake mix forms a golden crust on top. It’s the kind of dessert that makes people ask for seconds—and the recipe!
What Ingredients You Will Need
This Peanut Butter Cup Dump Cake uses basic pantry ingredients and a few indulgent extras to create a dessert that feels gourmet. Here’s what you’ll need:
- Peanut Butter Cups: About 12–15 mini peanut butter cups, roughly chopped (use your favorite brand).
- Chocolate Chips: 1 cup of semi-sweet chocolate chips (or milk chocolate if you prefer a sweeter flavor).
- Boxed Cake Mix: 1 box of yellow cake mix (vanilla works too, but yellow gives the best buttery flavor).
- Butter: 1 stick (½ cup) unsalted butter, melted (it helps create the crisp topping).
- Milk: ½ cup of milk (adds moisture and richness).
- Peanut Butter: 2–3 tablespoons creamy peanut butter (optional, but recommended for extra flavor).
If you’re missing an ingredient, don’t worry! You can easily substitute or adapt. For example, swap peanut butter cups with Reese’s Pieces or chopped chocolate bars. Almond butter works beautifully in place of peanut butter, and gluten-free cake mix can be used if needed.
Equipment Needed
No fancy equipment is required for this recipe—it’s as low-maintenance as it gets! Here’s what you’ll need:
- Baking Dish: A 9×13-inch glass or ceramic dish works best.
- Knife: For chopping the peanut butter cups.
- Measuring Cups: To ensure the right proportions of milk and butter.
- Microwave-Safe Bowl: For melting the butter.
If you don’t have a dedicated baking dish, you can use a deep pie pan or even a disposable aluminum pan. Just make sure it’s large enough to hold all the layers.
Preparation Method
Let’s get down to the fun part—making your Peanut Butter Cup Dump Cake! Follow these easy steps:
- Preheat your oven: Set your oven to 350°F (175°C) and lightly grease your baking dish with non-stick spray or butter.
- Layer the peanut butter cups: Scatter the chopped peanut butter cups evenly across the bottom of the dish.
- Add the chocolate chips: Sprinkle the chocolate chips on top of the peanut butter cups for extra gooeyness.
- Prepare the cake mix: In a small bowl, combine the cake mix with the milk until just moistened. Do not overmix.
- Spread the cake mix: Pour the prepared cake mix over the peanut butter cups and chocolate chips, spreading it gently to cover the entire surface.
- Drizzle the butter: Melt the butter and drizzle it evenly over the cake mix. Try to cover as much as possible for an even crust.
- Bake: Place the dish in the oven and bake for 25–30 minutes, or until the top is golden brown and bubbling.
- Cool slightly: Let the cake cool for 5–10 minutes before serving—it’ll be molten hot straight out of the oven!
Pro tip: If you notice dry patches on the top during baking, add an extra drizzle of melted butter or milk to even things out.
Cooking Tips & Techniques
Here are a few insider tips to make sure your Peanut Butter Cup Dump Cake turns out perfect every time:
- Use room-temperature ingredients: Milk and butter blend better when they’re not straight from the fridge.
- Don’t skip the butter drizzle: This step is crucial for achieving a crisp, golden topping.
- Chop the peanut butter cups: Smaller pieces melt more evenly and distribute flavor throughout the cake.
- Customize the sweetness: If you prefer a less sweet dessert, use dark chocolate chips instead of semi-sweet or milk chocolate.
- Serve warm: This cake is best enjoyed while it’s still warm and gooey, so don’t wait too long to dig in!
If your cake seems too dry, add a splash of milk or cream as a finishing touch. It’s an easy fix that keeps things luscious.
Variations & Adaptations
Want to put your own spin on this recipe? Here are some fun ideas:
- Gluten-Free Option: Use a gluten-free cake mix to make this dessert accessible for everyone.
- Seasonal Twist: Add a handful of crushed candy canes during the holidays or chopped caramel eggs for Easter.
- Nut-Free Version: Replace peanut butter cups with sunflower seed butter cups for a nut-free alternative.
- Extra Crunch: Sprinkle crushed pretzels or chopped nuts on top before baking for added texture.
Personally, I love adding a drizzle of caramel sauce on top—it’s indulgent and pairs beautifully with the peanut butter and chocolate flavors.
Serving & Storage Suggestions
This Peanut Butter Cup Dump Cake is best served warm, but here’s how to make the most of it:
- Serving Temperature: Serve warm with a scoop of vanilla ice cream or a dollop of whipped cream.
- Presentation Tip: Sprinkle a few extra chocolate chips or chopped peanut butter cups on top for a polished look.
- Storage: Cover leftovers tightly with plastic wrap and refrigerate for up to 3 days.
- Reheating: Warm individual portions in the microwave for 20–30 seconds or in a 300°F oven for 5–10 minutes.
Over time, the flavors meld together even more, making this cake just as delicious on day two!
Nutritional Information & Benefits
While this dessert is definitely a treat, here’s a quick peek at the nutritional highlights:
- Calories: Approximately 320 per serving (based on 12 servings).
- Key Ingredients: Peanut butter provides protein, while dark chocolate chips offer antioxidants.
- Dietary Considerations: Easily adaptable for gluten-free or nut-free diets.
Remember, balance is key—enjoy this dump cake as part of a well-rounded diet. It’s perfect for sharing and savoring in moderation!
Conclusion
There you have it—an unbelievably easy, decadent dessert that’s sure to become a household favorite. This Peanut Butter Cup Dump Cake is everything you want in a sweet treat: quick, indulgent, and downright delicious.
Feel free to customize it to suit your cravings, and don’t forget to share it with friends and family. Trust me, once they try it, they’ll be begging for the recipe!
If you make this cake, let me know how it turns out in the comments below. I’d love to hear your variations and adaptations. Happy baking, and enjoy every gooey bite!
FAQs
Can I use a different candy instead of peanut butter cups?
Absolutely! You can substitute Reese’s Pieces, chopped Snickers, or any chocolate-based candy you love.
What can I use if I don’t have cake mix?
You can make a quick homemade mix by combining 1 cup of all-purpose flour, 1 cup of sugar, 1 teaspoon of baking powder, and a pinch of salt.
Can I make this ahead of time?
Yes! Prepare the layers, cover with plastic wrap, and refrigerate until ready to bake. Just add an extra 5 minutes to the baking time.
Is this recipe gluten-free?
Not as written, but you can use gluten-free cake mix and ensure all other ingredients are certified gluten-free.
Can I freeze leftovers?
Yes, wrap individual portions in plastic wrap and freeze for up to 2 months. Thaw in the fridge and reheat before serving.
Pin This Recipe!
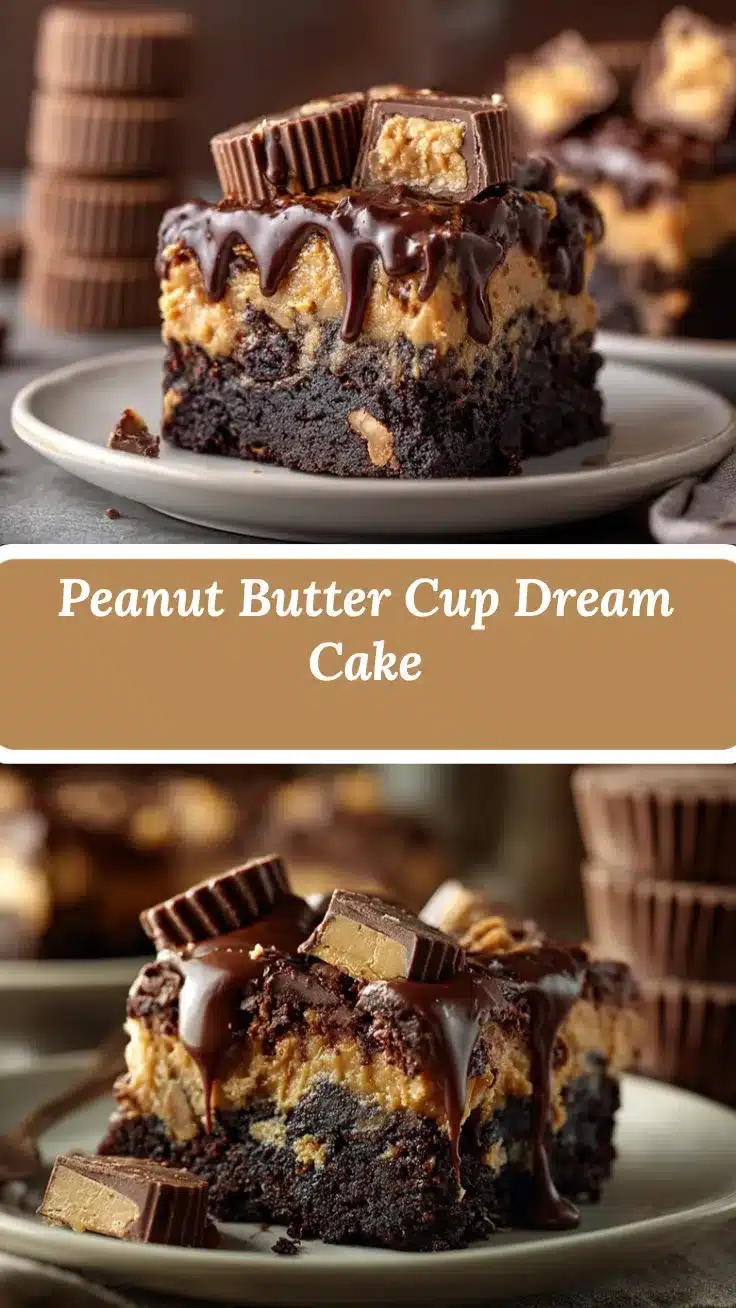
Peanut Butter Cup Dump Cake
A quick and easy dessert packed with the comforting flavors of peanut butter and chocolate, ready in just 30 minutes.
- Prep Time: 10 minutes
- Cook Time: 30 minutes
- Total Time: 40 minutes
- Yield: 12 servings 1x
- Category: Dessert
- Cuisine: American
Ingredients
- 12–15 mini peanut butter cups, roughly chopped
- 1 cup semi-sweet chocolate chips
- 1 box yellow cake mix
- 1 stick (½ cup) unsalted butter, melted
- ½ cup milk
- 2–3 tablespoons creamy peanut butter (optional)
Instructions
- Preheat your oven to 350°F (175°C) and lightly grease your baking dish with non-stick spray or butter.
- Scatter the chopped peanut butter cups evenly across the bottom of the dish.
- Sprinkle the chocolate chips on top of the peanut butter cups.
- In a small bowl, combine the cake mix with the milk until just moistened. Do not overmix.
- Pour the prepared cake mix over the peanut butter cups and chocolate chips, spreading it gently to cover the entire surface.
- Melt the butter and drizzle it evenly over the cake mix, covering as much as possible for an even crust.
- Bake for 25–30 minutes, or until the top is golden brown and bubbling.
- Let the cake cool for 5–10 minutes before serving.
Notes
Serve warm with vanilla ice cream or whipped cream for extra indulgence. Customize sweetness by using dark chocolate chips or milk chocolate.
Nutrition
- Serving Size: 1 slice
- Calories: 320
- Sugar: 30
- Sodium: 250
- Fat: 15
- Saturated Fat: 8
- Carbohydrates: 40
- Fiber: 2
- Protein: 4
Keywords: Peanut Butter Cup Dump Cake, easy dessert, chocolate, peanut butter, quick baking, dump cake recipe


