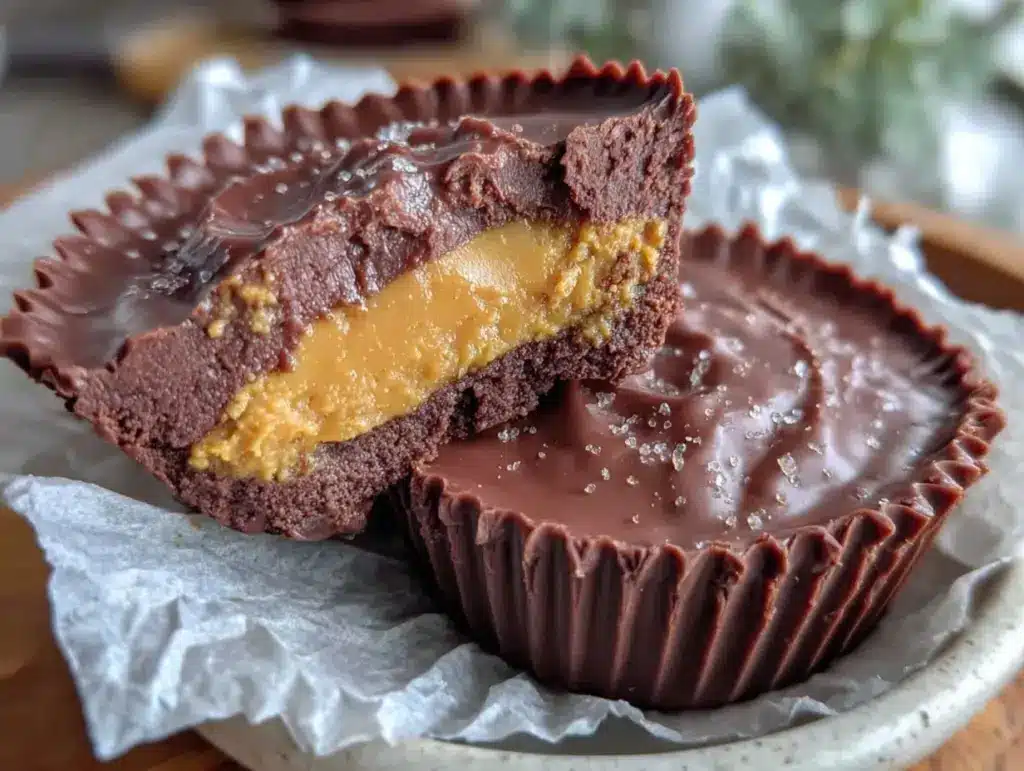
Let me tell you, the scent of rich chocolate melting alongside creamy peanut butter is enough to make anyone’s mouth water. The first time I made these easy homemade chocolate peanut butter cups, I was instantly hooked—the kind of moment where you pause, take a deep breath, and just smile because you know you’re onto something truly special. Years ago, when I was knee-high to a grasshopper, my grandma used to make a similar treat, but hers was always a bit too complicated for my impatient self. This recipe? It’s dangerously easy and brings that pure, nostalgic comfort right to your kitchen without any fuss.
You know what’s even better? My family couldn’t stop sneaking them off the cooling rack (and honestly, I can’t really blame them). These chocolate peanut butter cups have become a staple for our family gatherings and are the perfect sweet treat for potlucks or brightening up your Pinterest cookie board. Whether you’re a beginner or just craving something homemade and heartfelt, this recipe feels like a warm hug in dessert form. I’ve tested it multiple times—in the name of research, of course—and it never fails to impress.
Why You’ll Love This Recipe
Honestly, this easy homemade chocolate peanut butter cups recipe stands out for so many reasons. As someone who’s spent hours perfecting chocolate treats, I can say this one nails the balance between creamy peanut butter and smooth chocolate without a ton of hassle. Here’s what makes it special:
- Quick & Easy: Comes together in under 30 minutes, perfect for busy weeknights or last-minute cravings.
- Simple Ingredients: No fancy grocery trips needed; you likely already have everything in your kitchen.
- Perfect for Any Occasion: Great for holiday gifting, potlucks, or a cozy night in.
- Crowd-Pleaser: Rave reviews from kids and adults alike—always disappears fast!
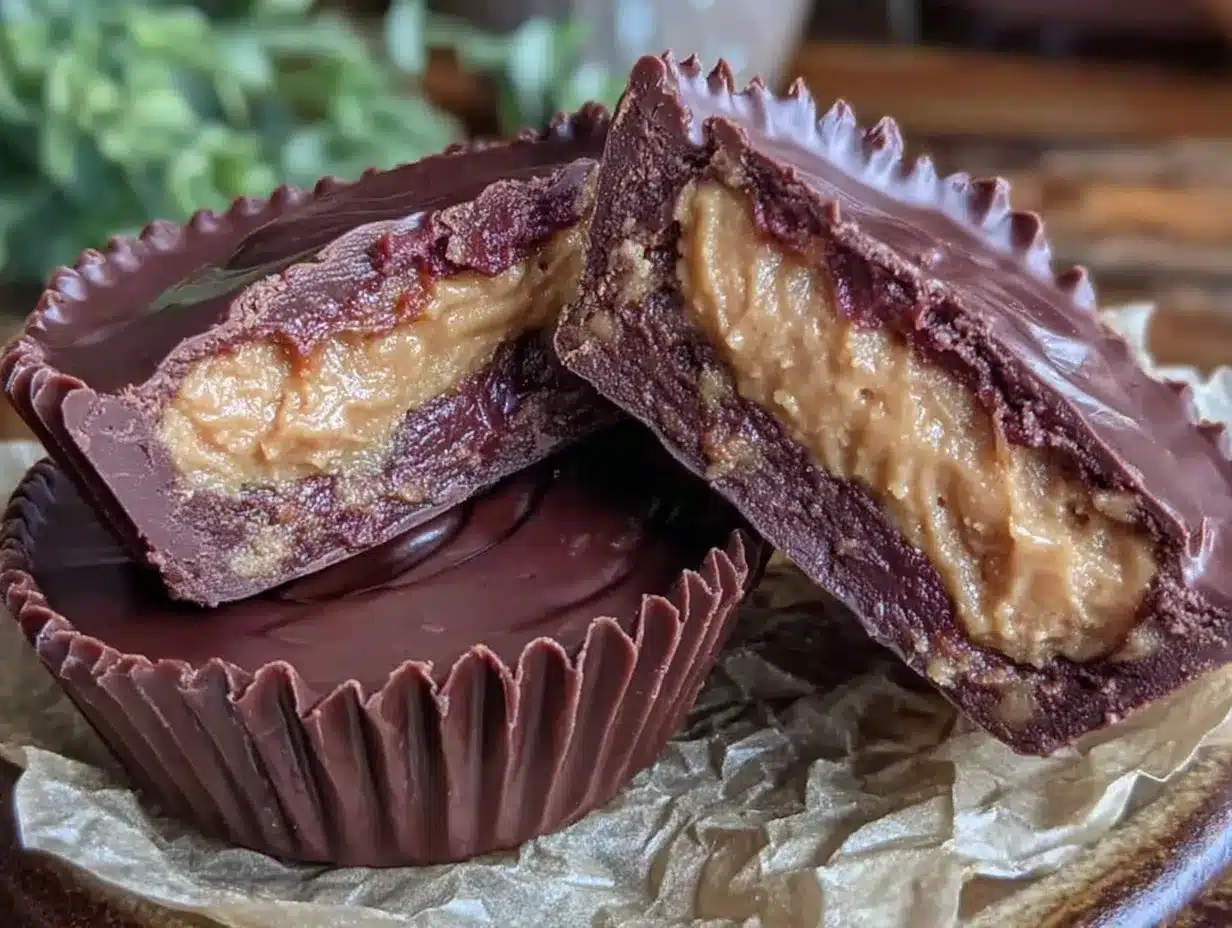
- Unbelievably Delicious: The texture combo is pure comfort food, creamy peanut butter hugging silky chocolate.
This isn’t just another peanut butter cup recipe. The trick? Melting the chocolate gently and using a pinch of sea salt to bring out the peanut butter’s natural sweetness. It’s comfort food reimagined—easy, fast, but with all the soul-soothing satisfaction you crave. You’re going to want to bookmark this one for sure.
What Ingredients You Will Need
This recipe uses simple, wholesome ingredients to deliver bold flavor and satisfying texture without the fuss. Most of these are pantry staples, so you probably have them on hand already. Here’s what you’ll need:
- Chocolate chips or chopped chocolate (milk or semi-sweet, about 12 oz / 340 g) – I recommend Ghirardelli for the best melt and flavor.
- Natural creamy peanut butter (1 cup / 250 g) – smooth is key for that perfect melt; Skippy’s natural version works great.
- Powdered sugar (1/2 cup / 60 g) – to sweeten and thicken the peanut butter filling.
- Unsalted butter (2 tbsp / 28 g), softened – adds richness and smooth texture.
- Sea salt (a pinch) – balances the sweetness and amps up flavor.
- Vanilla extract (1 tsp) – optional, but adds depth to the peanut butter layer.
Substitution tips: Use almond butter if you want a nut-free option, and swap powdered sugar for coconut sugar for a less refined sweetener. For a dairy-free version, pick vegan butter and dark chocolate that’s dairy-free.
Equipment Needed
- Mini muffin tin or silicone candy molds – I prefer silicone molds for easy removal, but a muffin tin lined with paper liners works well too.
- Microwave-safe bowl or double boiler – for melting the chocolate gently without burning.
- Mixing bowls – you’ll need a couple for the chocolate and peanut butter filling.
- Spoon or small cookie scoop – helps portion the chocolate and peanut butter evenly.
- Spatula – for mixing and smoothing layers.
Don’t worry if you don’t have a candy thermometer or fancy tools. I made these dozens of times with just basic kitchen stuff. Silicone molds are my favorite budget-friendly upgrade—they make the cups pop right out without breaking.
Preparation Method
- Line your mini muffin tin with paper liners or prepare silicone molds. This keeps cleanup simple and helps the cups hold their shape.
- Melt the chocolate: Place 8 oz (225 g) of chocolate chips in a microwave-safe bowl. Microwave in 30-second intervals, stirring in between, until smooth and glossy (about 1-2 minutes total). Alternatively, use a double boiler to melt gently over simmering water.
- Fill the bottom of each mold: Spoon about 1 teaspoon (5 ml) of melted chocolate into each cup, spreading it to cover the bottom evenly. This forms the chocolate base. Pop the tray in the freezer for 10 minutes to set.
- Prepare the peanut butter filling: In a mixing bowl, combine 1 cup (250 g) creamy peanut butter, 1/2 cup (60 g) powdered sugar, 2 tbsp (28 g) softened unsalted butter, 1 tsp vanilla extract, and a pinch of sea salt. Mix until smooth and creamy.
- Add the peanut butter layer: Once the chocolate base is firm, scoop about 1 teaspoon (5 ml) of the peanut butter mixture over each chocolate layer. Smooth gently with a spoon to flatten.
- Top with remaining melted chocolate: Melt the remaining 4 oz (115 g) chocolate the same way. Spoon it over the peanut butter layer to seal each cup completely. Smooth the tops with a spatula or back of a spoon.
- Chill again: Place the tray back in the freezer for at least 30 minutes or until the cups are fully set and firm to the touch.
- Remove and enjoy: Peel off the liners or pop the cups out of the molds carefully. Keep refrigerated if not serving immediately to maintain firmness.
Pro tip: When melting chocolate, don’t rush it—stir frequently to avoid burning. If the chocolate seizes, add a teaspoon of coconut oil and stir gently. Also, chilling between layers helps keep the peanut butter from mixing with the chocolate, giving you those perfect defined layers you want.
Cooking Tips & Techniques
Getting these easy homemade chocolate peanut butter cups just right is about a few little details. One common mistake? Overheating the chocolate. Chocolate is finicky—heat it slowly and stir often. I’ve learned the hard way that a scorched batch tastes bitter and grainy.
Another tip: use powdered sugar in the peanut butter filling instead of granulated sugar. It dissolves better, creating a smoother filling that’s not gritty. When spreading the peanut butter layer, don’t press too hard or you risk mixing it with the chocolate base.
Timing matters, too. Allowing each layer to chill properly helps everything set up beautifully. If you’re multitasking, make the peanut butter filling while the chocolate chills in the freezer. This keeps things moving and efficient.
Lastly, keep your molds or liners cool before starting. I sometimes pop them in the fridge to help the chocolate set faster and avoid melting when you pour. These little tricks take a good recipe and make it foolproof.
Variations & Adaptations
One of the best things about this recipe is how easy it is to customize. Here are a few ways I’ve played around with it:
- Nut-Free Version: Swap peanut butter for sunflower seed butter for allergy-friendly cups.
- Dark Chocolate Delight: Use 70% dark chocolate for a richer, less sweet treat that adults adore.
- Crunchy Twist: Stir in chopped roasted peanuts or crushed pretzels into the peanut butter filling for texture.
- Salted Caramel: Add a drizzle of caramel sauce over the peanut butter layer before topping with chocolate.
- Gluten-Free Option: This recipe is naturally gluten-free, but double-check labels on your chocolate chips for cross-contamination.
Personally, I once tried adding a sprinkle of chili powder to the chocolate layer—surprisingly delicious with a little heat! Feel free to experiment and make these your own.
Serving & Storage Suggestions
Serve these easy homemade chocolate peanut butter cups chilled or at room temperature. They’re fantastic straight from the fridge when you want a firm bite or left out for 10 minutes to soften slightly and melt on your tongue.
Pair them with a cold glass of milk, coffee, or even a scoop of vanilla ice cream for an indulgent treat. They’re perfect finger food for parties or a quick sweet fix after dinner.
Store leftover cups in an airtight container in the refrigerator for up to 2 weeks. For longer storage, freeze them for up to 3 months. To thaw, place them in the fridge overnight or at room temperature for about 30 minutes—avoid microwaving, or you might melt your masterpiece.
Interestingly, the flavors deepen after a day or two, so if you can wait, the peanut butter and chocolate meld even better. Just don’t wait too long, or they’ll be gone!
Nutritional Information & Benefits
Each chocolate peanut butter cup contains approximately 150-180 calories, depending on size and ingredients. They offer a decent protein boost from the peanut butter, along with healthy fats that keep you satisfied.
Using natural peanut butter means you get fewer additives and more nutrients like vitamin E and magnesium. Dark chocolate adds antioxidants, which is a sweet bonus you might not expect!
This recipe fits well into gluten-free and vegetarian diets. Just be mindful of allergies and choose dairy-free options if needed. Overall, these cups are a treat that balances indulgence with a bit of wholesome goodness.
Conclusion
In the end, this easy homemade chocolate peanut butter cups recipe is worth every minute you spend making it. It’s simple, satisfying, and packed with flavor that feels like a cozy hug from the inside out. I love how flexible it is—you can tweak it to your taste, dietary needs, or whimsy. Honestly, it’s become one of my go-to sweet fixes, and I bet it will be for you, too.
Give it a try, then come back and tell me how you made it your own! Share your twists, your kitchen wins, or even your hilarious fails—I’m all ears. Now go on, treat yourself—you deserve it!
FAQs About Easy Homemade Chocolate Peanut Butter Cups
Can I use crunchy peanut butter instead of creamy?
Yes, you can! Crunchy peanut butter adds a nice texture, but spreading might be a bit trickier. Just mix the filling well to keep it smooth.
How long do these peanut butter cups last?
Stored in the fridge, they stay fresh for up to 2 weeks. You can freeze them for 3 months if you want to prep ahead.
Can I make these without using a microwave?
Absolutely. Use a double boiler method to melt the chocolate slowly over simmering water to avoid burning.
Is it necessary to chill between layers?
Chilling helps set each layer so they don’t mix and keeps the cups neat and defined. If you’re in a rush, you can chill less but expect a softer finish.
Can I add other flavors to the peanut butter filling?
Definitely! A dash of cinnamon, a splash of maple syrup, or even a little espresso powder can add unique flavors to your cups.
Pin This Recipe!
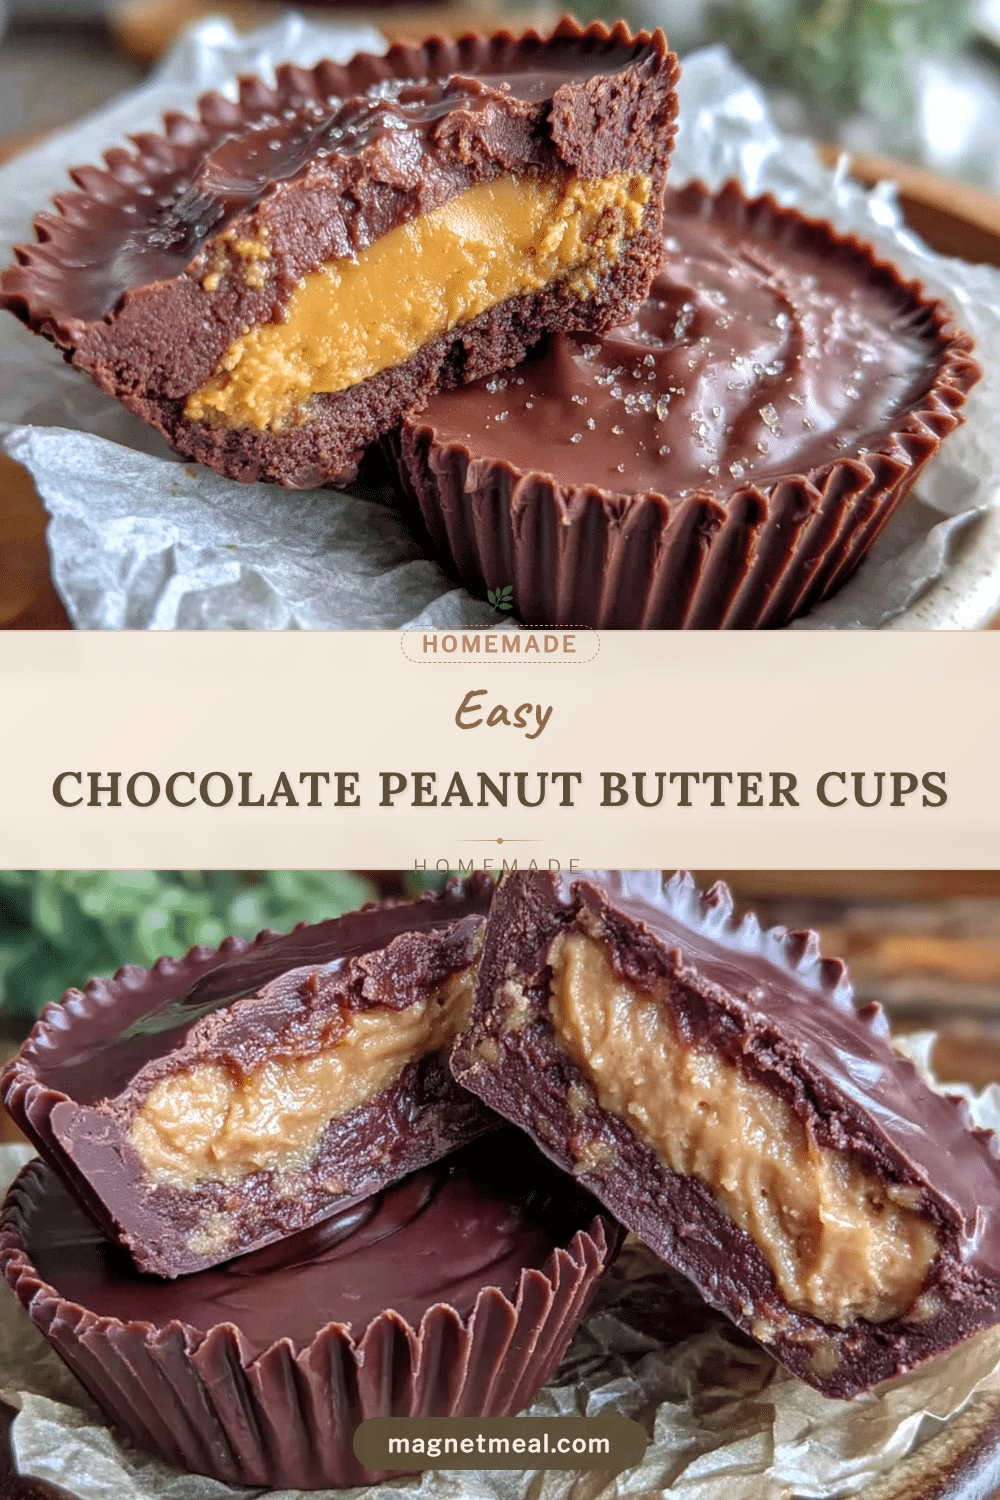
Easy Homemade Chocolate Peanut Butter Cups
A quick and easy recipe for creamy peanut butter cups with smooth chocolate, perfect for beginners and any occasion.
- Prep Time: 10 minutes
- Cook Time: 15 minutes
- Total Time: 30 minutes
- Yield: 24 cups 1x
- Category: Dessert
- Cuisine: American
Ingredients
- 12 oz (340 g) chocolate chips or chopped chocolate (milk or semi-sweet)
- 1 cup (250 g) natural creamy peanut butter
- 1/2 cup (60 g) powdered sugar
- 2 tbsp (28 g) unsalted butter, softened
- Pinch of sea salt
- 1 tsp vanilla extract (optional)
Instructions
- Line your mini muffin tin with paper liners or prepare silicone molds.
- Melt 8 oz (225 g) of chocolate chips in a microwave-safe bowl in 30-second intervals, stirring until smooth and glossy, about 1-2 minutes total, or use a double boiler.
- Spoon about 1 teaspoon (5 ml) of melted chocolate into each cup, spreading evenly to cover the bottom. Freeze for 10 minutes to set.
- In a mixing bowl, combine 1 cup (250 g) creamy peanut butter, 1/2 cup (60 g) powdered sugar, 2 tbsp (28 g) softened unsalted butter, 1 tsp vanilla extract, and a pinch of sea salt. Mix until smooth and creamy.
- Scoop about 1 teaspoon (5 ml) of the peanut butter mixture over the chocolate base in each cup. Smooth gently with a spoon.
- Melt the remaining 4 oz (115 g) chocolate the same way. Spoon over the peanut butter layer to seal each cup. Smooth the tops with a spatula or back of a spoon.
- Place the tray back in the freezer for at least 30 minutes or until fully set and firm.
- Remove from molds or liners carefully. Keep refrigerated if not serving immediately.
Notes
Melt chocolate slowly and stir frequently to avoid burning. Chill between layers to keep them separate and neat. Use powdered sugar for a smooth peanut butter filling. Silicone molds make removal easier. Store in refrigerator up to 2 weeks or freeze up to 3 months.
Nutrition
- Serving Size: 1 peanut butter cup
- Calories: 165
- Sugar: 10
- Sodium: 55
- Fat: 12
- Saturated Fat: 4
- Carbohydrates: 13
- Fiber: 1
- Protein: 4
Keywords: chocolate peanut butter cups, easy dessert, homemade candy, peanut butter treats, beginner recipe


