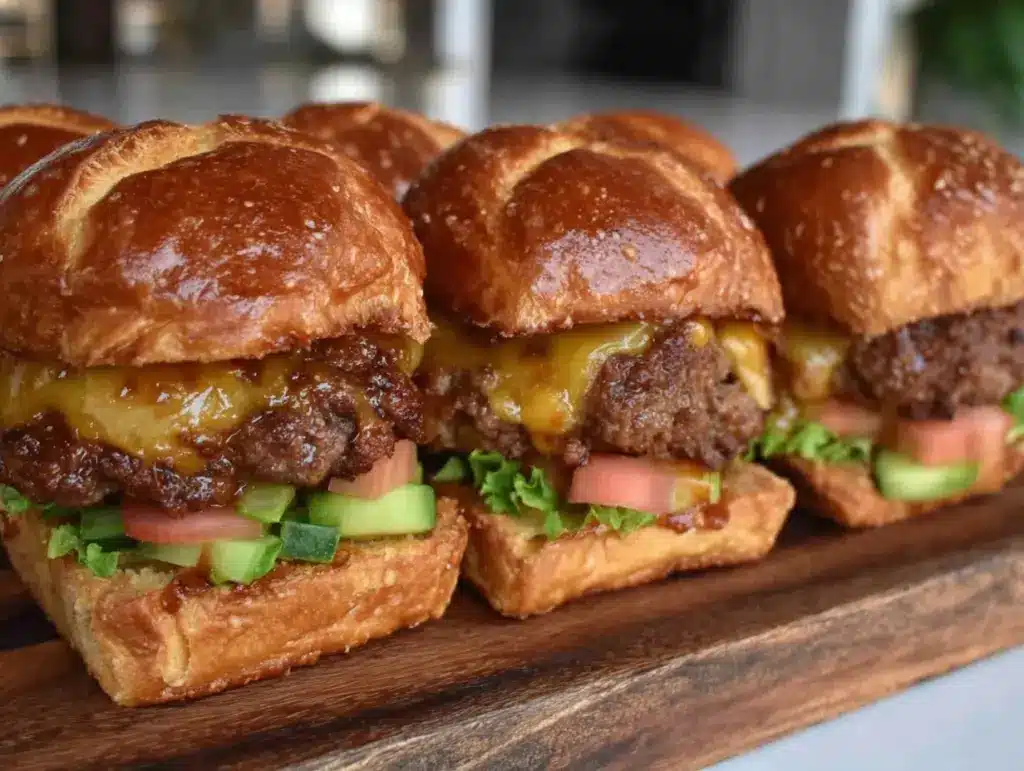
Let me tell you, the smell of sizzling beef mingling with melted cheese and warm toasted buns is enough to make anyone’s mouth water. The first time I made these juicy cheeseburger sliders, I was instantly hooked—the kind of moment where you pause, take a deep breath, and just smile because you know you’re onto something truly special. It was a lazy Sunday afternoon, and I was knee-high to a grasshopper when my grandma used to whip up little sandwiches that disappeared faster than you could say “pass the ketchup.” Years ago, I stumbled upon this recipe while trying to recreate that nostalgic comfort, and honestly, I wish I’d discovered it way sooner. My family couldn’t stop sneaking them off the cooling rack (and I can’t really blame them). These sliders are dangerously easy to make yet pack pure, nostalgic comfort in every bite.
You know what? These juicy cheeseburger sliders are perfect for potlucks, a sweet treat for your kids, or even to brighten up your Pinterest cookie board (okay, maybe sliders aren’t cookies, but you get the idea). I’ve tested this recipe more times than I can count—in the name of research, of course—and it’s become a staple for family gatherings and gifting. If you’re looking for that warm hug in sandwich form, you’re going to want to bookmark this one.
Why You’ll Love This Recipe
After countless trials and happy taste testers, here’s why these juicy cheeseburger sliders will quickly become your go-to recipe:
- Quick & Easy: Comes together in under 30 minutes, perfect for busy weeknights or last-minute cravings.
- Simple Ingredients: No fancy grocery trips needed; you likely already have everything in your kitchen.
- Perfect for Any Occasion: Great for casual dinners, game day parties, or family get-togethers.
- Crowd-Pleaser: Always gets rave reviews from kids and adults alike—trust me, no leftovers here!
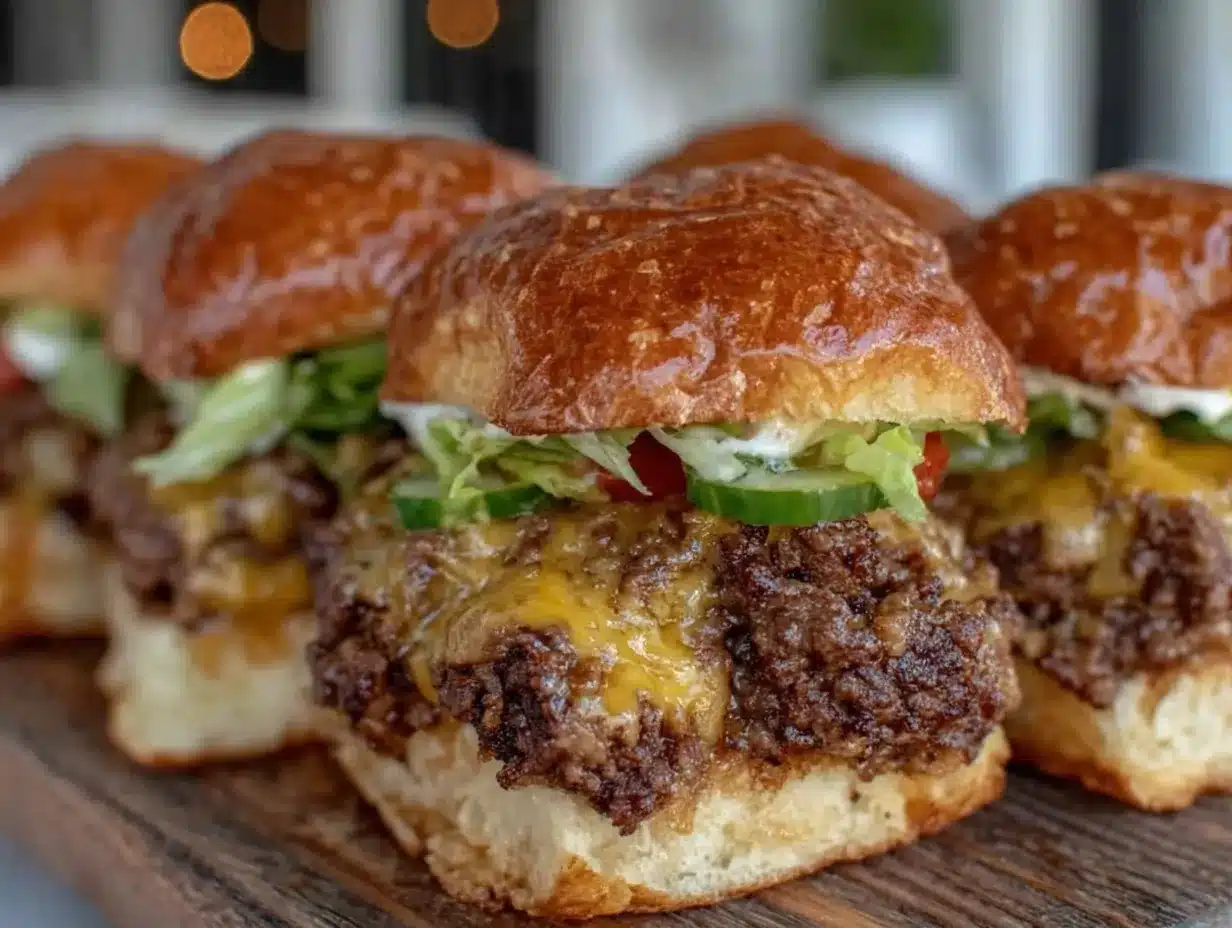
- Unbelievably Delicious: The juicy beef patty paired with melty cheese and soft buns is next-level comfort food.
What sets this recipe apart? It’s the little details—like seasoning the beef just right, toasting the buns for that perfect crunch, and melting the cheese just enough so it’s gooey but not greasy. I toss in a quick mix of spices that bring the flavor home without overpowering the beef. Honestly, it’s not just another slider recipe; it’s the best version you’ll make, whether you’re cooking for one or feeding a hungry crowd. Every bite makes you close your eyes and savor that juicy, cheesy goodness.
What Ingredients You Will Need
This recipe uses simple, wholesome ingredients to deliver bold flavor and satisfying texture without the fuss. Most are pantry staples, and substitutions are super easy if you want to tweak it.
- For the patties:
- 1 lb (450 g) ground beef, preferably 80/20 for juiciness
- 1 tsp garlic powder (adds a subtle depth)
- 1 tsp onion powder
- ½ tsp smoked paprika (optional but highly recommended)
- Salt and freshly ground black pepper, to taste
- For the sliders:
- 12 slider buns or small dinner rolls, split and lightly toasted
- 6 slices cheddar cheese, halved (sharp cheddar gives the best flavor)
- 2 tbsp unsalted butter, melted (for brushing buns)
- Pickles, sliced (optional but classic)
- Leafy lettuce or baby spinach
- Tomato slices, thinly cut
- Ketchup and mustard, for serving
Pro tip: I like using freshly ground black pepper and quality ground beef from my local butcher for the best texture and flavor. If you want a lighter option, swap in ground turkey or chicken, but keep an eye on cooking times. For dairy-free, use a plant-based cheese and vegan buns—just as tasty!
Equipment Needed
- Large mixing bowl for combining ingredients
- Non-stick skillet or cast-iron pan (my favorite for even cooking)
- Spatula for flipping the sliders
- Baking sheet for toasting buns in the oven (optional)
- Measuring spoons for seasoning accuracy
- Knife and cutting board for slicing toppings
If you don’t have a cast-iron skillet, a heavy-bottomed pan works just as well. I’ve made these sliders on a griddle too—just adjust heat to prevent burning. For budget-friendly options, a non-stick pan you already own will do the trick perfectly. Cleaning up is a breeze, especially if you wipe the skillet right after cooking.
Preparation Method
- Prep the beef mixture: In a large bowl, combine 1 lb (450 g) ground beef with garlic powder, onion powder, smoked paprika, salt, and pepper. Mix gently with your hands until just combined—don’t overwork it or the meat will get tough. (About 2 minutes)
- Form the patties: Divide the mixture into 12 equal portions (about 1.3 oz or 37 g each). Shape each into a small, flat patty slightly larger than your buns, as they’ll shrink while cooking. (Pro tip: make a small indentation in the center with your thumb to prevent puffing.)
- Cook the patties: Heat your skillet over medium-high heat. When hot, place the patties in the pan, leaving space between each. Cook for about 2-3 minutes per side for medium doneness. Avoid pressing down on the patties—this squeezes out the juices! (Use a timer and watch for a nice brown crust.)
- Add cheese: During the last minute of cooking, place half a slice of cheddar on each patty. Cover the skillet briefly with a lid or foil to melt the cheese evenly. (You want it gooey, not rubbery.)
- Toast the buns: While the patties cook, brush the insides of the buns with melted butter. Toast them on a baking sheet in a 350°F (175°C) oven for 5-7 minutes or until golden and crisp.
- Assemble the sliders: Layer lettuce, tomato slices, and pickles on the bottom buns. Place the cheesy patties on top, then add ketchup or mustard as you like. Cover with the top buns and gently press down.
- Serve immediately: These sliders are best enjoyed hot off the griddle, but they also hold up well for a short time if you’re feeding a crowd.
Keep an eye on the cooking times—beef cooks fast in these small patties. If you prefer well-done, add another minute per side but beware of drying them out. I learned this the hard way after accidentally overcooking once (lesson: patience is key!).
Cooking Tips & Techniques
Here’s what I’ve learned making these juicy cheeseburger sliders over and over:
- Don’t overwork the meat: Handle the ground beef gently. Overmixing makes the patties dense and chewy.
- Indent the patties: That thumbprint trick keeps the meat flat and prevents puffing up.
- Use medium-high heat: Too hot and the outside burns before the inside cooks; too low and you won’t get that beautiful crust.
- Cheese melting: Cover the pan briefly to trap heat and melt the cheese perfectly without drying out the patties.
- Toast buns for crunch: Buttered, toasted buns add texture contrast that’s pure magic.
- Season well: Salt and pepper are your best friends here—season just before cooking to keep juices locked in.
- Multitasking: Toast buns while patties cook to save time and keep everything warm.
I once tried using a spatula to press down the patties to speed up cooking (don’t do that!). It squeezed out all the juice and made the sliders dry—lesson painfully learned. Also, flipping only once gives you the best crust and helps keep them juicy.
Variations & Adaptations
Want to switch things up? Here are some tasty ways to tweak this recipe:
- Dietary swaps: Use ground turkey or chicken for a leaner slider, or a plant-based ground “beef” for a vegetarian option.
- Flavor twists: Mix in diced jalapeños or a dash of Worcestershire sauce for a spicy kick.
- Cheese alternatives: Swap cheddar for pepper jack, Swiss, or even blue cheese for a bold flavor.
- Cooking method: Grill the sliders outdoors for a smoky flavor—just watch closely to avoid flare-ups.
- Allergen-friendly: Use gluten-free buns or lettuce wraps to keep it gluten-free.
I tried adding caramelized onions once, and it was a hit with the family, adding a sweet contrast to the savory beef. Honestly, that combo might just be my new favorite.
Serving & Storage Suggestions
These juicy cheeseburger sliders are best served warm and fresh. Present them on a platter lined with parchment paper for a casual look, perfect for parties or family dinners. They pair wonderfully with crispy fries, coleslaw, or a simple green salad. For drinks, think classic sodas, iced tea, or a cold beer if you’re feeling fancy.
If you have leftovers (rare, but it happens!), store the sliders in an airtight container in the refrigerator for up to 2 days. To reheat, pop them in a 350°F (175°C) oven for 5-7 minutes, or microwave briefly with a damp paper towel to keep the buns from drying out. The flavors actually develop a bit after resting, making the sliders taste even better the next day—if they last that long!
Nutritional Information & Benefits
Each juicy cheeseburger slider (about 1/12 of the recipe) contains roughly:
| Nutrient | Amount |
|---|---|
| Calories | 180-220 kcal |
| Protein | 12-15 g |
| Fat | 12 g (mostly from beef and cheese) |
| Carbohydrates | 10-12 g |
| Sodium | 350 mg (depends on seasoning and condiments) |
Ground beef provides a good source of protein and iron, which helps keep energy up during busy days. Using cheddar cheese adds calcium and vitamin D. For those watching carbs, swapping regular buns for lettuce wraps cuts down on carbs significantly. Be mindful of allergens like gluten and dairy if you have sensitivities—there are easy substitutions to keep everyone happy.
Conclusion
Juicy cheeseburger sliders are a delightful recipe that’s simple to make, irresistibly tasty, and perfect for any occasion. Whether you’re feeding a crowd or just craving a handheld, cheesy indulgence, this recipe ticks all the boxes. I love how easy they come together and how they bring smiles to the table every time. Honestly, there’s something so satisfying about a perfectly cooked, juicy slider that just hits the spot.
Give this recipe a try and feel free to customize it with your favorite toppings or tweaks. I’d love to hear how you make these sliders your own—drop a comment or share your photos! Remember, great food is all about sharing and enjoying, so get cooking and have fun with it.
FAQs About Juicy Cheeseburger Sliders
How do I keep the sliders juicy and not dry?
Don’t overwork the meat when mixing and avoid pressing the patties while cooking. Also, using 80/20 ground beef ensures enough fat to keep them juicy.
Can I make these sliders ahead of time?
Yes! You can prepare the patties in advance and keep them refrigerated for up to 24 hours before cooking. Assemble just before serving for best texture.
What cheese works best for sliders?
Sharp cheddar is classic and melts beautifully, but Swiss, pepper jack, or provolone are tasty alternatives to switch things up.
Can I freeze the sliders?
Yes, you can freeze cooked patties in a sealed container for up to 3 months. Thaw overnight in the fridge and reheat before assembling.
What’s an easy way to spice up these sliders?
Add diced jalapeños to the beef mix or top with spicy mayo for a little heat that complements the savory beef perfectly.
Pin This Recipe!
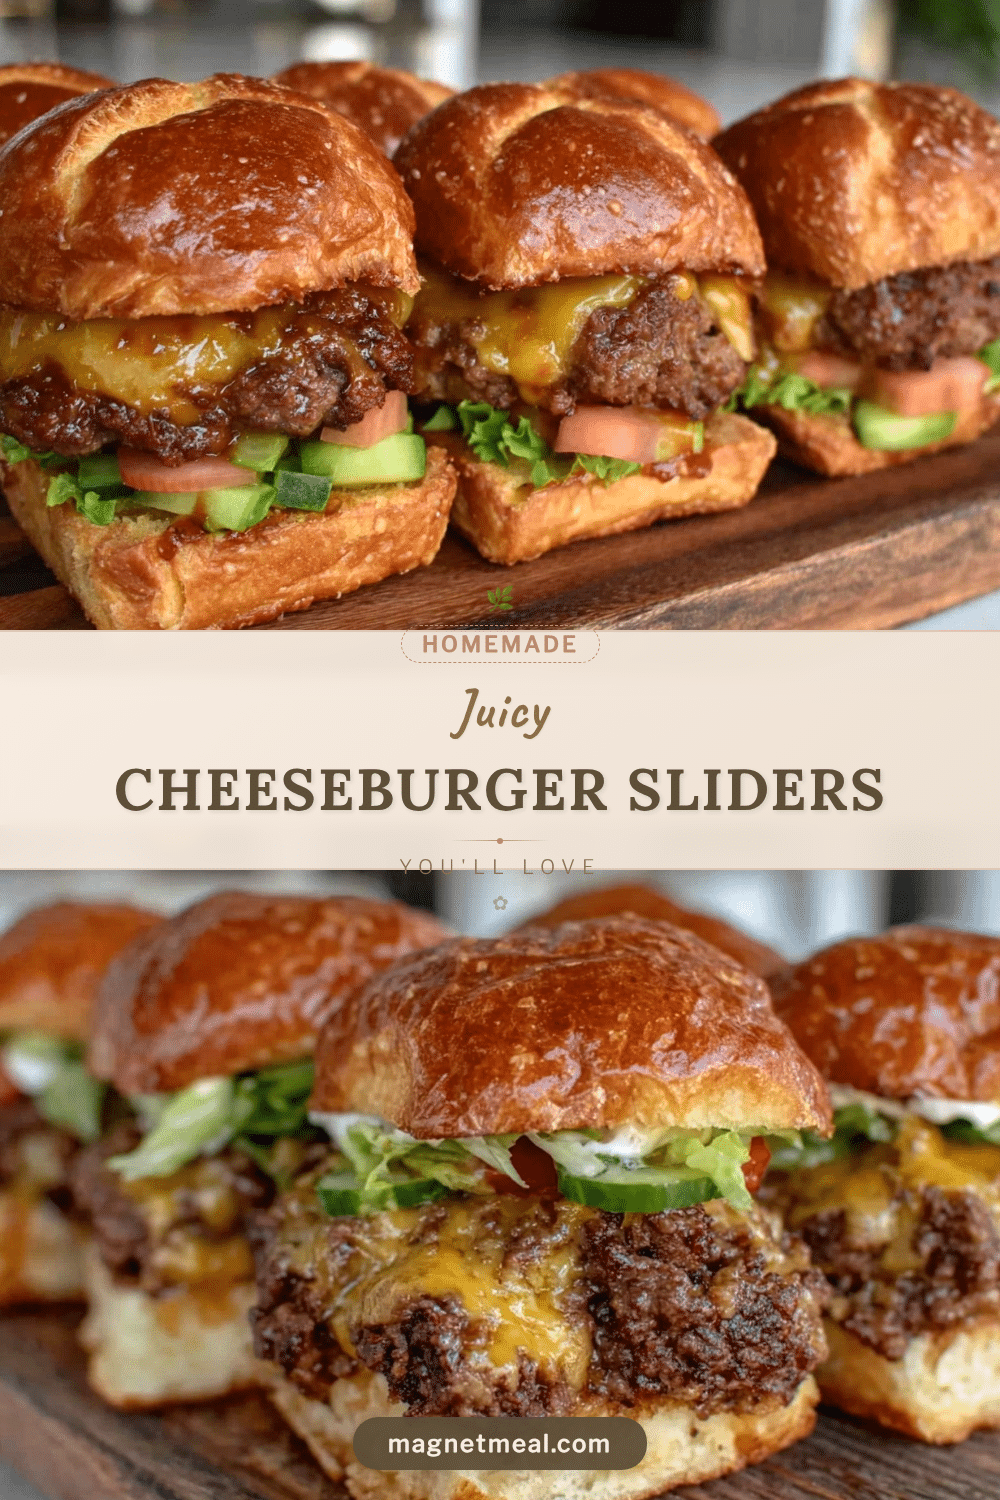
Juicy Cheeseburger Sliders

These juicy cheeseburger sliders are quick and easy to make, perfect for family gatherings, potlucks, or casual dinners. They feature flavorful beef patties with melted cheddar cheese on toasted slider buns.
- Prep Time: 10 minutes
- Cook Time: 15 minutes
- Total Time: 25 minutes
- Yield: 12 sliders 1x
- Category: Main Course
- Cuisine: American
Ingredients
- 1 lb (450 g) ground beef, preferably 80/20 for juiciness
- 1 tsp garlic powder
- 1 tsp onion powder
- ½ tsp smoked paprika (optional)
- Salt and freshly ground black pepper, to taste
- 12 slider buns or small dinner rolls, split and lightly toasted
- 6 slices cheddar cheese, halved
- 2 tbsp unsalted butter, melted (for brushing buns)
- Pickles, sliced (optional)
- Leafy lettuce or baby spinach
- Tomato slices, thinly cut
- Ketchup and mustard, for serving
Instructions
- In a large bowl, combine ground beef with garlic powder, onion powder, smoked paprika, salt, and pepper. Mix gently until just combined.
- Divide the mixture into 12 equal portions (about 1.3 oz or 37 g each). Shape each into a small, flat patty slightly larger than your buns, making a small indentation in the center with your thumb.
- Heat a skillet over medium-high heat. Place patties in the pan with space between each. Cook for 2-3 minutes per side for medium doneness without pressing down.
- During the last minute of cooking, place half a slice of cheddar on each patty and cover the skillet briefly to melt the cheese.
- Brush the insides of the buns with melted butter and toast them on a baking sheet in a 350°F (175°C) oven for 5-7 minutes until golden and crisp.
- Assemble sliders by layering lettuce, tomato slices, and pickles on the bottom buns. Add cheesy patties on top, then ketchup or mustard as desired. Cover with top buns and gently press down.
- Serve immediately while hot.
Notes
Do not overwork the meat to keep patties tender. Make a thumb indentation in patties to prevent puffing. Toast buns with butter for added crunch. Flip patties only once and avoid pressing to retain juiciness. For dairy-free or gluten-free options, use plant-based cheese and vegan or gluten-free buns or lettuce wraps.
Nutrition
- Serving Size: 1 slider
- Calories: 180220
- Sodium: 350
- Fat: 12
- Carbohydrates: 1012
- Protein: 1215
Keywords: cheeseburger sliders, juicy sliders, easy sliders, beef sliders, party food, comfort food


