It was one of those evenings where the fridge was looking pretty bare, and the idea of ordering takeout felt like admitting defeat. Honestly, I was just craving something crunchy and fresh—but nothing too complicated. I rummaged through the pantry and spotted some leftover cooked chicken, a few Romaine leaves, and a half-empty bottle of Caesar dressing. My mind wandered to the crispy chicken Caesar wraps I’d had once at a little deli down the street, wondering if I could recreate that satisfying crunch and creamy tang at home without a ton of fuss.
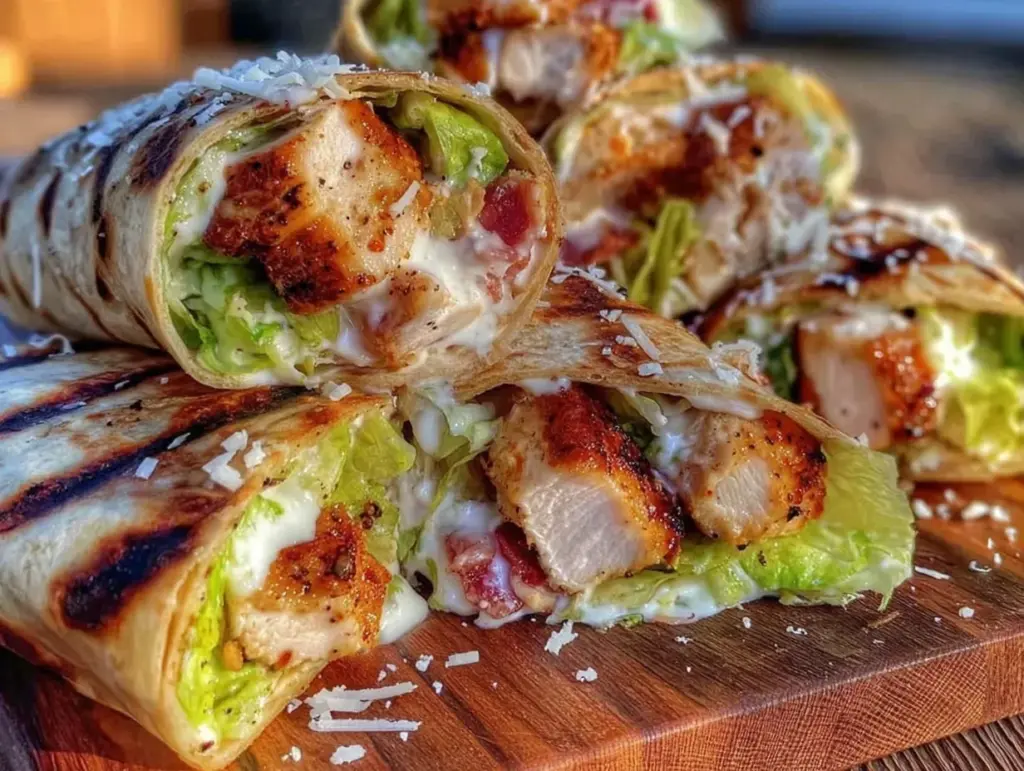
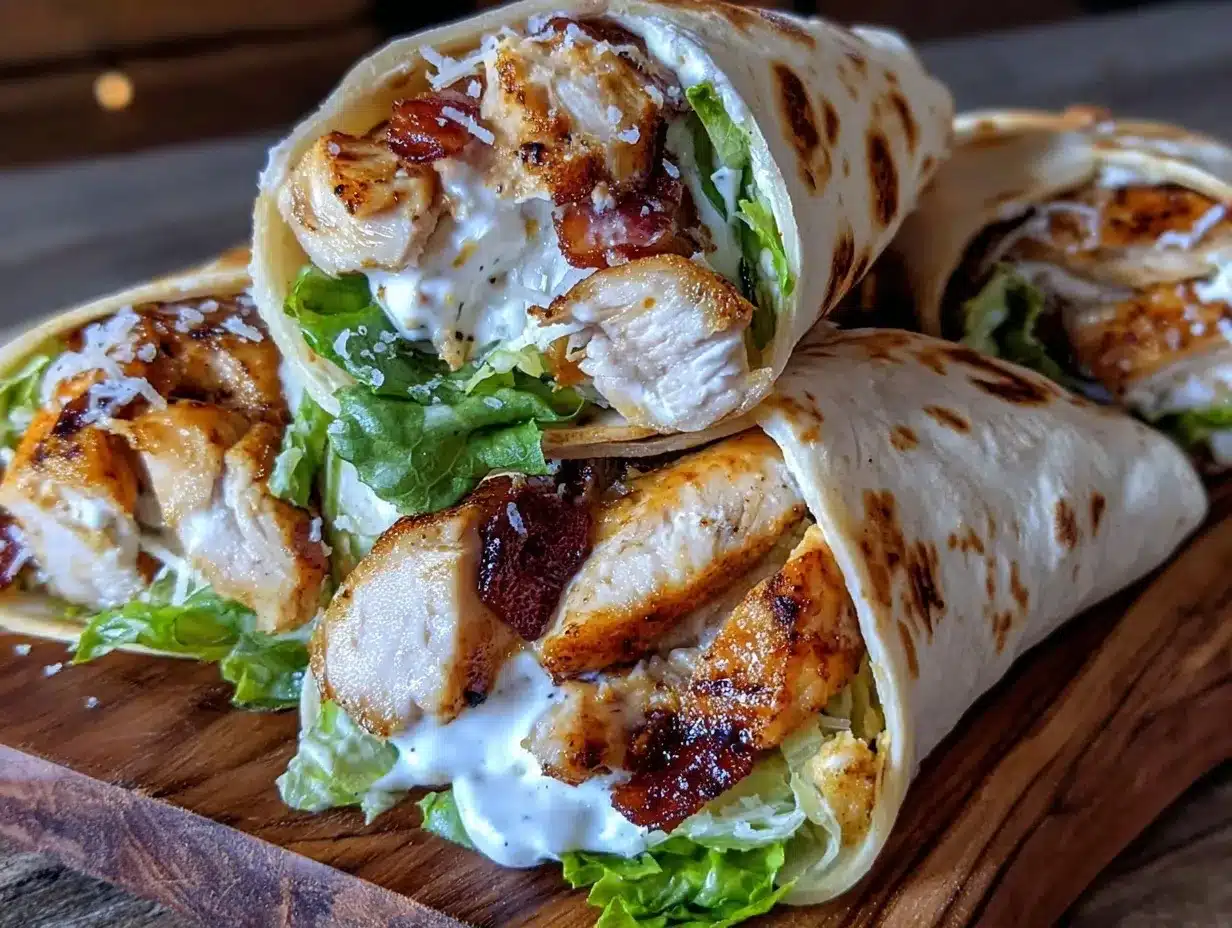
So, I grabbed a tortilla, tossed in some chopped crispy chicken, drizzled the dressing, sprinkled Parmesan, and wrapped it all up. The first bite was a revelation: the perfect combo of textures and flavors, all wrapped up in a neat little package. It wasn’t fancy, but it felt like a small victory after a long day. Since then, these crispy chicken Caesar wraps have become my go-to quick meal, especially when I need something both comforting and fresh. There’s something about that crisp chicken paired with the zesty dressing that just hits the spot every time.
It’s funny how the simplest combinations can turn into staples you never forget. This recipe stuck with me not just because it’s easy, but because it carries that little spark of joy after a day that’s anything but simple.
Why You’ll Love This Recipe
- Quick & Easy: Comes together in under 20 minutes, perfect for busy weeknights or last-minute cravings.
- Simple Ingredients: No fancy grocery trips needed; you probably already have most of these tucked away.
- Perfect for Lunch or Dinner: Great for a casual meal, picnic, or even a light dinner that doesn’t leave you stuffed.
- Crowd-Pleaser: The crispy chicken and creamy Caesar combo always gets people asking for seconds.
- Unbelievably Delicious: That satisfying crunch paired with tangy dressing makes this wrap a flavor-packed comfort food.
This recipe isn’t just another chicken Caesar wrap; it’s the one I’ve tweaked over time to get the perfect crispy chicken bites without frying endlessly. Using a quick pan-fry method with a seasoned coating gives the chicken that golden crust that holds up well inside the wrap. Plus, blending the Caesar dressing with a bit of extra lemon juice adds a fresh zing that wakes up the whole thing. It’s straightforward, but the details make all the difference.
Whether you want to impress guests with minimal effort or need a satisfying meal that feels like a treat, these wraps hit the mark every time.
What Ingredients You Will Need
This recipe uses simple, wholesome ingredients to deliver bold flavor and satisfying texture without the fuss. Most are pantry staples or easy to find at any grocery store.
- For the Crispy Chicken:
- Chicken breasts (about 1 pound / 450g), thinly sliced or cut into strips
- All-purpose flour (½ cup / 60g), for light coating
- Eggs (2 large), beaten, room temperature
- Panko breadcrumbs (¾ cup / 90g) for extra crunch (I love using Kikkoman brand for a consistent texture)
- Garlic powder (1 tsp)
- Onion powder (1 tsp)
- Salt and freshly ground black pepper, to taste
- Olive oil or canola oil, for pan-frying
- For the Wrap Assembly:
- Large flour tortillas or whole wheat wraps (4 medium-sized)
- Romaine lettuce leaves (about 2 cups), washed and chopped
- Caesar dressing (½ cup / 120ml), store-bought or homemade (I recommend Kraft for a classic flavor)
- Grated Parmesan cheese (⅓ cup / 30g), freshly grated if possible
- Fresh lemon juice (1 tbsp), optional but adds bright notes
- Cracked black pepper, for finishing
For substitutions, you can swap panko breadcrumbs with crushed cornflakes for a different crunch, or use gluten-free flour and wraps to make this gluten-friendly. If you prefer a lighter option, grilled chicken works too, but you’ll miss that irresistible crispiness.
Equipment Needed
- Large non-stick skillet or frying pan – for cooking the crispy chicken evenly without sticking
- Three shallow bowls or plates – to set up the dredging station (flour, egg, breadcrumbs)
- Tongs or a slotted spatula – to flip and remove chicken pieces without breaking the crust
- Mixing bowl – for tossing the lettuce with Caesar dressing and lemon juice
- Sharp knife and cutting board – for prepping chicken and lettuce
- Paper towels – for draining excess oil after frying
If you don’t have a non-stick skillet, a well-seasoned cast iron pan works beautifully, but just be mindful of sticking during the first few minutes. Budget-friendly options like a simple stainless steel pan work too, though you might need extra oil and close attention to avoid burning. For cleanup, I find soaking the pans immediately after cooking helps a ton.
Preparation Method
- Prepare the Chicken: Pat the chicken strips dry with paper towels to help the coating stick better. Set up your dredging station with three shallow dishes: one with flour seasoned with salt, pepper, garlic powder, and onion powder; one with beaten eggs; and one with panko breadcrumbs.
- Coat the Chicken: Working one piece at a time, dredge chicken in the flour, shaking off excess, then dip into the egg, and finally coat thoroughly with panko breadcrumbs. Place coated strips on a plate ready for frying.
- Cook the Chicken: Heat about 2 tablespoons of oil in your skillet over medium-high heat. When shimmering hot, add chicken strips in a single layer—don’t overcrowd. Cook for about 3-4 minutes per side or until golden brown and cooked through (internal temperature should reach 165°F / 74°C). Transfer to paper towels to drain excess oil.
- Prep the Lettuce: While the chicken cooks, toss the chopped Romaine in a mixing bowl with Caesar dressing and a squeeze of fresh lemon juice. This brightens things up and prevents the wrap from tasting too heavy.
- Assemble the Wraps: Lay out the tortillas, evenly distribute the dressed lettuce, top with crispy chicken strips, sprinkle Parmesan cheese, and add a crack of black pepper. Fold the sides and roll tightly. Slice in half diagonally for easier eating.
Tip: If you want extra crispiness, toast the wraps lightly in a dry pan for 1 minute per side before filling. Be careful not to overdo it, or they’ll crack when you roll.
When you bite into these wraps, you’ll notice the crunch from the panko, the creamy tang of the Caesar, and that little fresh zing from the lemon—it’s like a flavor party that’s both simple and satisfying.
Cooking Tips & Techniques
Getting the perfect crispy chicken for these wraps is all about a few key moves. First, drying the chicken before coating is a game-changer; moisture is the enemy of crispness. Also, don’t skimp on the panko breadcrumbs—they give you that delightful crunch that plain breadcrumbs just can’t match.
Another tip: keep your oil hot enough before frying, but not so hot it smokes. Medium-high heat usually does the trick. If the oil’s too cool, the chicken soaks up the oil and becomes soggy; too hot, and the coating burns before the inside cooks through.
When assembling, don’t overdress the lettuce or the wrap can get soggy fast. Toss the leaves lightly and add the chicken while still warm to keep the textures distinct. I’ve learned the hard way that wrapping too tightly can crush the chicken’s crust, so a gentle but firm roll works best.
Multitasking helps: prep the lettuce while the chicken cooks to save time. And if you want to make these ahead for a crowd, cook the chicken first and keep warm in a low oven—then assemble right before serving.
Variations & Adaptations
- Grilled Chicken Caesar Wrap: Swap the crispy fried chicken for grilled strips brushed with olive oil and sprinkled with Cajun seasoning for a smoky twist.
- Vegetarian Version: Use crispy tofu or chickpea patties in place of chicken, seasoned with garlic and smoked paprika to mimic the savory flavor.
- Low-Carb Option: Replace flour tortillas with large lettuce leaves or low-carb wraps to cut down carbs while keeping that fresh crunch.
- Spicy Kick: Add a drizzle of sriracha or a sprinkle of red pepper flakes inside the wrap for heat that balances the creamy dressing.
- Seasonal Twist: Add sliced avocado and cherry tomatoes during summer for freshness, or swap in kale for Romaine in cooler months for a heartier bite.
One of my favorite experiments was adding crispy bacon bits inside—sounds indulgent, but it adds a smoky crunch that pairs surprisingly well with the Caesar flavors.
Serving & Storage Suggestions
Serve these wraps immediately while the chicken is still warm and crunchy. They’re perfect cut in half and wrapped in parchment paper for easy eating on the go. A crisp pickle or a side of sweet potato fries complements the meal nicely.
If you have leftovers, wrap them tightly in foil or plastic wrap and refrigerate for up to 2 days. To reheat, unwrap and warm in a skillet over medium heat for a few minutes, flipping carefully to maintain crispness. Microwaving can make the chicken soggy, so it’s best avoided.
Flavors meld a bit if you prep the wraps ahead, so if making in advance, keep components separate and assemble right before serving. The lemon juice in the dressing helps keep the lettuce vibrant and fresh longer.
Nutritional Information & Benefits
Each crispy chicken Caesar wrap provides approximately 450-500 calories, depending on tortilla size and dressing amount. You’ll get a good balance of protein from the chicken, healthy fats from olive oil and dressing, plus fiber and vitamins from the Romaine lettuce.
The chicken delivers lean protein essential for muscle repair, while the Parmesan adds calcium. Romaine lettuce contributes antioxidants and hydration with its high water content. Using homemade or quality store-bought Caesar dressing lets you control sodium and fat levels.
This recipe can fit into a balanced diet when enjoyed in moderation, and swapping in whole wheat or low-carb wraps can accommodate specific dietary preferences.
For those watching allergens, note this contains dairy and gluten, but substitutions are easy with gluten-free wraps and dairy-free dressings.
Conclusion
If you’re looking for a meal that’s both satisfyingly crunchy and refreshingly light, these crispy chicken Caesar wraps are a solid choice. They come together quickly with simple ingredients, yet taste like you put in way more effort than you actually did. I love how adaptable they are—whether you keep it classic or switch up the fillings, they never disappoint.
Make this recipe your own by adjusting the seasoning or adding your favorite extras. It’s one of those dishes that feels like a little personal win in the kitchen, every single time. Give it a try and see how quickly it becomes a staple in your meal rotation!
And hey, if you make it, I’d love to hear what tweaks you tried—sharing food stories is half the fun.
FAQs
Can I use pre-cooked chicken for these wraps?
Yes, you can, but for the best crispy texture, it’s ideal to coat and pan-fry raw chicken strips. If using pre-cooked, consider lightly toasting breaded chicken tenders and adding fresh lettuce and dressing.
What’s the best way to keep the wraps from getting soggy?
Don’t overdress the lettuce and assemble the wrap just before eating. Keeping ingredients separate until serving helps maintain crispness.
Can I make these wraps gluten-free?
Absolutely! Use gluten-free flour for coating, gluten-free breadcrumbs, and gluten-free tortillas or lettuce wraps.
Is it possible to bake the chicken instead of frying?
Yes, baking at 425°F (220°C) for 15-20 minutes on a greased baking sheet works well, but the chicken won’t be quite as crispy as pan-fried.
How long can I store the assembled wraps?
It’s best to eat them fresh, but you can refrigerate for up to 24 hours. Keep in mind the wrap may soften over time, so storing components separately and assembling later is recommended.
Pin This Recipe!
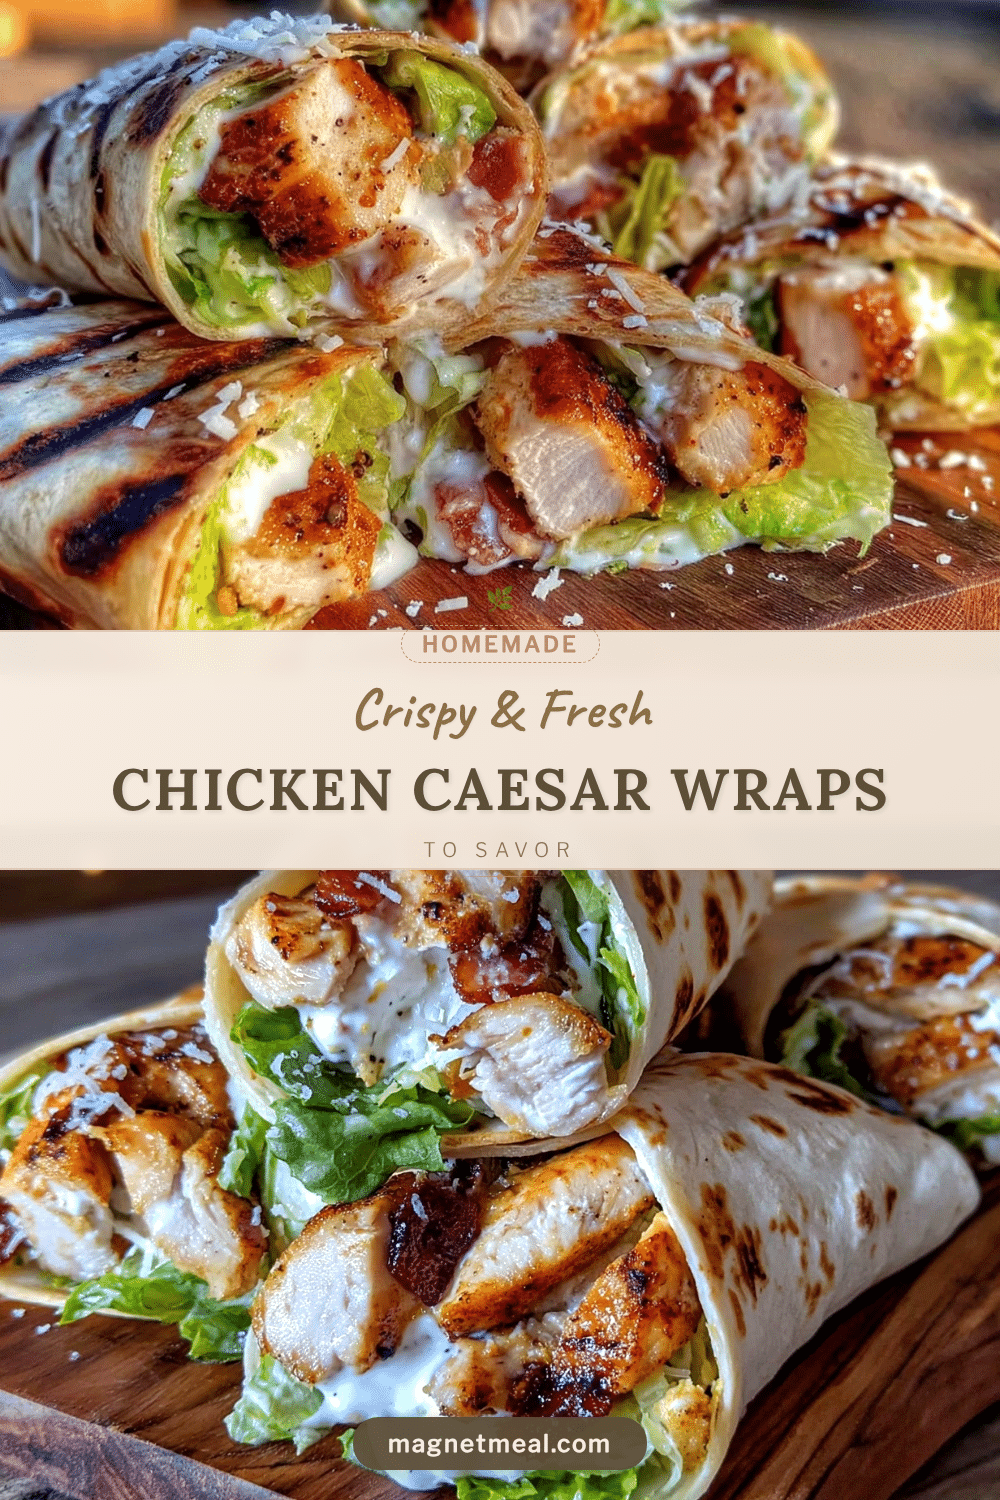
Crispy Chicken Caesar Wraps

A quick and easy homemade meal featuring crispy pan-fried chicken strips, fresh Romaine lettuce tossed in Caesar dressing, and Parmesan cheese wrapped in a soft tortilla. Perfect for a satisfying lunch or dinner with a delightful crunch and creamy tang.
- Prep Time: 10 minutes
- Cook Time: 10 minutes
- Total Time: 20 minutes
- Yield: 4 servings 1x
- Category: Main Course
- Cuisine: American
Ingredients
- 1 pound (450g) chicken breasts, thinly sliced or cut into strips
- ½ cup (60g) all-purpose flour
- 2 large eggs, beaten, room temperature
- ¾ cup (90g) panko breadcrumbs
- 1 tsp garlic powder
- 1 tsp onion powder
- Salt and freshly ground black pepper, to taste
- Olive oil or canola oil, for pan-frying
- 4 large flour tortillas or whole wheat wraps
- 2 cups Romaine lettuce leaves, washed and chopped
- ½ cup (120ml) Caesar dressing, store-bought or homemade
- ⅓ cup (30g) grated Parmesan cheese
- 1 tbsp fresh lemon juice (optional)
- Cracked black pepper, for finishing
Instructions
- Pat the chicken strips dry with paper towels to help the coating stick better.
- Set up a dredging station with three shallow dishes: one with flour seasoned with salt, pepper, garlic powder, and onion powder; one with beaten eggs; and one with panko breadcrumbs.
- Dredge each chicken strip in the flour, shaking off excess, then dip into the egg, and coat thoroughly with panko breadcrumbs. Place coated strips on a plate ready for frying.
- Heat about 2 tablespoons of oil in a large non-stick skillet over medium-high heat. When hot, add chicken strips in a single layer without overcrowding.
- Cook chicken for 3-4 minutes per side until golden brown and cooked through (internal temperature 165°F / 74°C). Transfer to paper towels to drain excess oil.
- While chicken cooks, toss chopped Romaine lettuce in a mixing bowl with Caesar dressing and fresh lemon juice.
- Lay out tortillas, evenly distribute dressed lettuce, top with crispy chicken strips, sprinkle Parmesan cheese, and add cracked black pepper.
- Fold the sides and roll tightly. Slice in half diagonally for easier eating.
- Optional: Toast wraps lightly in a dry pan for 1 minute per side before filling for extra crispiness.
Notes
Dry chicken strips thoroughly before coating to ensure crispiness. Do not overcrowd the pan when frying to maintain even cooking and crunch. Avoid overdressing lettuce to prevent sogginess. Toast wraps lightly before filling for extra crispness. For gluten-free, use gluten-free flour, breadcrumbs, and wraps. Baking chicken at 425°F for 15-20 minutes is an alternative but less crispy method.
Nutrition
- Serving Size: 1 wrap (half of a la
- Calories: 475
- Sugar: 3
- Sodium: 700
- Fat: 22
- Saturated Fat: 5
- Carbohydrates: 35
- Fiber: 3
- Protein: 35
Keywords: crispy chicken wraps, Caesar wrap recipe, quick chicken wraps, easy lunch, homemade wraps, pan-fried chicken, Caesar dressing, crunchy chicken


