“Wait, you mean I don’t have to knead this dough at all?” That’s the question I asked myself the first time I stumbled on this easy no-knead Dutch oven artisan bread recipe with crispy crust. Honestly, I was skeptical. I tend to think of bread baking as a bit of a workout — flour everywhere, arms sore, and a timer that never seems to cooperate. But after a particularly chaotic week, with barely enough hands to hold a spoon, I tossed the idea of kneading out the window and gave this method a shot.
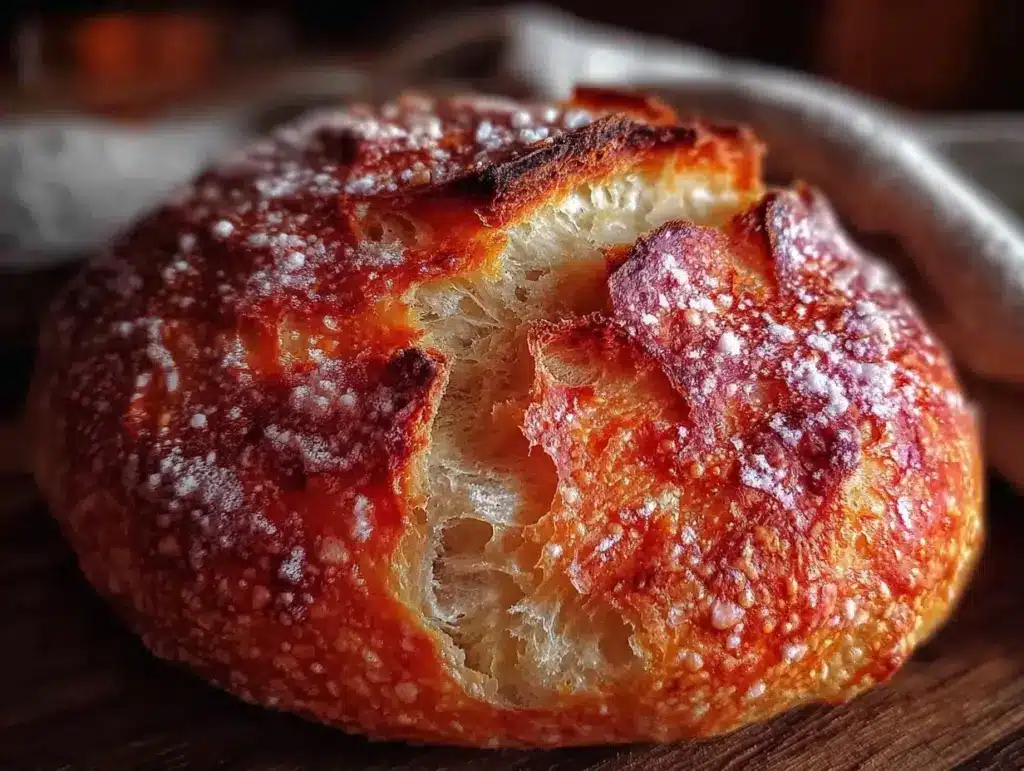
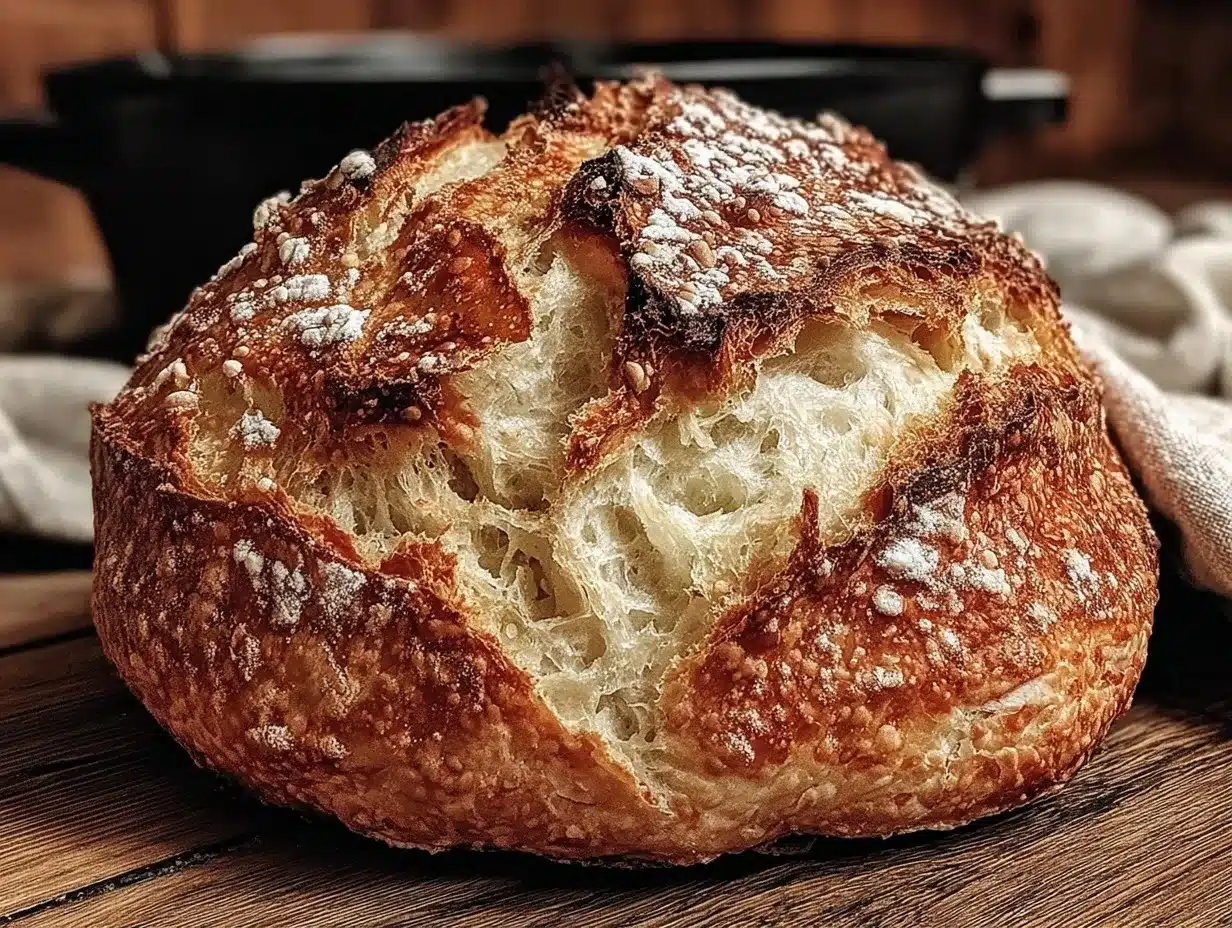
The magic really unfolded in the quiet moments while the dough rested overnight. By morning, it had transformed into this bubbly, soft mass that smelled like a bakery had moved into my kitchen. Baking it in the Dutch oven was like giving it a little steam sauna, locking in moisture and coaxing out a golden, crackling crust that made my neighbors peek through their windows (not kidding!).
This recipe quickly became my go-to for weekend mornings when I crave that fresh-baked artisan bread without the usual mess or fuss. Plus, it pairs beautifully with everything from a simple smear of butter to hearty sandwiches — like the classic tuna melt on sourdough I sometimes whip up for lunch. There’s something quietly satisfying about pulling a steaming loaf from the oven that feels both rewarding and surprisingly easy.
So, if you’re the kind of cook who’d rather skip the gym session disguised as bread-making but still wants that artisan charm on your table, this recipe might just become your new best friend.
Why You’ll Love This Recipe
This easy no-knead Dutch oven artisan bread recipe with crispy crust has been tested and tweaked through countless batches in my kitchen, and I’m pretty confident it hits the mark every time. Here’s why it stands out:
- Quick & Easy: The hands-on time is under 15 minutes, and the dough does the rest of the work while you go about your day or catch up on your favorite shows.
- Simple Ingredients: Flour, water, yeast, and salt — that’s it. No fancy flours or weird additives needed. You probably have everything ready to go in your pantry.
- Perfect for Any Occasion: Whether you’re hosting a casual brunch or just want a warm loaf for dinner, this bread fits in. It’s a great companion to dishes like spicy peanut noodles with chicken or a cozy tomato soup.
- Crowd-Pleaser: The crust crackles, the crumb is airy yet chewy, and the flavor is subtly nutty — people ask for seconds without fail.
- Unbelievably Delicious: The Dutch oven creates an intense crust that mimics professional artisan loaves, all without a fancy oven setup.
What makes this recipe different? It’s the slow fermentation that happens overnight, which builds flavor without any complicated steps. Plus, baking in a preheated Dutch oven traps steam perfectly, so you get that crispy crust and tender interior that’s hard to beat. No fancy mixers, no kneading frustrations — just real bread that tastes like a bakery loaf.
Honestly, this bread feels like a special treat that’s totally doable on a busy weeknight or lazy weekend morning. If you ever thought baking artisan bread was beyond your reach, this recipe might just change your mind.
What Ingredients You Will Need
This recipe uses simple, wholesome ingredients to deliver bold flavor and satisfying texture without the fuss. Most are pantry staples, making it easy to pull together anytime.
- All-Purpose Flour (3 cups / 360g) – I prefer King Arthur flour for consistent results, but any good-quality brand works.
- Active Dry Yeast (1/4 teaspoon) – A tiny bit goes a long way here; fresh yeast can be swapped if you have it.
- Salt (1 1/4 teaspoons) – Adds flavor balance; kosher or sea salt works best.
- Warm Water (1 1/2 cups / 360ml) – Around 100°F (38°C), just warm enough to help activate the yeast without killing it.
That’s the entire list — no sugar, no oil, no odd ingredients. The magic happens in the timing and technique.
If you want to experiment:
- Swap half the all-purpose flour with bread flour for a chewier bite.
- Use gluten-free flour blends for a gluten-free version, but expect a different crumb.
- Throw in herbs like rosemary or thyme for an herby twist.
For the Dutch oven, if yours is seasoned or enamel-coated, no worries — both work well. Just make sure it has a lid that fits snugly to trap steam.
Equipment Needed
Here’s what you’ll want to have on hand for this recipe:
- Dutch Oven: A 5- to 6-quart heavy-duty Dutch oven with a lid is ideal. I’ve used both cast iron and enameled versions — enamel is easier to clean, but cast iron adds a classic touch.
- Mixing Bowl: A large one for combining ingredients and letting the dough rest.
- Wooden Spoon or Silicone Spatula: For mixing the sticky dough without tearing up your arms.
- Kitchen Scale: Optional but handy for precise measurements, especially for flour and water.
- Measuring Cups and Spoons: For quick measuring if you’re not using a scale.
- Parchment Paper: Makes transferring dough into the Dutch oven easier and keeps cleanup simple.
- Oven Mitts: Essential for handling the hot Dutch oven safely.
If you don’t have a Dutch oven, a heavy, oven-safe pot with a lid can substitute. Just be careful with heat distribution. I once tried baking in a deep stainless steel pot, and the crust was fine but a bit less even. Definitely invest in a good Dutch oven when you can — it’s a game-changer for bread baking and so many other recipes.
Preparation Method
- Mix the Dough (5 minutes): In your large bowl, stir together 3 cups (360g) of all-purpose flour, 1/4 teaspoon of active dry yeast, and 1 1/4 teaspoons of salt. Slowly pour in 1 1/2 cups (360ml) of warm water, mixing with a wooden spoon or spatula until everything is combined into a shaggy, sticky dough. Don’t worry about kneading; the dough should be wet and a bit messy.
- First Rise (12-18 hours): Cover the bowl loosely with plastic wrap or a clean kitchen towel. Leave it at room temperature (around 70°F/21°C) overnight or for about 12 to 18 hours. You’ll notice bubbles forming and the dough doubling in size — that’s the yeast doing its magic. If your kitchen is cooler, it might take a bit longer.
- Shape the Dough (10 minutes): After the long rise, generously flour your work surface and gently scrape the dough out onto it. Flour your hands and gently fold the dough over itself a few times to shape it into a rough ball. Avoid pressing too hard; you want to keep as many air bubbles as possible.
- Second Rise (1-2 hours): Place the dough seam side down on a piece of parchment paper. Cover it with a kitchen towel and let it rise for another 1 to 2 hours until it puffs up noticeably.
- Preheat the Oven and Dutch Oven (30 minutes): About 30 minutes before baking, place your empty Dutch oven (with the lid) into the oven and preheat to 450°F (232°C). This step is crucial to get that crispy crust.
- Bake the Bread (45 minutes): When ready, carefully remove the hot Dutch oven from the oven. Lift the dough with the parchment and place it into the pot. Cover with the lid and bake for 30 minutes. Then, remove the lid and bake for another 15 minutes to crisp up the crust.
- Cool Before Slicing (At least 1 hour): Transfer the bread to a wire rack and let it cool completely before slicing. This wait is hard, but it helps the crumb set and prevents a gummy texture.
Pro tip: If your crust gets too dark before the baking time is up, tent the bread loosely with foil to prevent burning. Also, keep an eye on the dough’s texture during shaping — a sticky dough is good; dry dough will make a denser loaf.
Cooking Tips & Techniques
One trick I learned the hard way was not rushing the first rise. The long fermentation time is what gives this bread its flavor and airy crumb. Skipping it or shortening it drastically results in a flat, bland loaf. So, patience here really pays off.
When mixing, resist the urge to add extra flour even if the dough looks sticky. A wetter dough means a lighter, open crumb. Just flour your hands and work surface well during shaping.
Preheating the Dutch oven is non-negotiable. Without that intense heat and steam, you won’t get the signature crispy crust and golden color. I once baked this bread in a regular baking dish, and while it tasted fine, it lacked the crust I crave.
Another tip: use parchment paper to transfer the dough into the hot Dutch oven. It keeps things safe and easy, avoiding burns or deflating the dough.
Try to keep your kitchen warm during the rising phases — cooler temperatures slow yeast activity. If your kitchen is chilly, placing the bowl near a warm spot (but not too hot) helps.
Lastly, if you love a little extra crunch, sprinkle some cornmeal or seeds on the parchment before placing the dough on it for baking.
Variations & Adaptations
This recipe is a great base for experimentation if you want to tweak flavors or accommodate dietary preferences.
- Herb-Infused Bread: Mix in 1-2 tablespoons of fresh chopped herbs like rosemary, thyme, or oregano into the dough during mixing for a fragrant loaf.
- Whole Wheat Version: Swap half of the all-purpose flour with whole wheat flour. The bread will be heartier and a bit denser but still delicious.
- Gluten-Free Adaptation: Use a gluten-free flour blend designed for bread baking. The texture will differ, but this method still works well.
- Cheese-Stuffed Loaf: Before the second rise, gently fold in cubed cheese such as sharp cheddar or mozzarella for a melty surprise inside.
- Alternative Baking Method: If you don’t have a Dutch oven, use a heavy oven-safe pot covered tightly with aluminum foil. It won’t trap steam as well but still helps.
Personally, I once tried adding caramelized onions and garlic before baking — it was a savory twist that paired wonderfully with a Mediterranean baked salmon dinner. Totally worth experimenting with!
Serving & Storage Suggestions
This artisan bread is best enjoyed fresh and warm, ideally within the first day of baking. The crust is at its crispiest, and the crumb is soft and springy. Slice it thick with butter for a simple treat or use it as a base for sandwiches and toasts.
It pairs beautifully with hearty soups, stews, or even a creamy spread like avocado or ricotta. For a quick meal, try it alongside a fresh avocado tuna salad wrap — it’s a lovely balance of textures.
To store, wrap the cooled loaf in a clean kitchen towel or paper bag and keep it at room temperature for up to two days. Avoid plastic wrap, which traps moisture and softens the crust. For longer storage, slice and freeze in an airtight bag; toast slices directly from the freezer when needed.
Reheating works best in a 350°F (175°C) oven for 5-10 minutes to refresh the crust. Microwave reheating tends to soften the crust, so avoid it if you want that crispy bite.
Over time, the flavors mellow and deepen, so if you have leftovers, toasted slices with a bit of olive oil make a lovely snack.
Nutritional Information & Benefits
This easy no-knead Dutch oven artisan bread is a simple, wholesome option for your carb fix. A typical slice (about 56g) contains roughly:
| Calories | 150 |
|---|---|
| Carbohydrates | 30g |
| Protein | 5g |
| Fat | 0.5g |
| Fiber | 1g |
The benefits come mainly from its simplicity — no added sugars or fats, just basic ingredients. Using whole wheat flour in part can boost fiber and micronutrients. It’s naturally vegan and can be adapted gluten-free as needed.
From a wellness perspective, bread made with minimal processing and slow fermentation tends to digest better and offers more flavor depth than commercial loaves. Plus, the satisfaction of homemade food can’t be beat.
Conclusion
This easy no-knead Dutch oven artisan bread with crispy crust is proof that homemade bread doesn’t have to be complicated or intimidating. It’s approachable for beginners and flexible enough for seasoned bakers who want a quick, reliable recipe. I love how it fills my kitchen with warmth and invites creativity, whether I’m making a simple snack or a full meal.
Feel free to play with herbs, flours, or fillings to make it your own. Bread baking can be a quiet joy, and this recipe makes that joy accessible without the usual effort. If you give it a try, I’d love to hear how it turns out or any twists you bring to the table.
And if you want a hearty meal idea to pair with your fresh bread, the spicy peanut noodles with chicken are a fantastic option to consider. Happy baking and savor every crusty bite!
FAQs
Can I use instant yeast instead of active dry yeast?
Yes, you can substitute instant yeast but reduce the amount slightly (use about 1/8 teaspoon). The rising times might be a bit shorter, so watch the dough closely.
What if I don’t have a Dutch oven? Can I still make this bread?
You can bake it in a heavy oven-safe pot with a lid or cover the dough with a large inverted metal bowl to trap steam. The crust may be less crisp but still tasty.
How long does the dough need to rise?
The first rise is best between 12 and 18 hours at room temperature. The second rise takes 1 to 2 hours. Longer fermentation develops better flavor.
Can I add seeds or nuts to the dough?
Absolutely! Add about 1/4 cup of your favorite seeds or nuts during the mixing stage for extra texture and flavor.
How do I store leftovers to keep the crust crispy?
Wrap the bread in a paper bag or kitchen towel at room temperature. For longer storage, slice and freeze. Reheat in the oven to refresh the crust before eating.
Pin This Recipe!
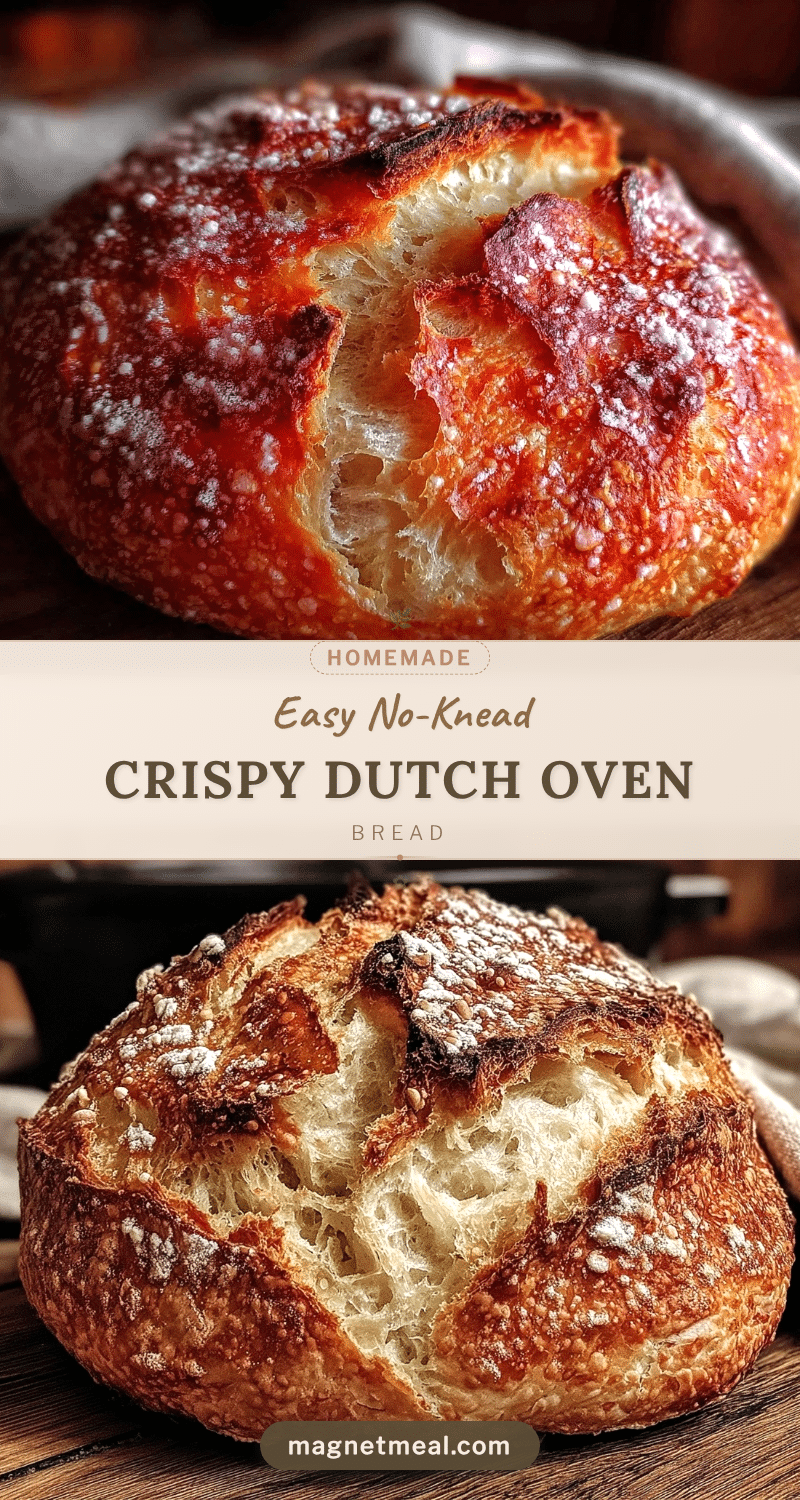
Easy No-Knead Dutch Oven Artisan Bread Recipe with Crispy Crust Tips

A simple, no-knead artisan bread recipe baked in a Dutch oven for a crispy crust and tender crumb, perfect for beginners and busy cooks.
- Prep Time: 15 minutes
- Cook Time: 45 minutes
- Total Time: 13 hours
- Yield: 1 loaf (about 8-10 servings) 1x
- Category: Bread
- Cuisine: American
Ingredients
- 3 cups (360g) all-purpose flour
- 1/4 teaspoon active dry yeast
- 1 1/4 teaspoons salt
- 1 1/2 cups (360ml) warm water (around 100°F / 38°C)
Instructions
- Mix the Dough (5 minutes): In a large bowl, stir together flour, yeast, and salt. Slowly pour in warm water, mixing until combined into a shaggy, sticky dough.
- First Rise (12-18 hours): Cover the bowl loosely and leave at room temperature for 12 to 18 hours until bubbly and doubled in size.
- Shape the Dough (10 minutes): Flour your work surface and hands, gently fold the dough into a rough ball, preserving air bubbles.
- Second Rise (1-2 hours): Place dough seam side down on parchment paper, cover, and let rise until puffed.
- Preheat Oven and Dutch Oven (30 minutes): Place Dutch oven with lid in oven and preheat to 450°F (232°C).
- Bake the Bread (45 minutes): Remove hot Dutch oven, place dough with parchment inside, cover and bake 30 minutes. Remove lid and bake 15 more minutes to crisp crust.
- Cool Before Slicing (At least 1 hour): Transfer bread to wire rack and cool completely before slicing.
Notes
Do not rush the first rise; it develops flavor and texture. Use parchment paper to transfer dough safely. Preheat Dutch oven to trap steam for crispy crust. Tent bread with foil if crust darkens too fast. Keep kitchen warm during rising. Optional: add herbs, seeds, or cheese for variations.
Nutrition
- Serving Size: 1 slice (about 56g)
- Calories: 150
- Sodium: 300
- Fat: 0.5
- Carbohydrates: 30
- Fiber: 1
- Protein: 5
Keywords: no-knead bread, Dutch oven bread, artisan bread, easy bread recipe, crispy crust bread, homemade bread


