It was one of those late spring afternoons when the sun finally decided to stick around a little longer, and honestly, my kitchen was a mess from a quick attempt at something fancy that didn’t quite pan out. I was craving something fresh but didn’t have the patience for complicated desserts. Then, out of nowhere, a half-empty lemonade bottle and some strawberries on the counter sparked a last-minute idea. Honestly, I wasn’t sure if it would turn out—lemonade in a bar? But I gave it a shot, mixing tart lemon with sweet strawberries on a buttery crust that, I have to admit, stole the show.
That first batch was a bit of a happy accident, but soon enough, I found myself making these zesty strawberry lemonade bars over and over that week. Each time, the bright tang of lemon with the juicy burst of strawberries hit the spot like a little summer sunshine you could hold in your hand. They became my go-to whenever I needed a quick pick-me-up or a dessert that didn’t feel too heavy but still brought that satisfying buttery crunch. It’s funny how sometimes the simplest combos turn into your favorites.
What stuck with me wasn’t just the perfect balance of zesty and sweet, but how easy these bars came together with just five ingredients and a bit of patience. It’s the kind of recipe that feels like a small celebration, even on ordinary days. And if you ask me, there’s nothing quite like closing your eyes after that first bite, knowing you nailed something genuinely comforting and fresh.
Why You’ll Love This Recipe
Having tested this zesty strawberry lemonade bars recipe multiple times (and trust me, I’m not exaggerating), it’s clear why it’s become a summer staple:
- Quick & Easy: Ready in under 45 minutes, including baking. Perfect for those moments when you want a fresh treat without spending hours in the kitchen.
- Simple Ingredients: Just five pantry staples and fresh strawberries. No hunting for obscure items—just grab what you have.
- Perfect for Summer Gatherings: Whether it’s a backyard barbecue, picnic, or casual brunch, these bars bring a refreshing vibe everyone loves.
- Crowd-Pleaser: Kids and adults alike can’t get enough of the sweet-tart flavor combo paired with that buttery crust.
- Unbelievably Delicious: The crumbly, buttery base contrasts so nicely with the tangy, juicy filling — it’s comfort food that feels light and lively.
What sets this recipe apart? It’s the way the lemonade’s real tartness shines through, not watered down or overly sweet, combined with a buttery crust that I like to make with a touch of vanilla for depth. It’s not just another lemon bar—it’s got character, with a summery brightness that feels homemade but special. Honestly, once you try it, you’ll see why it’s stuck around in my kitchen for weeks on end.
What Ingredients You Will Need
This recipe uses simple, wholesome ingredients to deliver bold flavor and satisfying texture without the fuss. Most are pantry staples, and strawberries add that fresh seasonal punch.
- For the Buttery Crust:
- 1 cup (2 sticks, 226g) unsalted butter, softened (I prefer Plugrá for a richer taste)
- 2 cups (240g) all-purpose flour
- 1/2 cup (100g) granulated sugar
- For the Strawberry Lemonade Filling:
- 1 1/2 cups (225g) fresh strawberries, hulled and chopped (you can substitute frozen if out of season)
- 1 cup (240ml) lemonade (homemade or store-bought, just no added preservatives for best flavor)
- Optional: zest of one lemon for extra zing
- Additional Notes:
- If you want a gluten-free crust, almond flour works well but expect a slightly different texture.
- For a dairy-free option, swap butter with coconut oil (solid, not melted) and use dairy-free lemonade.
Equipment Needed
To whip up these zesty strawberry lemonade bars, you’ll want a few basic tools:
- 9×13-inch baking pan: This size works perfectly for the crust and filling layers. If you don’t have one, two 8×8 pans can work too, just adjust baking time slightly.
- Mixing bowls: One for the crust, one for the filling. Glass or metal works fine.
- Electric mixer or sturdy whisk: For creaming the butter and sugar. I’ve done it by hand, but the mixer definitely speeds things up.
- Measuring cups and spoons: Accuracy matters for the perfect crust.
- Spatula or wooden spoon: To fold ingredients and spread the filling evenly.
- Food processor (optional): Helpful if you want to blitz the strawberries into a smoother filling, but chopping by hand works just fine for texture.
Pro tip: I keep my baking pans well-seasoned and avoid metal utensils on nonstick surfaces to prolong their life. And if budget’s tight, glass pans are often more affordable and heat evenly.
Preparation Method
- Prepare the crust: Preheat your oven to 350°F (175°C). In a large mixing bowl, cream together 1 cup softened unsalted butter and 1/2 cup granulated sugar until light and fluffy — about 3 to 4 minutes. This step is key for that tender, buttery base.
- Add flour: Gradually mix in 2 cups all-purpose flour until the dough comes together. It should feel a bit crumbly but hold when pressed. If it’s too dry, add a teaspoon of cold water to help bind.
- Press into pan: Evenly press the dough into the bottom of a greased 9×13-inch baking pan, making sure to get it nicely compacted for a sturdy crust. Bake for 18–20 minutes, or until the edges turn golden. You’ll notice a warm, buttery aroma filling your kitchen—that’s your cue.
- Prepare the filling: While the crust bakes, chop 1 1/2 cups fresh strawberries into small pieces. If you prefer a smoother texture, pulse them briefly in a food processor. Combine the strawberries with 1 cup lemonade and, if you like, the zest of one lemon for extra brightness.
- Simmer the filling: Transfer the strawberry-lemonade mixture to a small saucepan and cook over medium heat for about 5–7 minutes, stirring occasionally. This helps thicken the filling slightly and intensifies the flavors. You’ll see it bubble gently and smell that fresh, citrusy scent.
- Pour and chill: Once the crust is baked and cooled for about 10 minutes, pour the warm filling evenly over it. Smooth the top with a spatula. Let the bars cool to room temperature before transferring to the refrigerator to chill for at least 2 hours. This step is crucial for that perfect set and slice.
- Slice and serve: Once chilled, use a sharp knife (warm it under hot water and dry for cleaner cuts) to slice into bars. Expect a zesty, slightly sticky top with a crisp, buttery base.
Remember: if your filling seems too runny before chilling, a quick extra simmer usually does the trick. And if the crust feels too soft, a few more minutes in the oven won’t hurt—just watch closely to avoid burning.
Cooking Tips & Techniques
Making these strawberry lemonade bars was a bit of a learning curve at first. Here’s what I figured out to get consistent, delicious results:
- Softened butter is a must: If your butter’s too cold, the crust won’t come together well. Too warm and it gets greasy. Room temp for about 30 minutes usually hits the sweet spot.
- Don’t skip chilling: The filling needs that cold rest to set properly. I once skipped this step, and the bars were a sticky mess that didn’t hold shape.
- Strawberries matter: Firmer, ripe berries work best. Mushy or overripe ones can make the filling too watery.
- Use fresh lemonade if possible: It really brings out the vibrant citrus flavor. Store-bought works fine, but avoid those with lots of additives.
- Multitask while baking: I usually start prepping the filling as the crust bakes—saves time and keeps the kitchen from getting too chaotic.
- For cleaner slices: Run the knife under hot water before cutting. It helps a lot if your filling is sticky.
Variations & Adaptations
Once you get the hang of this recipe, it’s fun to play around with flavors and tweaks:
- Berry Blend: Swap strawberries with a mix of raspberries and blueberries for a colorful twist. Adjust sugar slightly if using tart berries.
- Herbal Infusion: Add a teaspoon of fresh mint or basil finely chopped into the filling for a refreshing herbal note.
- Gluten-Free Crust: Use almond or oat flour instead of all-purpose flour. The texture will be a bit different—denser and nuttier—but still delicious.
- Lemon-Lime Variation: Replace lemonade with a combination of lemon and lime juice for extra citrus punch. Add a splash of zest from both.
- Personal Favorite: I once folded in a spoonful of cream cheese into the filling for a creamy tang that added depth without overpowering the fresh flavors.
Serving & Storage Suggestions
These strawberry lemonade bars shine best chilled, served straight from the fridge. The cool, tangy filling against the buttery crust is incredibly satisfying on a warm day.
Try pairing them with a tall glass of iced tea or sparkling water with a lemon wedge for a light, refreshing combo. They also work wonderfully as a sweet finish to grilled meals or casual brunches.
For storage, keep the bars covered in an airtight container in the refrigerator for up to 4 days. You can freeze them wrapped tightly in plastic wrap and foil for up to 2 months; just thaw in the fridge overnight.
Reheat is generally not recommended since the filling sets best cold, but if you prefer a softer texture, a quick 10-15 second zap in the microwave will do.
Flavors actually mellow and meld beautifully after a day or two, so sometimes waiting a bit makes them even better—though that’s a hard test of patience!
Nutritional Information & Benefits
Each bar contains approximately 180 calories, with 10 grams of fat and 20 grams of carbohydrates, depending on portion size.
The strawberries provide a good dose of vitamin C and antioxidants, while the lemonade contributes natural citrus flavonoids known to support immune health.
Using real butter offers beneficial fats, and the moderate sugar content keeps this treat balanced—perfect for occasional indulgence without going overboard.
For those watching gluten, swapping the crust flour makes this dessert approachable for many diets. Just keep in mind the potential allergens like dairy and gluten depending on your substitutions.
Conclusion
These zesty strawberry lemonade bars with a buttery crust have earned a special place in my recipe rotation. They’re simple, bright, and all kinds of satisfying—without demanding a ton of effort or fancy ingredients.
Whether you stick to the classic or try one of the variations, they’re a treat that feels like a little sunshine on a plate. I love how easy it is to customize and how well they brighten even the most ordinary days.
If you give them a try, I’d love to hear how you make them your own—drop a comment or share your twists. There’s something about this recipe that just makes summer tastes linger a little longer, and I hope you feel that too.
Here’s to many happy bites and chilled moments with these bars!
FAQs
Can I use frozen strawberries for this recipe?
Yes, but thaw and drain them well before using to avoid excess liquid in the filling, which can affect setting.
How do I make the filling thicker if it seems too runny?
Simmer the strawberry-lemonade mixture a bit longer to reduce liquid. You can also add a teaspoon of cornstarch mixed with cold water while cooking for extra thickening.
Can I make these bars ahead of time?
Absolutely! They taste great chilled and actually benefit from resting in the fridge for a few hours or overnight to fully set.
What’s the best way to store leftover bars?
Keep them in an airtight container in the refrigerator for up to 4 days. For longer storage, freeze wrapped tightly and thaw in the fridge before serving.
Is there a vegan alternative for the buttery crust?
You can substitute the butter with solid coconut oil or vegan margarine, but keep in mind the texture and flavor will be slightly different.
Pin This Recipe!
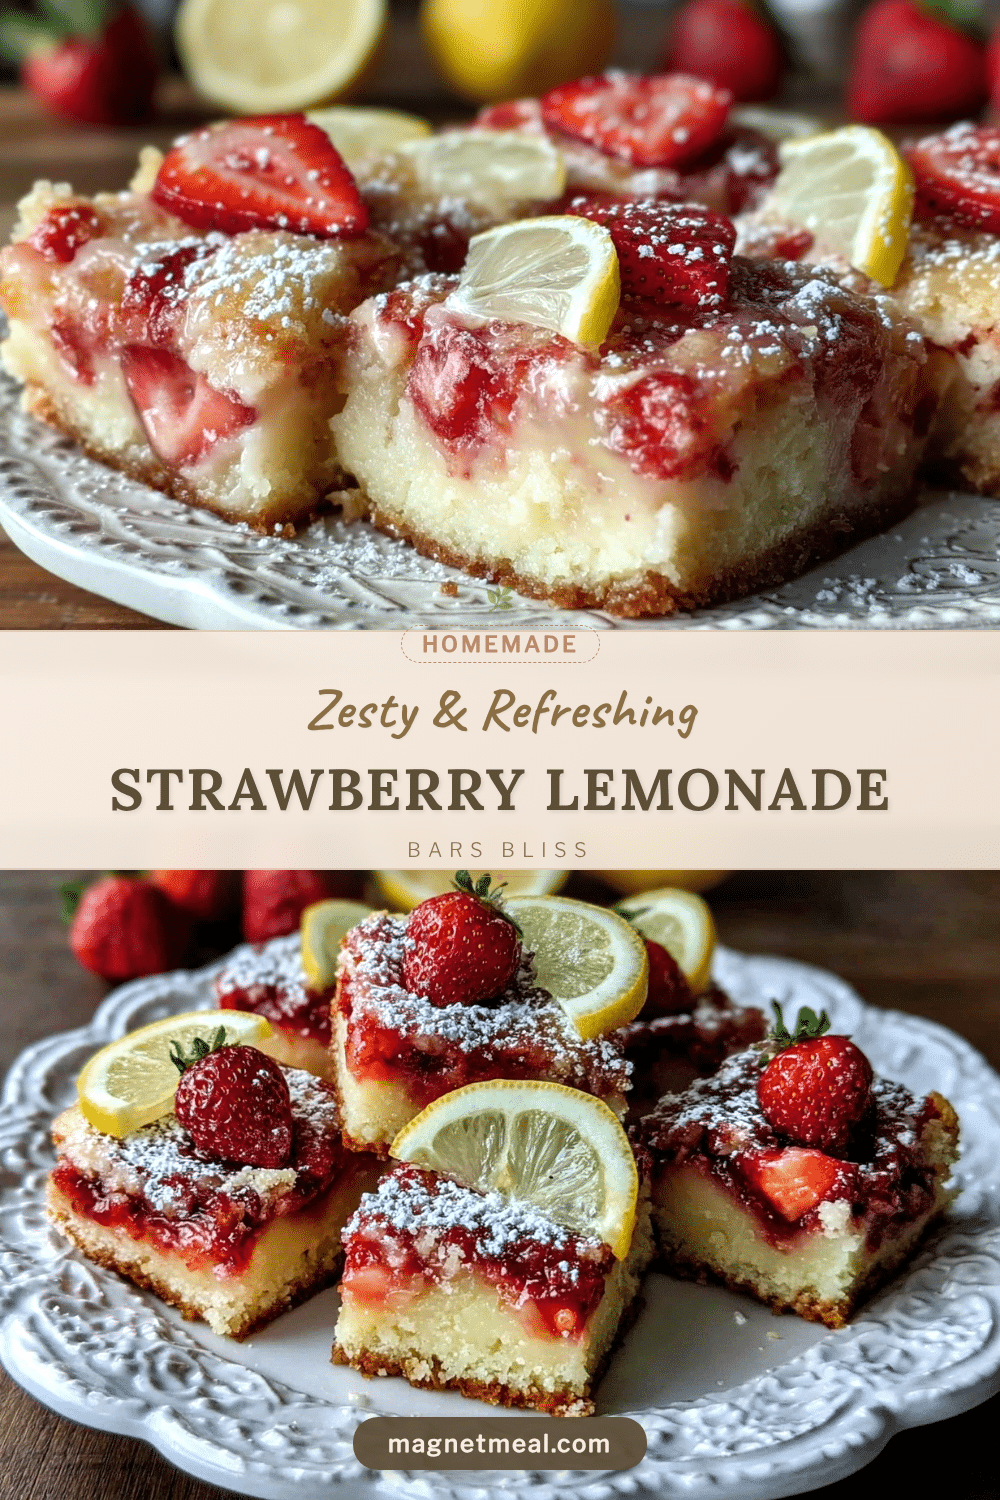
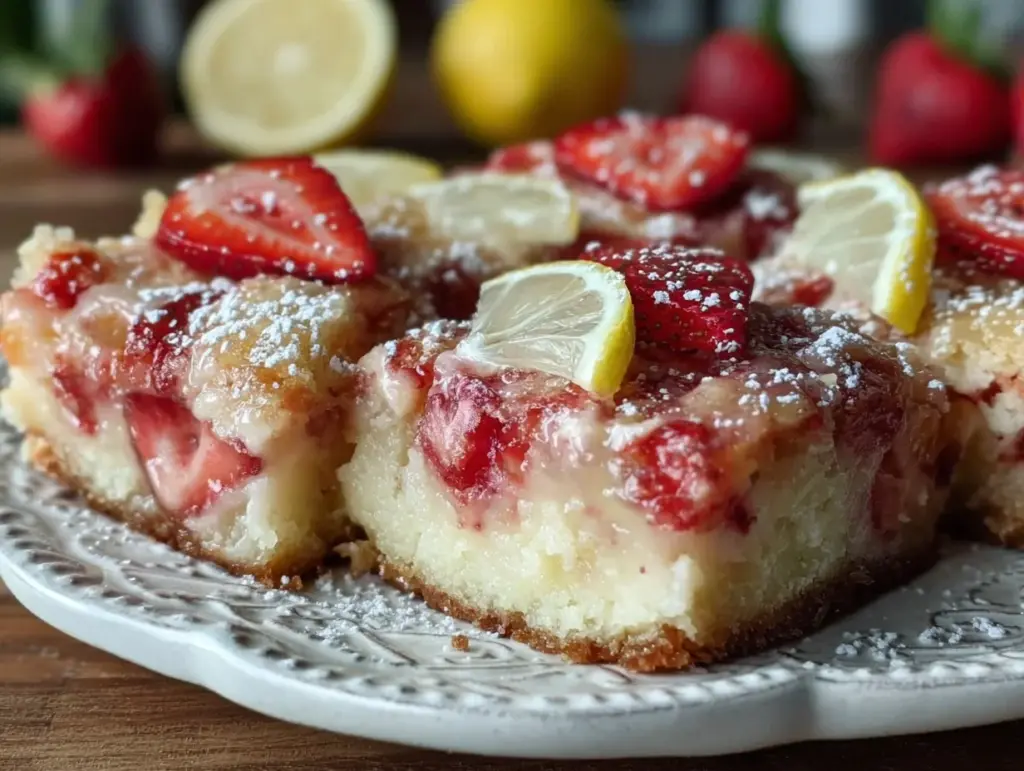
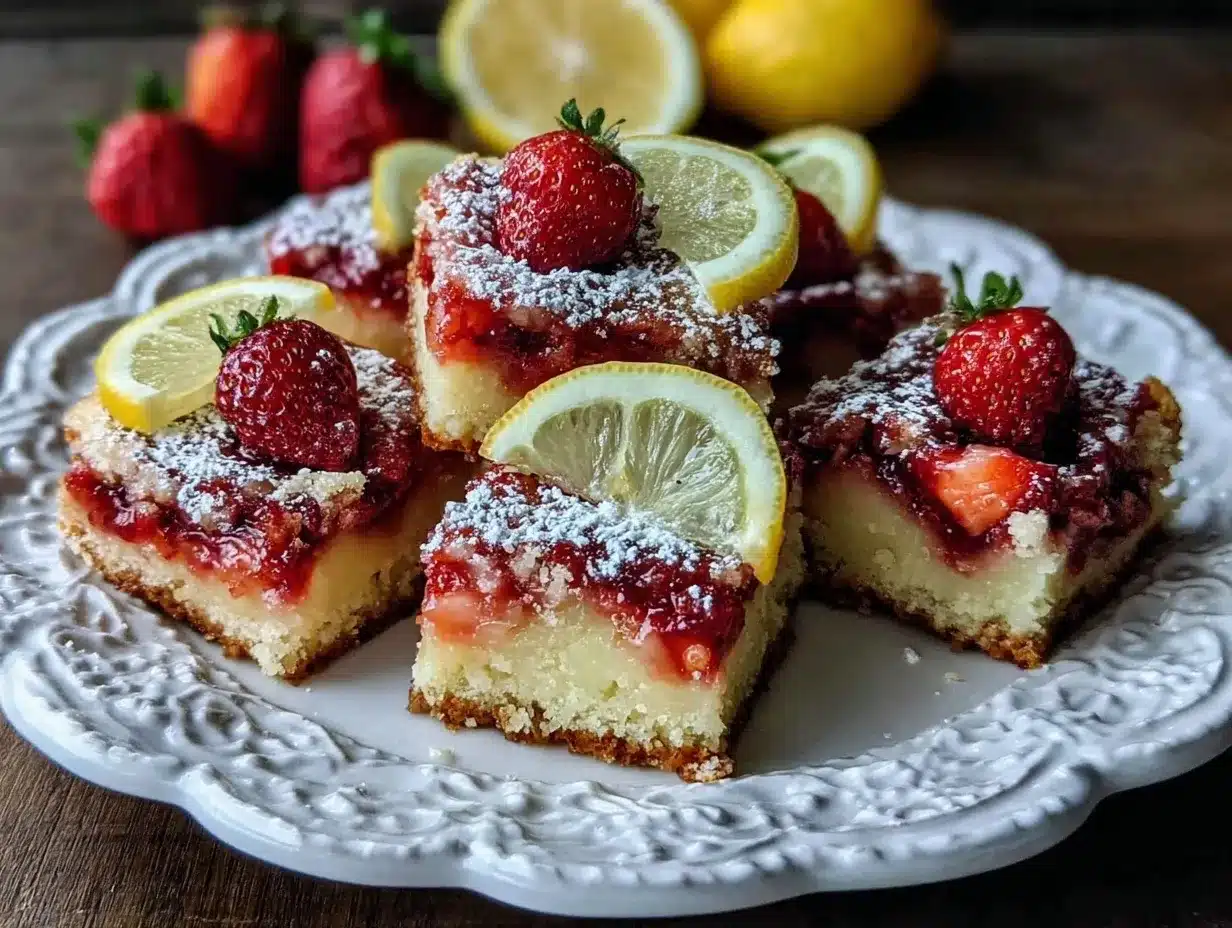
Zesty Strawberry Lemonade Bars

These zesty strawberry lemonade bars combine a buttery crust with a tangy, juicy strawberry-lemonade filling for a fresh and easy summer treat made with just five ingredients.
- Prep Time: 15 minutes
- Cook Time: 25 minutes
- Total Time: 2 hours 40 minutes
- Yield: 12 servings 1x
- Category: Dessert
- Cuisine: American
Ingredients
- 1 cup (2 sticks, 226g) unsalted butter, softened
- 2 cups (240g) all-purpose flour
- 1/2 cup (100g) granulated sugar
- 1 1/2 cups (225g) fresh strawberries, hulled and chopped
- 1 cup (240ml) lemonade
- Optional: zest of one lemon
Instructions
- Preheat oven to 350°F (175°C). In a large mixing bowl, cream together softened butter and granulated sugar until light and fluffy, about 3 to 4 minutes.
- Gradually mix in all-purpose flour until dough comes together. If too dry, add a teaspoon of cold water to help bind.
- Press dough evenly into the bottom of a greased 9×13-inch baking pan and bake for 18–20 minutes or until edges turn golden.
- While crust bakes, chop strawberries or pulse briefly in a food processor for smoother texture. Combine strawberries with lemonade and lemon zest if using.
- Transfer strawberry-lemonade mixture to a small saucepan and cook over medium heat for 5–7 minutes, stirring occasionally to thicken.
- Once crust is baked and cooled for about 10 minutes, pour warm filling evenly over crust and smooth the top.
- Let bars cool to room temperature, then refrigerate for at least 2 hours to set.
- Slice bars with a sharp knife warmed under hot water for cleaner cuts and serve chilled.
Notes
Use softened butter at room temperature for best crust texture. Chill bars for at least 2 hours for proper setting. If filling is too runny, simmer longer or add cornstarch slurry. For gluten-free crust, substitute almond flour. For dairy-free, use solid coconut oil instead of butter and dairy-free lemonade. Warm knife under hot water before slicing for cleaner cuts.
Nutrition
- Serving Size: 1 bar (1/12th of rec
- Calories: 180
- Fat: 10
- Carbohydrates: 20
Keywords: strawberry lemonade bars, summer dessert, easy dessert, 5-ingredient recipe, buttery crust, fresh strawberries, lemonade dessert


